Last updated November 17, 2026
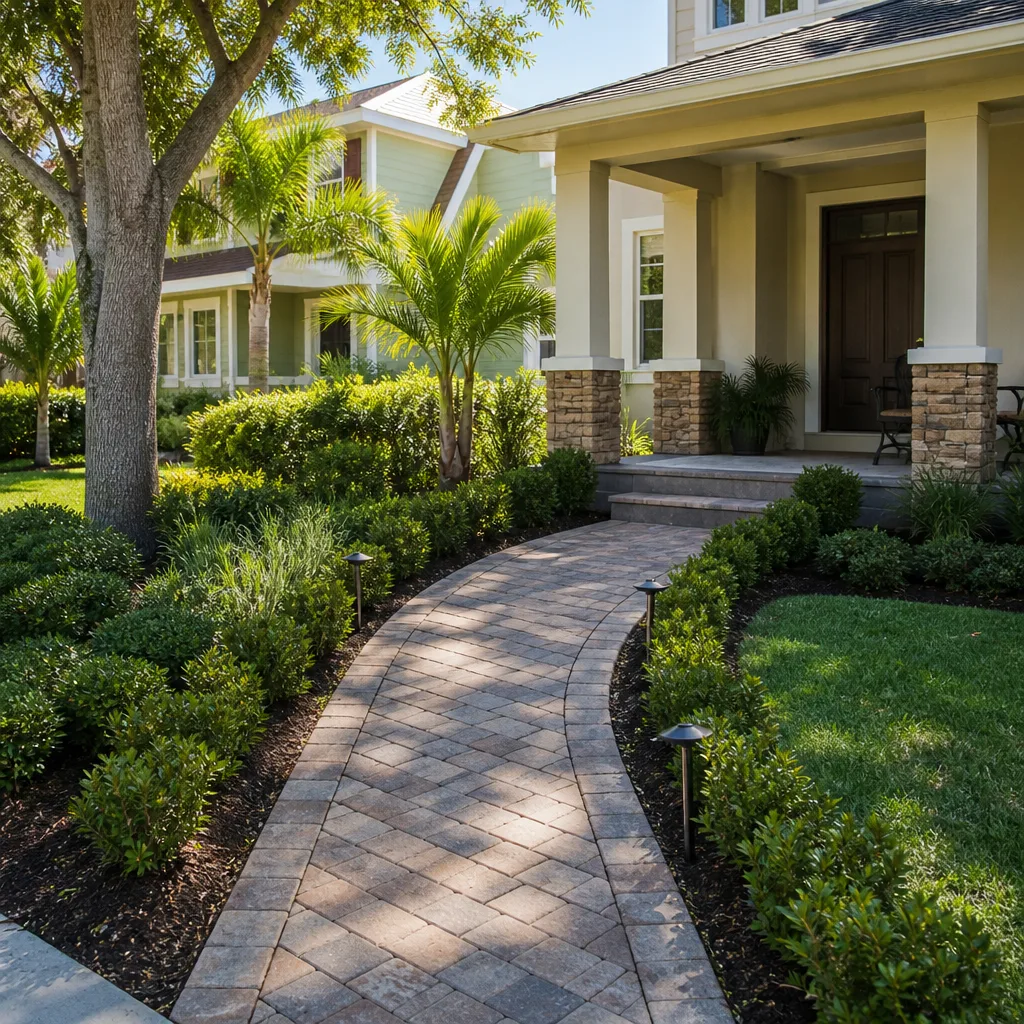
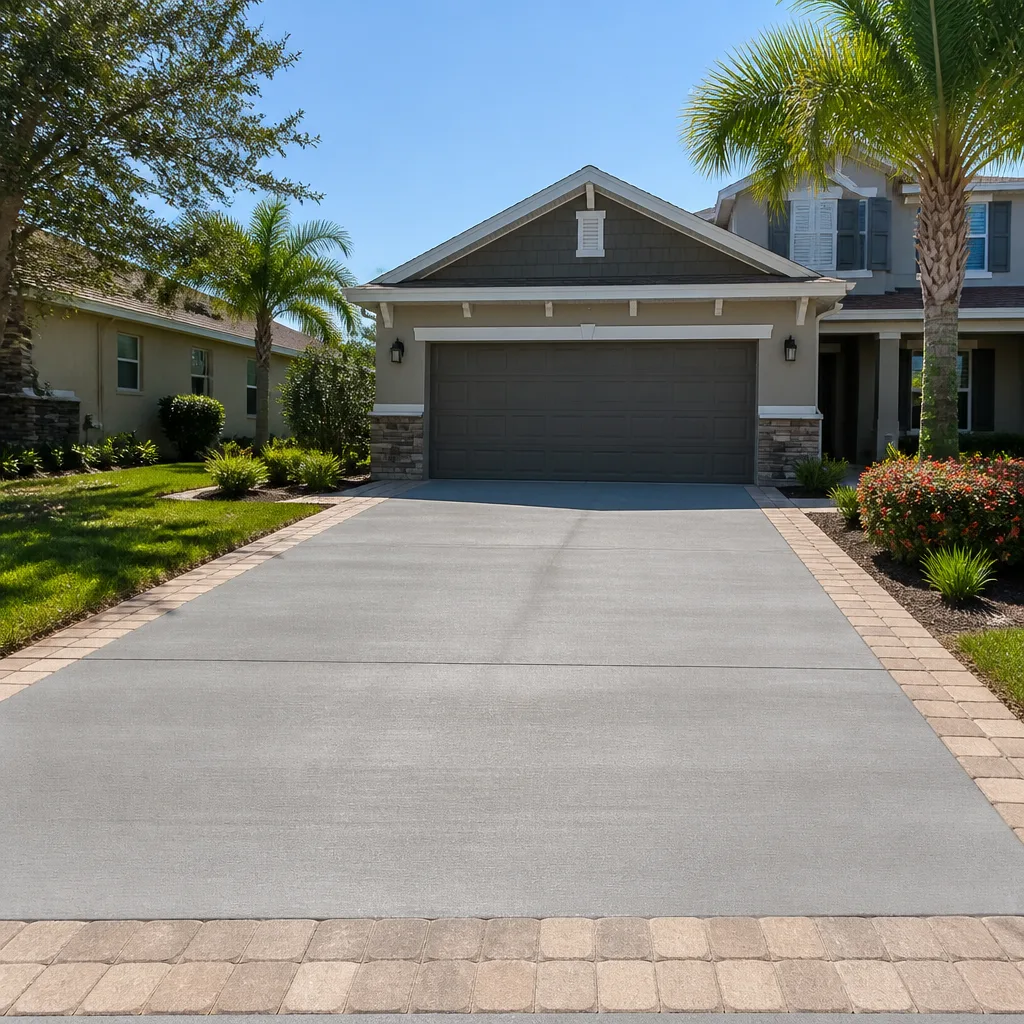



Free written scope consultation - allowances, timeline, and change-order rules on paper before a single trade is scheduled
Driveway & Pavers Maintenance Checklist for Fremont Homeowners
The number one reason Fremont pavers shift and crack within three years isn’t a bad installation. It’s the homeowner who skips one task in October, before the first hard rain lands on Fremont’s clay-heavy soil. We’ve watched beautiful driveways in Irvington and Glenmoor go from tight and level to rocking and rutted in a single wet season, and almost every one of those failures traces back to a missed fall step. This checklist is built for the weather Fremont actually gets: scorching inland summers, sudden winter downpours, and salt air creeping in from the west. By the end you’ll know what to do in October, January, April, and August, and how to catch a failing base before the surface ever tells you.
Quick Answer
Top off polymeric sand in October before Fremont’s first significant rain, inspect the concrete-edged borders for summer expansion gaps, reseal every 2 to 3 years (sooner west of I-880), and run the rocking test twice a year. Do those four things and most Fremont paver driveways hold tight for decades. Skip the October re-sand and you’re inviting washout, ant tunneling, and base failure the first winter the ground saturates.
Styles & brands we work with
- Kitchen remodeling
- Bathroom remodeling
- Home additions & ADU
- Roofing
- Windows & doors
- Driveway & pavers
- Fence
Table of Contents
- October: The Re-Sanding Window That Decides Your Winter
- Fremont Summer Heat and Thermal Expansion on Paver Borders
- Salt Air West of I-880: Which Sealers Actually Hold Up
- The Fremont Seasonal Timeline: October, January, April, August
- Spotting Base Failure Before the Surface Looks Wrong
- Your Step-by-Step Annual Maintenance Routine
- Common Mistakes to Avoid
- When to Call a Professional
October: The Re-Sanding Window That Decides Your Winter
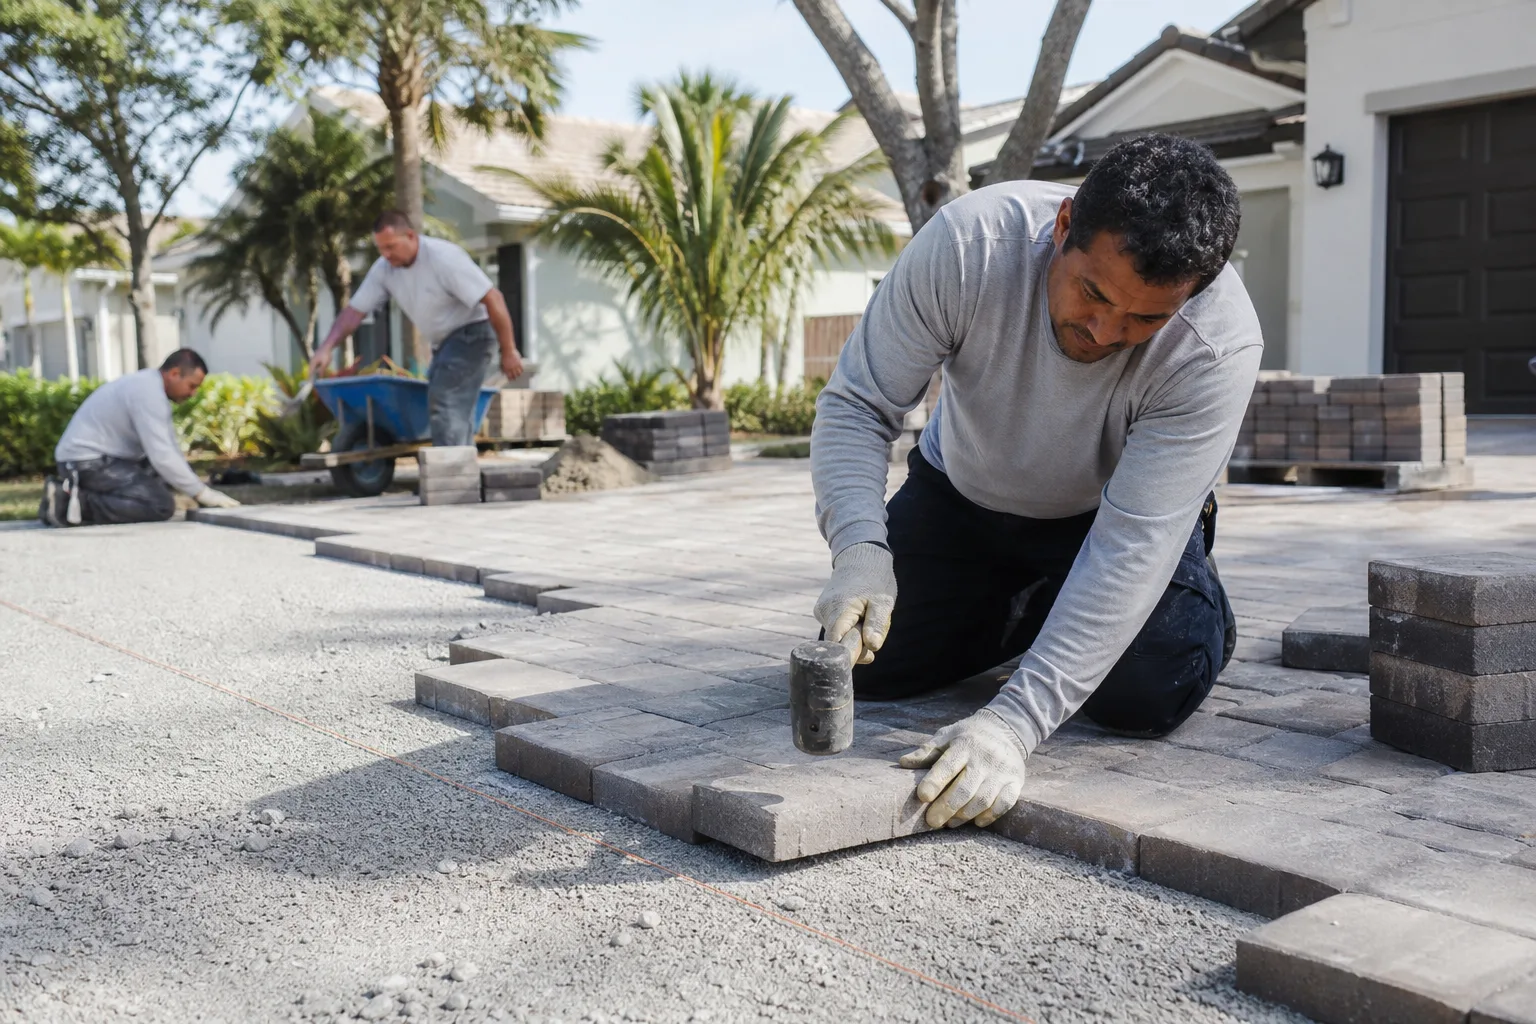
Polymeric sand is the glue that keeps joints tight and stops water from finding the base. In Fremont, that sand takes a beating through the dry months – foot traffic, car tires, the occasional power wash – and by October the joints along the driveway apron and the low side of the slope are usually a half-inch to an inch below the paver surface. That’s the number we see most. Once the joint is that open, the first real storm does the rest.
Here’s why the timing matters so much here. Fremont sits on some stubborn clay soil, and clay doesn’t drain – it swells when it’s wet and shrinks when it’s dry. When water pours into open joints in November or December, it pools, soaks the bedding layer, and creates a highway for ants and water into the base. We’ve seen whole driveways in the Ardenwood area rut in one wet winter because a homeowner waited until “spring cleanup” to re-sand. By then the damage was done, and it wasn’t surface damage.
Do this before the first significant rain, which in Fremont usually shows up somewhere between late October and mid-November:
- Sweep the driveway clean and let it dry completely. Wet sand won’t bind.
- Check every joint. Any joint more than roughly 1/8-inch below the paver face needs topping off.
- Pour fresh polymeric sand and sweep it into the joints with a soft-bristle broom. Work in sections so it doesn’t dry on you.
- Compact lightly, reshape the joints, and mist with a fine spray, following the bag. Don’t flood it.
- Keep cars off for at least 24 hours and rain off for the window the bag specifies.
If your joints were already open last year and you re-sanded in spring, expect the same washout this year. The October window is the one that counts. When you’re ready for a full assessment of the whole driveway and not just the sand, our Driveway & Pavers in Fremont page covers everything from new installs to repairs.
Fremont Summer Heat and Thermal Expansion on Paver Borders
Fremont summers run regularly 10 to 15°F hotter than coastal Oakland, and that gap does real work on a paver driveway. Pavers expand and contract with temperature swings, and the concrete edge restraint that borders most driveway installations here takes the brunt of it. When the concrete edge lets go – even a little – the outermost row of pavers starts to walk. Once that row moves, the joint widths open up, and the pavement loses its locked-up integrity.
Walk your border every August, at the hottest part of the day, and look for:
- Widening joints in the outer row compared to the field of pavers – the telltale sign of edge failure.
- A visible gap between the concrete edge and the pavers, or the edge lifting away from the soil.
- Hairline cracks in the concrete edge restraint itself. Once it’s cracked, it’s no longer holding anything back.
- Ruts or depressions right at the driveway entrance where cars steep in all summer.
Fremont properties in Blackhawk-adjacent hills and the Mission Hills side often have sloped driveways, and those edges see more shear force than a flat one. The lower edge on a slope is the first to fail, every time. If you catch a loose edge early, it’s a reset and a re-pin. Wait until the outer row has visibly shifted and you’re looking at resetting a whole border and possibly rebuilding the base at that corner. The August walk takes ten minutes and saves the season’s worth of trouble.
Thermal expansion also stress-points the concrete driveways where pavers meet the garage slab. Check that junction for movement and open joints each summer, and keep it sealed.
Salt Air West of I-880: Which Sealers Actually Hold Up
If your home sits west of I-880 – think Niles, Centerville, or anywhere the afternoon breeze carries the salt up from the bay – your pavers are working harder than the ones out in Warm Springs. Salt air is tough on the sealer film and on the color itself. What we see in our Fremont work is that a mid-grade acrylic sealer on the east side of the freeway will often last three years. Same sealer just a few miles west, and it starts chalking and flaking within 18 months.
The reason is simple. Salt crystals deposit on the surface, and as they dry and recrystallize, they abrade the film and pull moisture into micro-gaps. That film then lifts and flakes. What holds up better:
- Penetrating siloxane or silicate sealers. They soak in rather than sitting on top, so there’s no film for salt to abrade. These generally go 3 to 5 years before refresh, sometimes longer on lower-traffic driveways.
- High-solids acrylics formulated for coastal exposure. Not the generic bucket from the hardware store – the ones specified for marine climates. They hold their film much better, though they’ll still need a re-coat ahead of schedule.
Test before you commit. Seal a 3-foot by 3-foot section and let it see a full 12 months of Fremont weather, salt breeze included, before you pay for the whole driveway. What looks great on day one and flakes on day 400 is a waste of money, and we’ve seen plenty of both. For driveways, we lean toward penetrating sealers west of I-880, and we’ve watched Master Halco-grade edge and hinge hardware on the gates beside them hold up in the same salt air, which tells you something about how much material selection matters near the bay.
The Fremont Seasonal Timeline: October, January, April, August
Generic “spring and fall” advice was written for a climate that isn’t this one. Fremont has four maintenance moments that matter, and they don’t line up with the calendar everyone else uses. Here’s the schedule that actually works here.
October (before the first rain)
- Re-sand all open joints with polymeric sand. This is the big one.
- Sweep and clear leaf litter from the low side and drainage channels.
- Check the driveway slope for any joints wider than they were in summer.
January (mid-wet season)
- Walk the driveway after the heaviest storms and look for ponding or water sheeting off course.
- Check the low corners for sand washout. Top off if joints opened.
- Test for rocking pavers, especially on the slope and near the garage apron.
April (dry-out inspection)
- Look for weeds and ant mounds in the joints. Ants tunnel in the sand and destabilize the base.
- Inspect the concrete edge and border after the thawed, wet winter.
- Evaluate whether the past winter opened any base issues. This is your early-warning window.
August (peak heat check)
- Walk the concrete-edged borders for thermal expansion gaps.
- Check the garage slab junction for movement.
- Note the sealer’s condition. If it’s chalking, plan a re-coat before October’s rain.
Put those four dates in your phone and Fremont pavers stop being a guessing game. The seasonal rhythm is the whole point, and the October re-sand is the anchor the other three hang from.
Spotting Base Failure Before the Surface Looks Wrong
Here’s the thing most checklists get wrong: by the time the surface looks obviously wrong, the base has been failing for a year or two. Fremont’s clay soil and wet winters mean base failures show up quietly and then all at once. We’d rather you catch it early. Two checks find it long before you see a sunken paver.
The rocking test
Walk the whole driveway in old shoes and put your weight on each paver, heel first, one at a time. A paver that rocks even slightly – a click, a bit of give, a tiny lift on the opposite corner – is a paver that’s lost its bedding. One rocker is a small repair. A field of them means the bedding layer under that area is gone and the base below it needs attention. Test twice a year, in January and April, and be honest with yourself about the little clicks you’d rather not hear.
Grout line width changes
Joint widths should be consistent across the whole field. If you see joints that are wider in one area than another – and it isn’t a design choice – that area is moving. Wide joints mean pavers are drifting apart, which points to edge failure or base settlement. Run a finger down three or four joints along a straight line and see whether the gap grows or shrinks. That tells you where the problem lives, before it shows up at the surface as a dip or a crack. On Fremont driveways that slope toward the street, the wide-joint zone usually sits at the bottom where water pools and the base softens first.
If both checks flag the same area, don’t reseal over it. Rebalancing a failing base after a cosmetic sealer is a waste of both jobs. The base has to be right before the surface gets sealed.
Your Step-by-Step Annual Maintenance Routine
Here’s the full routine in the order we’d do it. Print it, tape it in the garage, and cross things off as the year turns.
- Spring (April): Walk the whole driveway with the rocking test. Pull weeds, treat ant mounds, and inspect joint widths across the field.
- Early summer (June): Check your sealer’s condition. If it’s chalking or flaking, plan a re-coat after the hottest stretch and before October rain.
- Late summer (August): Inspect the concrete-edged borders for expansion gaps. Check the garage slab junction and the driveway entrance where cars pull in.
- Before the first rain (October): Sweep clean, re-sand every joint that’s below the paver face, compact, and mist. Keep traffic off for 24 hours.
- Mid-winter (January): Storm-walk the driveway and top off any joints that washed out. Note any new ponding or rocking.
- Every 2 to 3 years: Re-seal. West of I-880, plan on the shorter end of that range, and use a penetrating or marine-grade product.
- Every 5 years: Have the whole installation evaluated – base, edges, and drainage – not just the surface. This is where a small issue gets caught before it’s a resurfacing job.
That’s the whole routine, and it takes a couple of Saturdays a year. When you’re planning to add or replace asphalt or pavers around the driveway, look at the rest of your home’s exterior at the same time. A driveway that ties into a new Fence Installation in Fremont gets a cleaner grading line, and if you’re considering a Home Additions & ADU in Fremont, the driveway approach and grades need to be planned before the foundation goes in. And if you want a walkthrough of the whole property, start at our Barrett & Sons Construction Fremont home.
Common Mistakes to Avoid
- Waiting until spring to re-sand. By March, Fremont’s winter rain has already found every open joint. The October window exists for a reason, and spring is too late.
- Using regular mason sand instead of polymeric sand. Plain sand washes out and feeds weeds. Polymeric sand binds and stays in the joint through a wet winter.
- Sealing over a failing base. Sealer is a film over the pavers. It does not fix a rocking paver or a sunken corner. It just hides the problem for one more season.
- Ignoring the border and edge restraint. The outer row is what locks the whole field tight. A loose border in August becomes a shifted field by the following winter.
- Choosing a mid-grade acrylic sealer for a home west of I-880. Salt air will chalk and flake it inside 18 months. Spend a little more up front and save the re-coat cost.
- Skipping the drainage check after storms. Ponding water is the fastest route to base failure on Fremont’s clay soil. If water is sitting rather than draining, fix the grading, not just the surface.
- Power washing the joints wide open. High-pressure washing blasts polymeric sand right out of the joints. Use low pressure or a garden hose and re-sand after.
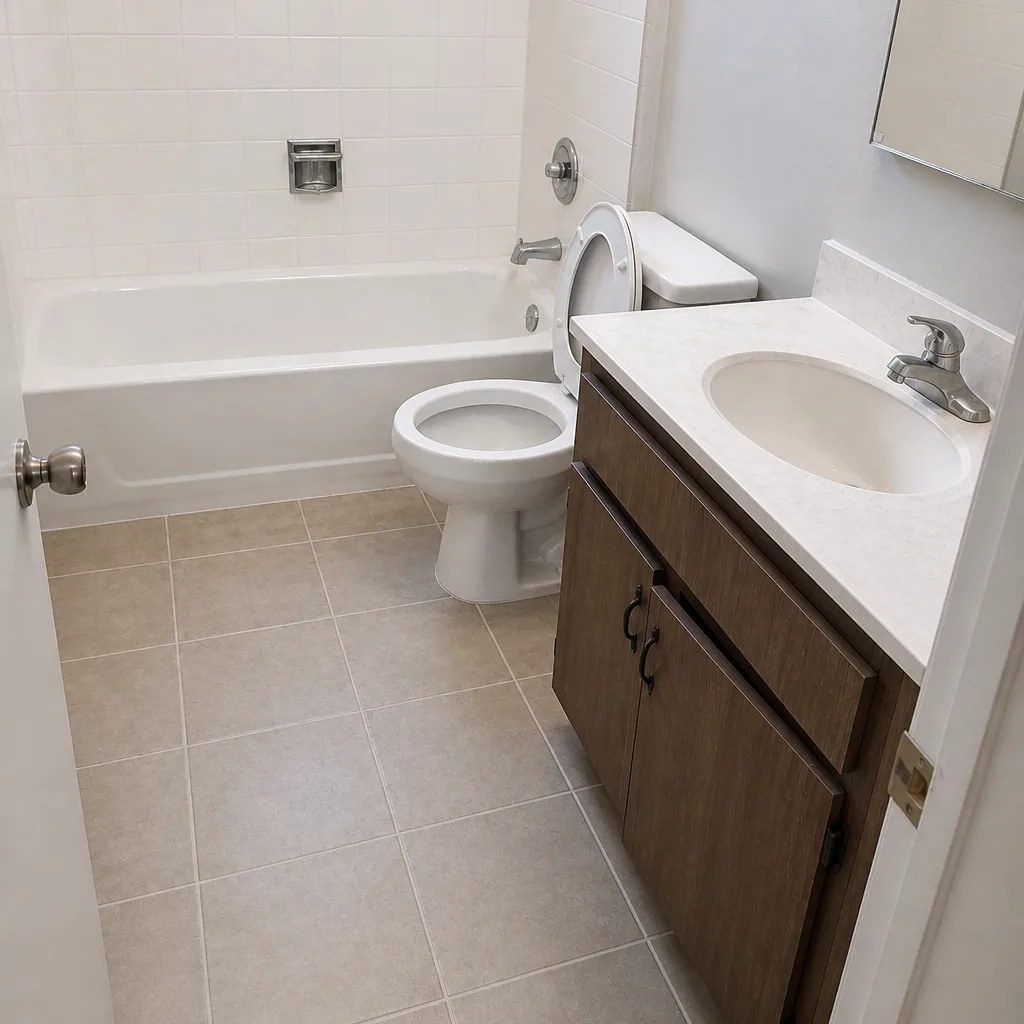
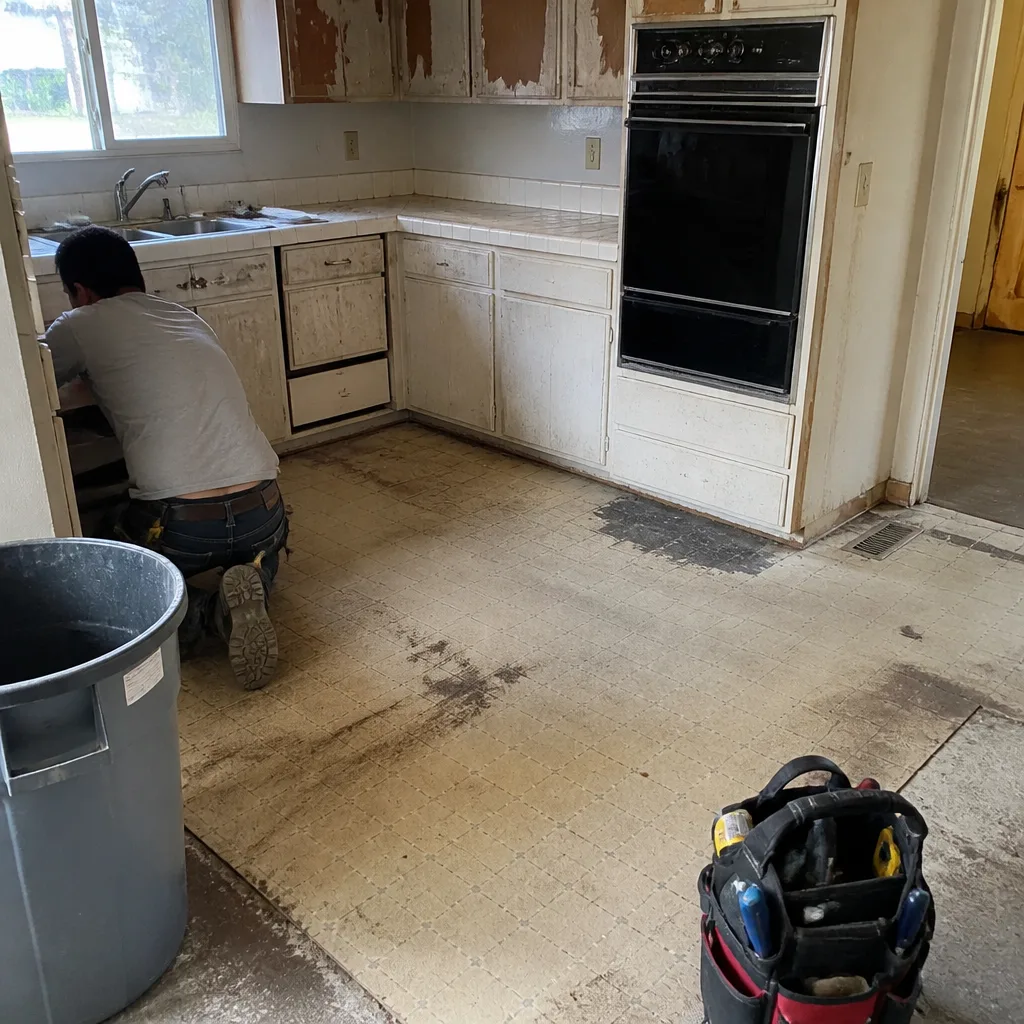
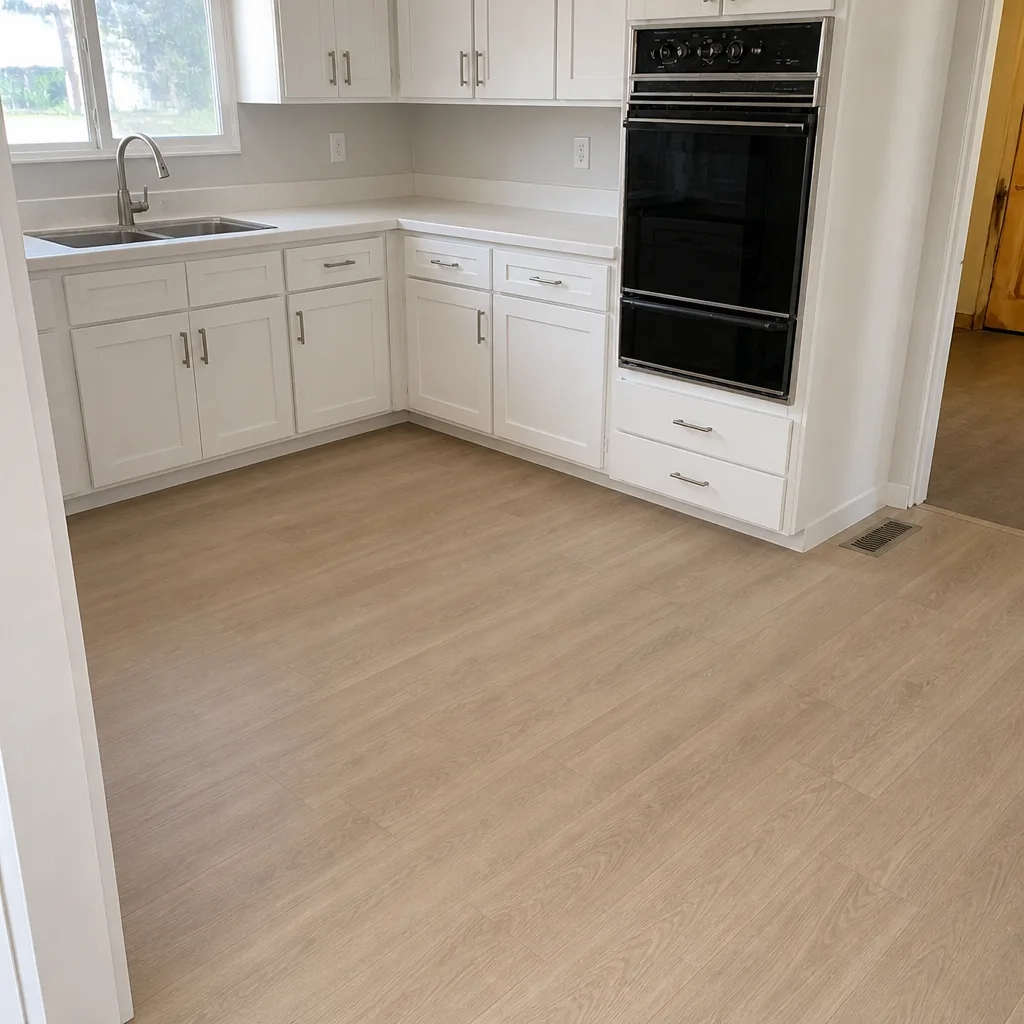
See the difference
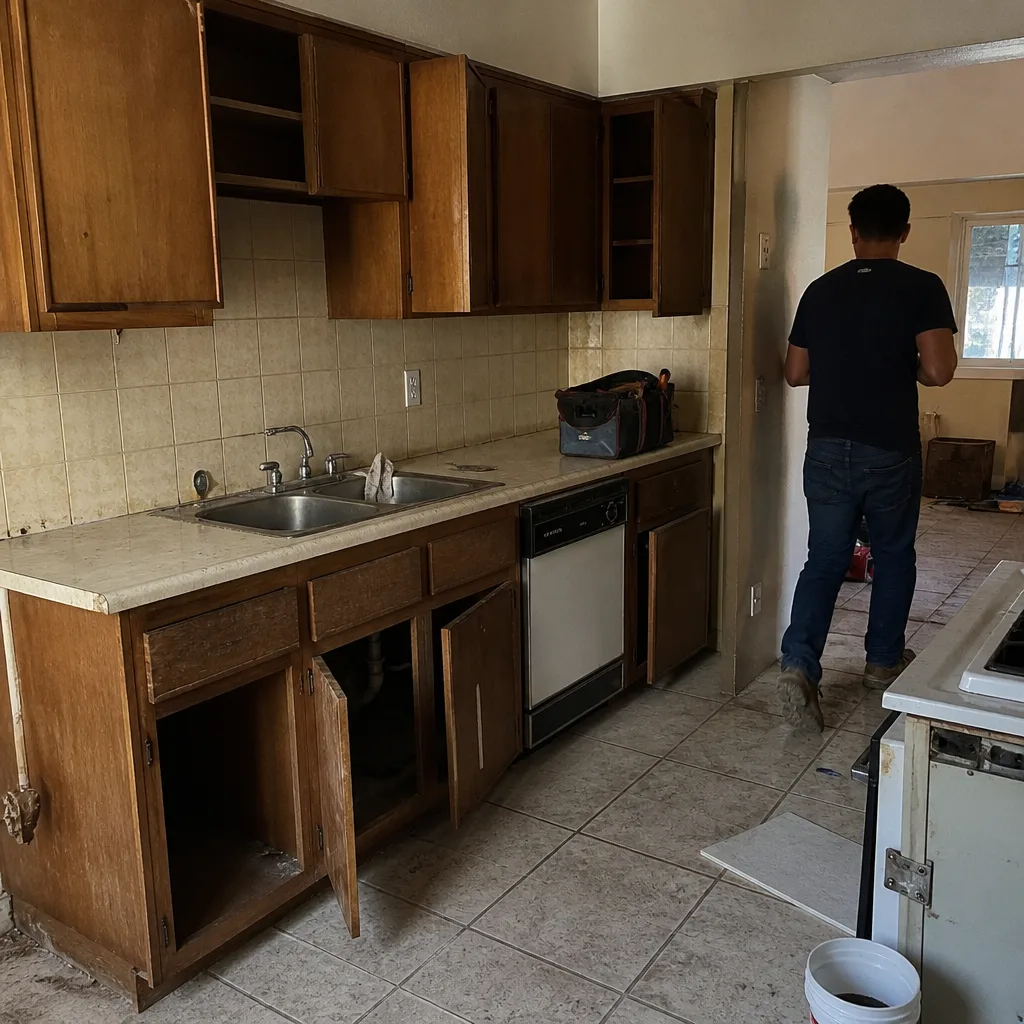 Before
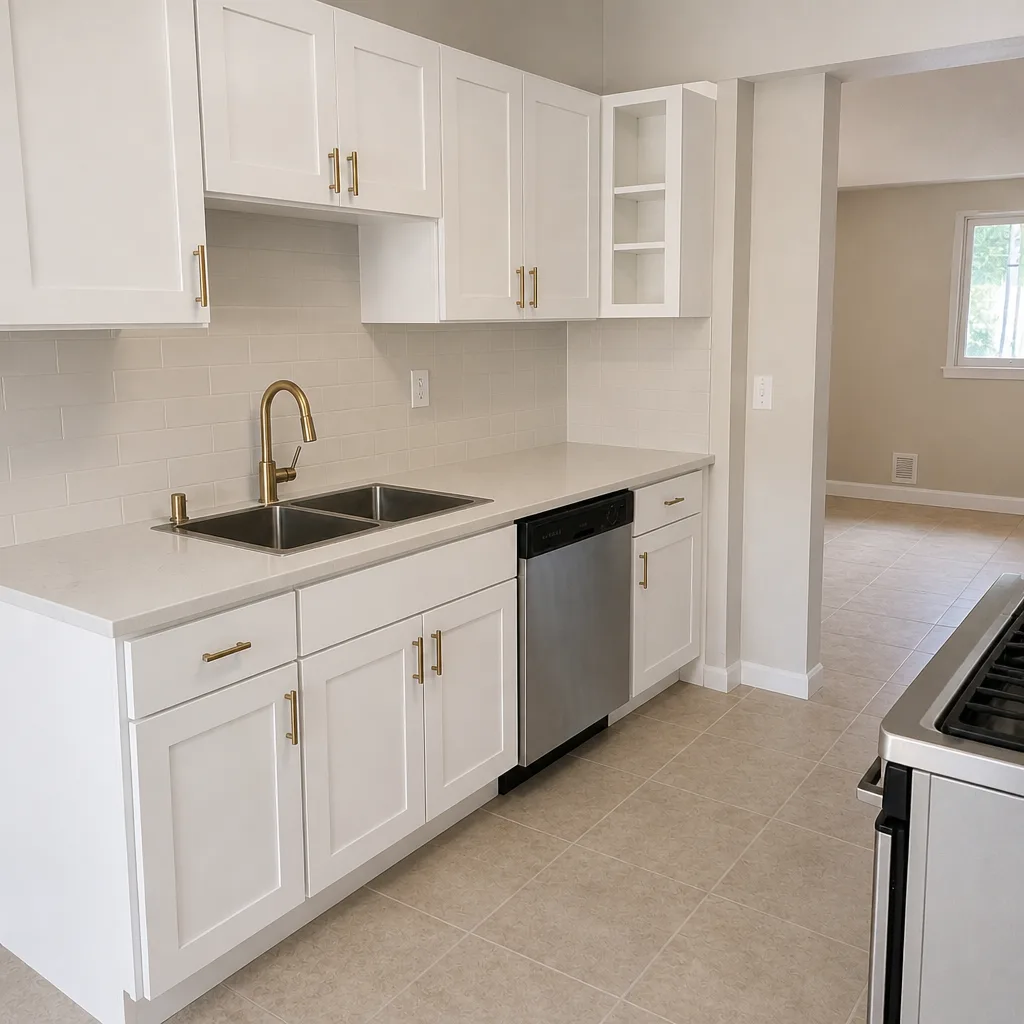 After
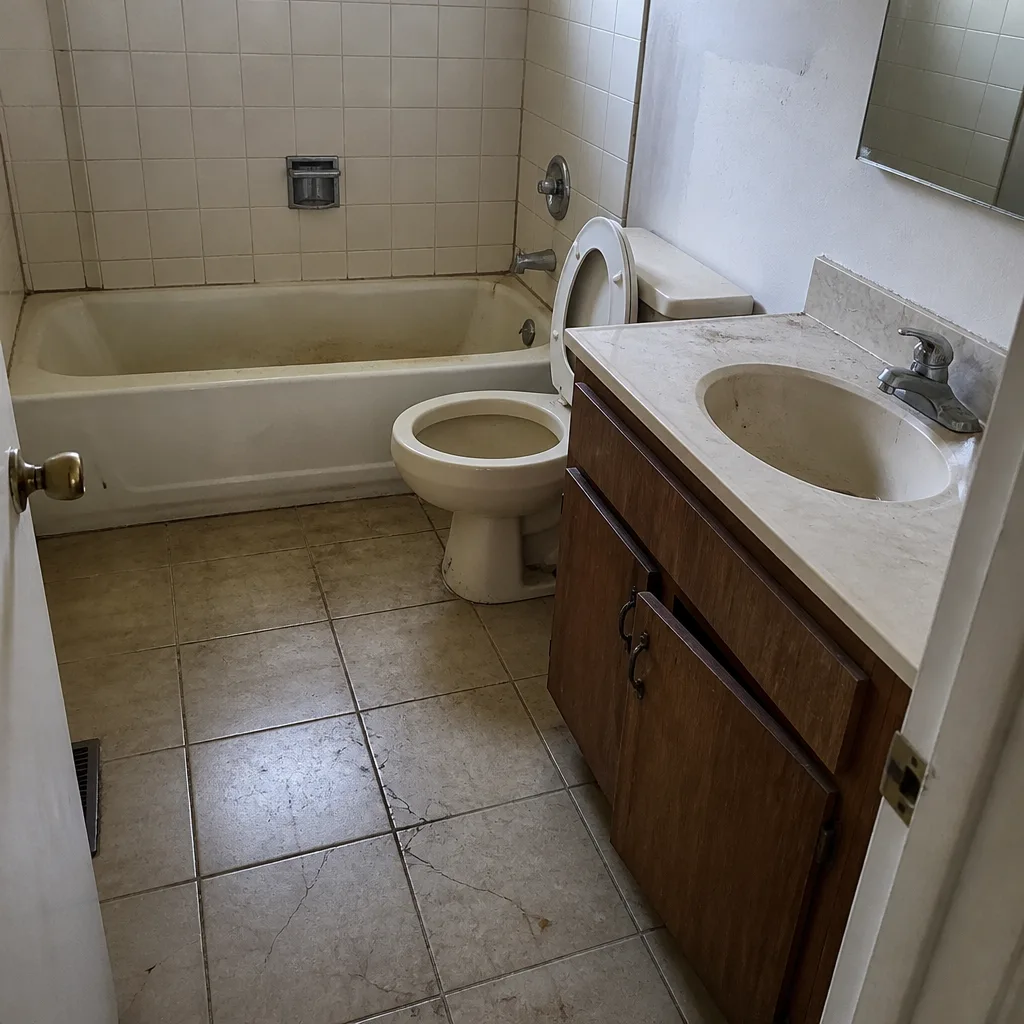 Before
 After
 Before
 After
When to Call a Professional
Most of this checklist is a homeowner’s work: the sweeps, the walks, the rocking test, the October re-sand. Call a pro when the surface stops being the story. If you’ve got rocking pavers across an area larger than a few square feet, a border that’s clearly shifted, joints that keep washing out no matter how often you re-sand, or water that’s been ponding on the same spot through a winter, the base is talking to you. Salt-air sealer failure on a home west of I-880, a crack in the concrete edge restraint, or a question about whether a repair will hold are all worth a real look. Barrett & Sons Construction Fremont offers free estimates in Fremont – call (833) 620-6162. We pull permits and pass inspections on every eligible job, and the written 90-Day Done Right Promise is on every contract, so if a repair isn’t done right, one call brings us back.
Frequently Asked Questions
Top off open joints every October before the first significant rain, and re-sand anything that washed out in January. A full replacement of the joint sand is usually only needed every 3 to 5 years, but annual topping off is what keeps the joints tight through a wet winter on clay soil. If you’re re-sanding every spring, the October job isn’t being done, and that’s the one that matters.
Summer heat and winter rain cycles do the work. Fremont runs 10 to 15°F hotter than coastal Oakland in summer, which expands the concrete edge restraint and opens border joints; the wet winter then delivers water into those joints and the clay base swells and softens. The result is the rocking and shifting most homeowners notice. Catching it in August, before the border lets go, usually stops it.
It helps, but only if it’s the right sealer. Penetrating siloxane or silicate products last 3 to 5 years in salt air because they soak in and there’s no film to chalk. Mid-grade acrylic films start flaking inside 18 months on the bay side of Fremont. If you’re west of I-880, test a small section before committing to the whole driveway.
A single rocking paver in a field of stable ones is sometimes a small lift-and-reset job. But once the rocking is widespread or the joint widths are changing, the base under the area is failing, and resetting one paver won’t fix it. That’s the point where a base repair is the real job, not a surface touch-up.
The rocking test and the joint-width check catch it early. Put your weight on each paver heel-first and listen for a click or give. Then compare joint widths across the field: consistent widths mean a sound base, widening joints in one zone mean failure. On sloped Fremont driveways, expect the bottom of the slope to fail first. If both tests flag the same area, have it looked at before you seal it.
Repair pricing depends on how much of the base is affected, so a line-item written quote is the only honest answer. Small re-sanding, edge resets, and single-paver repairs are modest jobs; a base repair across a section is a larger one. Ask for the scope in writing before work starts. Call (833) 620-6162 for a free estimate – estimates are free, and every price change arrives as a written change order before work proceeds.
The Bottom Line
Fremont’s weather writes its own maintenance schedule, and the calendar most checklists use doesn’t fit it. The October re-sand is the anchor: do it before the first rain hits the clay and you avoid most winter washout and ant damage. Add the August border check, the January storm-walk, the April inspection, and a reseal every 2 to 3 years (sooner near the bay), and your pavers stay locked and level for the long haul. Catch base failure with the rocking test and joint-width check before the surface gives it away. When a repair is more than you want to take on, our crew has the experience to diagnose it straight – call us at (833) 620-6162 for a free estimate.
Written by the team at Barrett & Sons Construction Fremont.