Last updated November 17, 2026





Free written scope consultation - allowances, timeline, and change-order rules on paper before a single trade is scheduled
Driveway & Pavers Warning Signs Every Homeowner Should Know
A single paver that keeps rocking after you re-set it isn’t a loose paver. It’s a drainage problem telling you something specific about where water is going underground. That distinction matters more than any other skill in driveway ownership. In our experience across Fremont, most driveway failures hand you a 12-to-18-month warning before they turn into a five-figure replacement. The homeowners who read those early signs spend a few hundred dollars on a fix. The ones who wait until the driveway “looks bad” spend two or three times as much, because by then the base is gone and the surface is just the last thing to fail. This guide covers the five patterns of movement, which warning signs are your fault versus the installer’s, and exactly what to photograph before you call anyone.
Quick Answer
The earliest and most reliable driveway paver warning signs are: pavers that rock after re-setting (a drainage signal), joint sand eroding in a straight line rather than randomly (water channeling), a border that’s creeping outward (failing edge restraint), and sinking that appears in the center of the drive rather than the edges (base compaction failure). Most of these appear 12 to 18 months before the driveway becomes expensive to fix. Catching them early usually means a targeted repair; ignoring them usually means full reconstruction.
Styles & brands we work with
- Kitchen remodeling
- Bathroom remodeling
- Home additions & ADU
- Roofing
- Windows & doors
- Driveway & pavers
- Fence
Table of Contents
- The Five Patterns of Movement and What Each One Diagnoses
- Why Joint Sand Erosion in a Straight Line Means Something Different Than Random Loss
- How to Spot a Failing Edge Restraint Before the Border Migrates
- Warning Signs You Caused Versus Installation Problems
- Base Failure: The Warning Sign Under the Surface
- Why Fremont’s Climate Wears Driveways a Specific Way
- What to Photograph, Write Down, and Say When You Call
- Repair or Replace? Reading the Severity of What You See
The Five Patterns of Movement and What Each One Diagnoses
Pavers don’t fail randomly. They move in five recognizable patterns, and each pattern points to a specific cause underneath the surface. Learning to name the pattern is the single most useful thing you can do, because it turns “my driveway looks off” into a diagnosis a contractor can actually respond to.
- Edge creep. The outermost row of pavers slowly pushes outward, away from the drive. This almost always means the edge restraint has lost its grip. Left alone for a season or two, the entire border migrates and the field pavers behind it loosen.
- Center sinking. A dip forms in the middle of the driveway, usually where tires track. That’s a base compaction failure. The bedding layer was too thin, the sub-base wasn’t compacted in lifts, or organic material worked its way in.
- Corner lifting. One or more corners of the driveway heave upward. In Fremont we see this where tree roots push from below or where a downspout dumps water at a corner and the base swells.
- Linear cracking. Cracks that run in a straight line usually follow a seam, a joint, or a utility trench that was poorly compacted. A crack in a straight line is telling you where the base has a weak spot.
- Random differential settling. Pavers settle unevenly in a scattered pattern with no clear geometry. This is the hardest to diagnose and the most likely to indicate a base that was never properly prepared in the first place.
If you can look at your driveway and name which of these five you’re seeing, you’re already ahead of most homeowners. That’s the conversation starter that leads to a real diagnosis instead of a sales pitch. Our Driveway & Pavers in Fremont page walks through how we build a base that resists all five.
Why Joint Sand Erosion in a Straight Line Means Something Different Than Random Loss
Joint sand is the material that fills the gaps between pavers and locks the whole surface into a single unit. When it washes out, you’ll see two patterns, and they mean very different things.
Random joint sand loss looks like scattered gaps across the driveway after a heavy rain or a windy stretch. This is normal wear. Joint sand compacts, blows, and washes with time, and a top-up every few years is routine maintenance for any paver drive, including the ones we install in Fremont.
Straight-line joint sand erosion is different. If the gaps open up in a continuous line, usually running downhill or toward a low spot, the sand is being flushed by moving water. That means water is channeling under or through the surface instead of draining off it. Straight-line loss usually points to one of four things:
- A low spot in the surface that pools water instead of shedding it
- A missing or clogged drainage path, like a channel drain or a catch basin that stopped working
- A failed edge restraint letting water run under the border and back up through the joints
- A slope issue where the finished grade tilts toward the house instead of the street
Random joint sand loss is maintenance. Straight-line loss is a warning that water is going somewhere it shouldn’t. If you can trace the missing sand to a low spot or a specific direction of travel, that’s the clue to photograph before you call anyone. In Fremont, where winter rain arrives in concentrated bursts, a straight line of missing sand in February usually traces back to a fall grading problem nobody addressed in the dry months.
How to Spot a Failing Edge Restraint Before the Border Migrates
The edge restraint is the unseen hero of a paver driveway. It’s a strip, usually aluminum, steel, or a poured concrete curb, that runs along the outside of the last row and holds the whole field of pavers in compression. When it fails, the border starts to migrate, and the problem spreads inward one row at a time.
You can catch a failing edge restraint long before the border visibly moves. Here’s what to look for, in order from easiest to hardest:
- A visible gap between the last paver and the restraint. If you can slip a putty knife into the space, the pavers are no longer in compression against the edge.
- The restraint lifting or leaning outward. Get down at eye level and look along the edge of the driveway. Any tilt away from the pavers is a warning.
- Loose spikes or fasteners. Aluminum edge restraints are held by long spikes driven into the base. If the spikes pull up, the restraint wanders.
- Border pavers sitting higher or lower than the field behind them. Even a quarter inch of difference means the restraint isn’t doing its job.
- Soil or mulch washed away along the outside edge. Water scouring the outside of the restraint is often the first visible clue, because that’s where the runoff drains before it undermines the strip.
Edge restraint failure is one of the cheapest fixes on the list if you catch it in the first year. Once the border migrates, the fix involves lifting a whole row of pavers, re-compacting the base, re-spiking the restraint, and re-setting. On a typical Fremont driveway, that’s a difference between a small repair and a job that takes a crew a full day. Edge restraint isn’t a place to save money on the original build, and it’s the first thing we check when a homeowner calls about a moving border.
Warning Signs You Caused Versus Installation Problems
Not every warning sign is the installer’s fault, and honest contractors will tell you so. Two of the most common failure patterns in Fremont driveways are caused by homeowner habits, not by a bad build.
Overloaded surface. Driveways are built for passenger vehicles and the occasional pickup. Park a loaded box truck, a dumpster, or a stack of construction material on a paver drive and you can crack pavers or displace the bedding layer. We’ve seen a Fremont driveway punched through by a delivered hot tub that sat in the same spot through a wet winter. If you’re planning a delivery, a renovation, or a heavy landscaping project, tell the driver where to park off the pavers. That single habit prevents a surprising number of spring failures.
Pressure washing too aggressively. A pressure washer at 3,500 PSI strips joint sand out of a paver driveway in a single pass. That’s the fast path to straight-line erosion, because the washer pushes a channel of water through the joints. Any paver drive should be washed at low pressure (under 1,500 PSI), with a wide fan tip, from the top of the slope down. Aggressive washing also widens joints and loosens the polymers in a stabilized joint sand. If you have a maintenance crew wash your driveway, tell them the surface is pavers and ask what pressure they use.
What you can’t cause, on your own, in normal use:
- Center sinking, unless you’ve driven heavy equipment on the drive. If you haven’t, that’s a base problem.
- Edge creep, unless a vehicle has driven off the edge repeatedly. That’s a restraint and base-scour problem.
- Random differential settling. That’s a compaction problem on the original build.
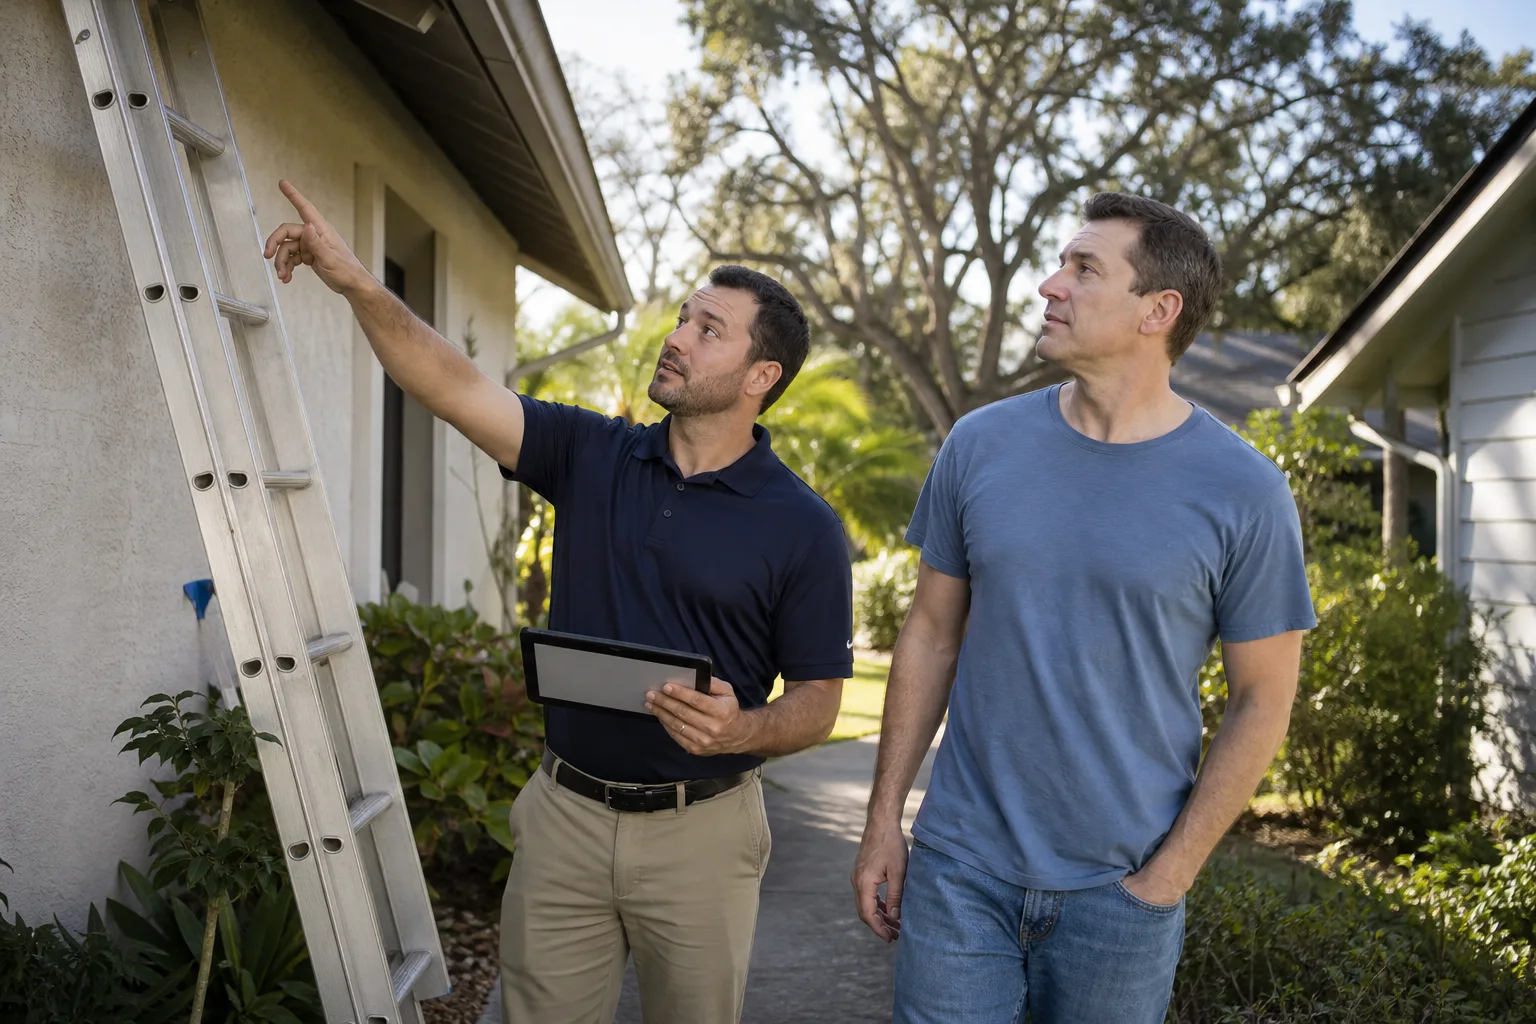
When we walk a driveway in Fremont for a free estimate, we can usually tell within fifteen minutes whether the pattern we’re seeing is use-related or installation-related. That matters, because the honest conversation is what a homeowner needs to hear before they spend a dime.
Base Failure: The Warning Sign Under the Surface
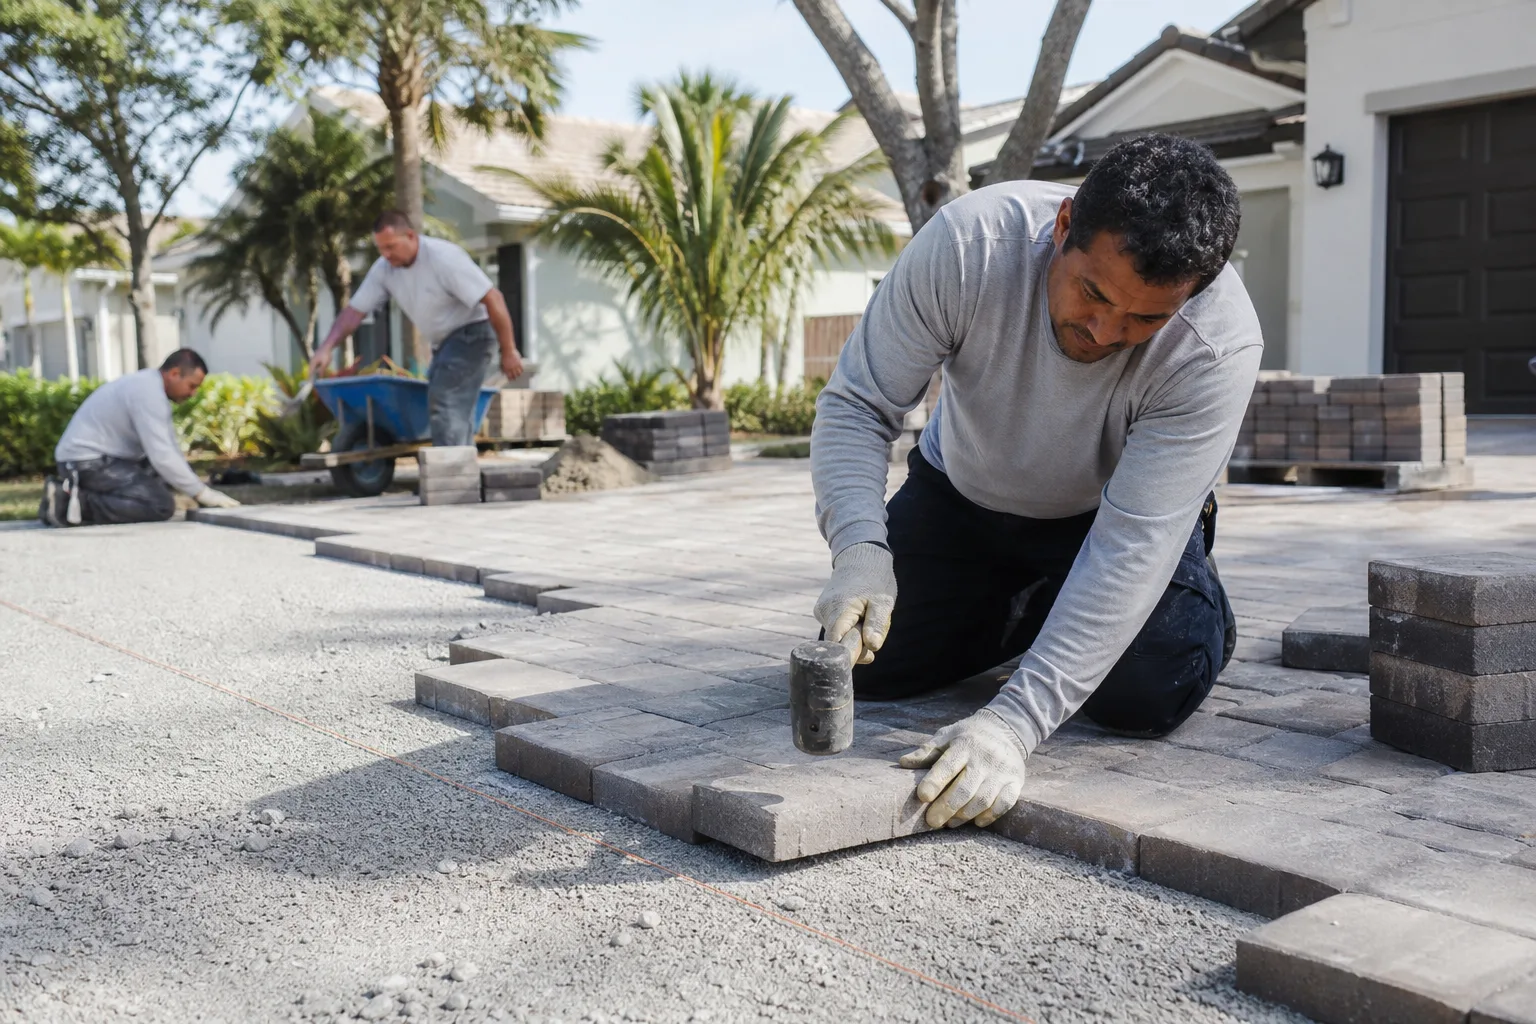
Almost every paver problem that isn’t joint sand erosion or edge restraint failure traces back to the base. The base is the layer of compacted aggregate below the bedding sand. When the base is right, a paver driveway lasts decades. When it’s wrong, the surface follows.
Base failure has a few warning signs you can see from the surface:
- Ponding water after rain. Water sitting on the surface in the same spots after every storm means the finished grade has a low spot. Low spots are base failures wearing a raincoat.
- Hollow sound underfoot. Tap a paver with your shoe. A solid ring is good. A hollow thud means the paver has separated from the bedding layer below.
- Pavers that stay loose after you re-set them. Re-setting a paver means lifting it, adding sand, and tamping. If it rocks again within a month, the base below it is compromised and no amount of re-setting will fix it.
- A dip you can feel when you drive in. Tires are the best base test. If you feel a bump or a drop on your own driveway in the same place every day, measure it. Anything over a half inch is worth investigating.
- Weeds growing through the joints in the center of the drive. Weeds sprout where the joint sand has opened up. When they show up in the middle instead of the edges, it’s the surface and base under the sand that has given up.
In Fremont, the base issue we see most often involves the transition between the driveway and the garage slab. That’s where runoff concentrates, and where a base that wasn’t compacted in lifts will settle faster than the rest of the drive. If your paver driveway meets the garage slab with a small step or a ridge, that’s usually a sign the transition was never properly graded and compacted.
Why Fremont’s Climate Wears Driveways a Specific Way
Fremont’s weather looks forgiving compared to most of the country. We don’t get hard freezes, we don’t get blistering summers, and we don’t get the deep clay shrinkage you’d see in the Central Valley. But we get something specific: a long dry season followed by concentrated winter rain, and that swings the water table under a driveway hard enough to move things.
The pattern we see in Fremont driveways follows a predictable calendar:
- June through September: the base dries and shrinks slightly. Joint sand loosens and blows out in the wind. Nothing looks wrong yet, but the driveway is already getting ready for problems.
- October through November: first real rains. Water finds every gap in the joint sand and the edge restraint and starts moving bedding material.
- December through March: the wet season. Water pools in any low spot, scours behind the edge restraint, and saturates the base. This is when the visible damage shows up – usually as center sinking, corner lifting, or straight-line joint sand loss.
- April and May: the driveway dries out and looks better than it did in February. This is the trap. The structural damage is done, but the visual severity drops, so homeowners wait another year before calling anyone.
The Fremont-specific lesson is to inspect in the dry months and repair in the dry months. If you call a contractor in February, you’ll get a diagnosis of damage that’s already happened. If you call in May or June with photos from the winter, you’ll get a repair plan done before the next wet season. That’s the difference between a targeted fix and a full rebuild.
What to Photograph, Write Down, and Say When You Call
The single biggest difference between a productive estimate visit and an upsell is the documentation you hand over. When a homeowner calls us in Fremont and leads with “my driveway looks bad,” we have to guess. When a homeowner calls and says “the border is migrating on the west edge and the joint sand has been washing out along a straight line for two seasons,” we can plan.
Here’s what to gather before you call:
- One wide shot of the whole driveway from the street, taken on a day when it’s dry. This shows the overall layout, the slope, and any drainage features.
- Close-ups of the specific damage. A paver that rocks, a joint that’s missing sand, a border that’s moved, a paver that’s cracked.
- A shot after rain. Photograph the driveway 30 minutes after a good rain, from the same spot as your wide shot. Ponding shows up clearly there, and it’s the single most useful photo you can take.
- A photo of the edge restraint. From ground level, looking along the outside edge of the driveway. Any tilt, gap, or loose spike will show.
- Notes on when it started. “The sinking got noticeably worse after the rains in January” is more useful than “it’s been going on a while.”
When you call, frame it as a specific problem, not a general complaint:
“I have a paver driveway with center sinking in the tire tracks, and I’m worried it’s a base issue. I’d like a diagnosis and a written estimate with the scope in writing.”
That framing is fair to the contractor and protects you. Any honest operator will respect it. Ask for a written estimate with the scope, the materials, and the line-item pricing on paper before a crew shows up. If a contractor won’t put it in writing, that’s the diagnosis you need to hear about them. Our Barrett & Sons Construction Fremont home page lays out how we handle written scopes on every job.
Repair or Replace? Reading the Severity of What You See
Not every warning sign means a new driveway. The trick is matching the sign to the fix. Here’s how we read severity in Fremont:
- Joint sand loss (random): maintenance. Top up the sand with a stabilized joint sand at the start of the dry season, no contractor needed.
- Joint sand loss (straight line): moderate. Needs a drainage diagnosis before re-sanding, or the sand washes out again next winter.
- Edge restraint lifting or leaning: moderate. Usually a one-day repair with a new restraint strip and re-spiked fasteners.
- One or two rocking pavers: moderate. Can be lifted, re-bedded, and tamped, but only if the base below is solid. Otherwise the fix is temporary.
- Center sinking under a foot: serious. The base needs a targeted rebuild, not a surface patch.
- Border migration plus center sinking plus linear cracking: full reconstruction territory. The driveway is telling you the base is done.
The economics are simple. A targeted repair inside the first 18 months typically runs a fraction of what a full rebuild costs. Waiting until the driveway looks bad almost always moves the answer to rebuild. That’s the entire reason this guide exists: reading early signs is worth real money over a decade of ownership. The materials matter too. When we rebuild a base in Fremont, we cap it with pavers from established hardscape manufacturers, not off-brand product, because the surface quality only matters if the base underneath holds.
Common Mistakes to Avoid
- Re-setting a rocking paver without checking the base. Re-bedding a paver that has already lost its base is a two-week fix on the surface and a two-year problem underground. If the paver rocks again after a month, the problem is below, not in the joint.
- Pressure washing at full power. A 3,500 PSI washer on a paver drive strips joint sand, widens joints, and pushes water under the edge restraint. Use a low-pressure fan tip under 1,500 PSI, or hire a washer who knows the surface is pavers.
- Ignoring the dry-season inspection. Fremont winters hide damage; springs reveal it. Waiting until the damage is visible in the spring means you’re paying to rebuild what could have been repaired the summer before.
- Topping up joint sand without fixing the drainage. If the sand is eroding in a straight line, adding more sand without diagnosing the water flow just resets the clock for another winter. Fix the water path first, then re-sand.
- Pulling a permit-free rebuild. A paver driveway rebuild in Fremont typically requires a permit if it involves grading, drainage changes, or the base rebuild. Doing it without a permit risks an inspection issue at resale and a voided warranty on the work. Pull the permit.
- Accepting a phone quote. A driveway can’t be estimated from a phone call. Any contractor who quotes a total before seeing the drainage and the base is either guessing high to protect himself or guessing low to win the job and invoice the difference later.
- Not asking for the scope in writing. An allowance that isn’t on paper is a surprise waiting for a date. Every material, every layer of base, every drainage detail belongs in the written estimate scene before the first paver is lifted.
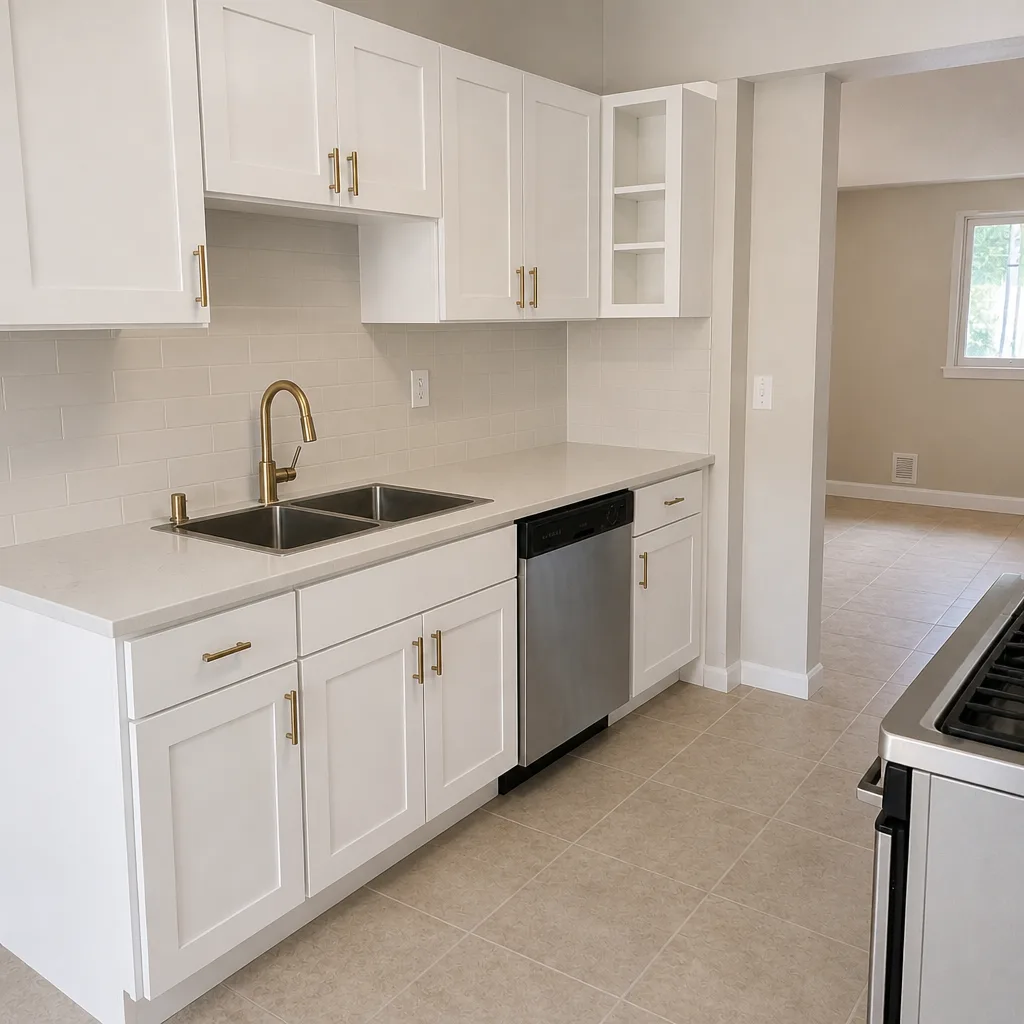
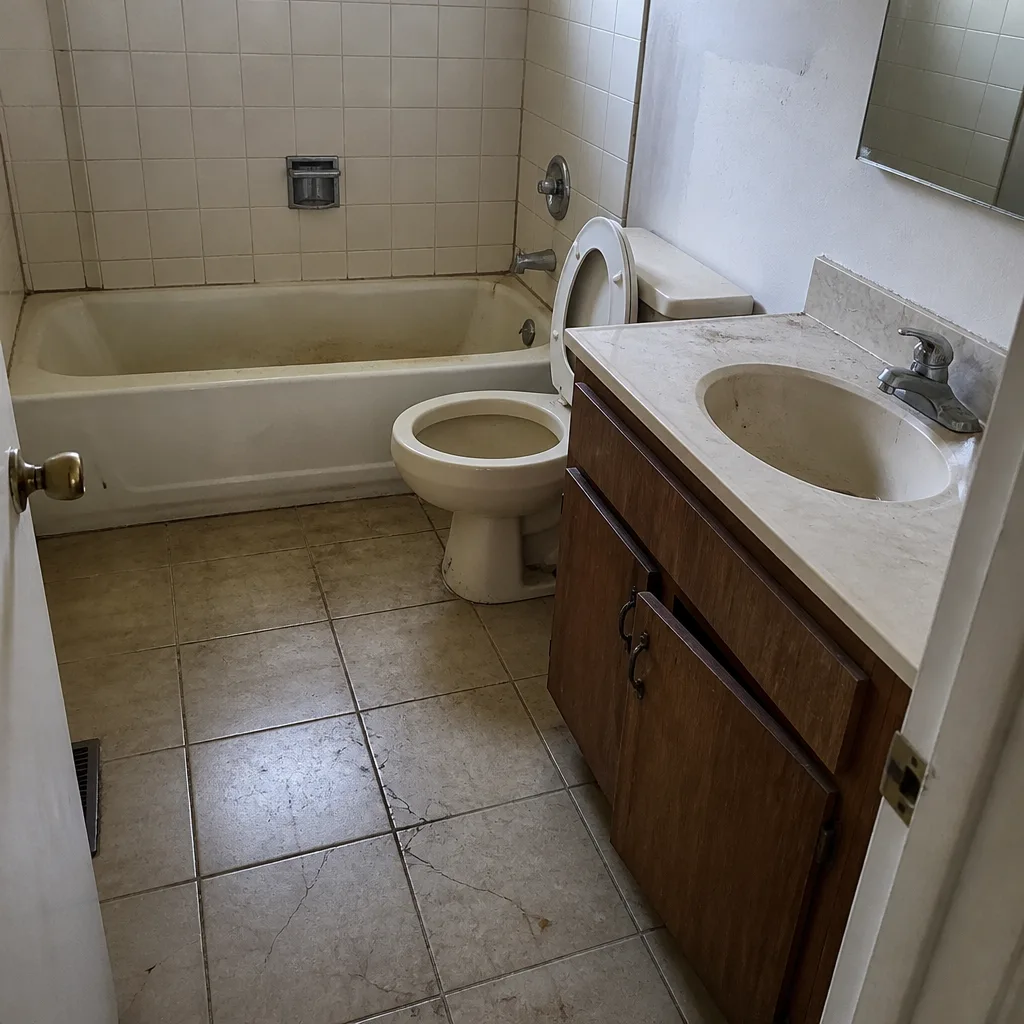
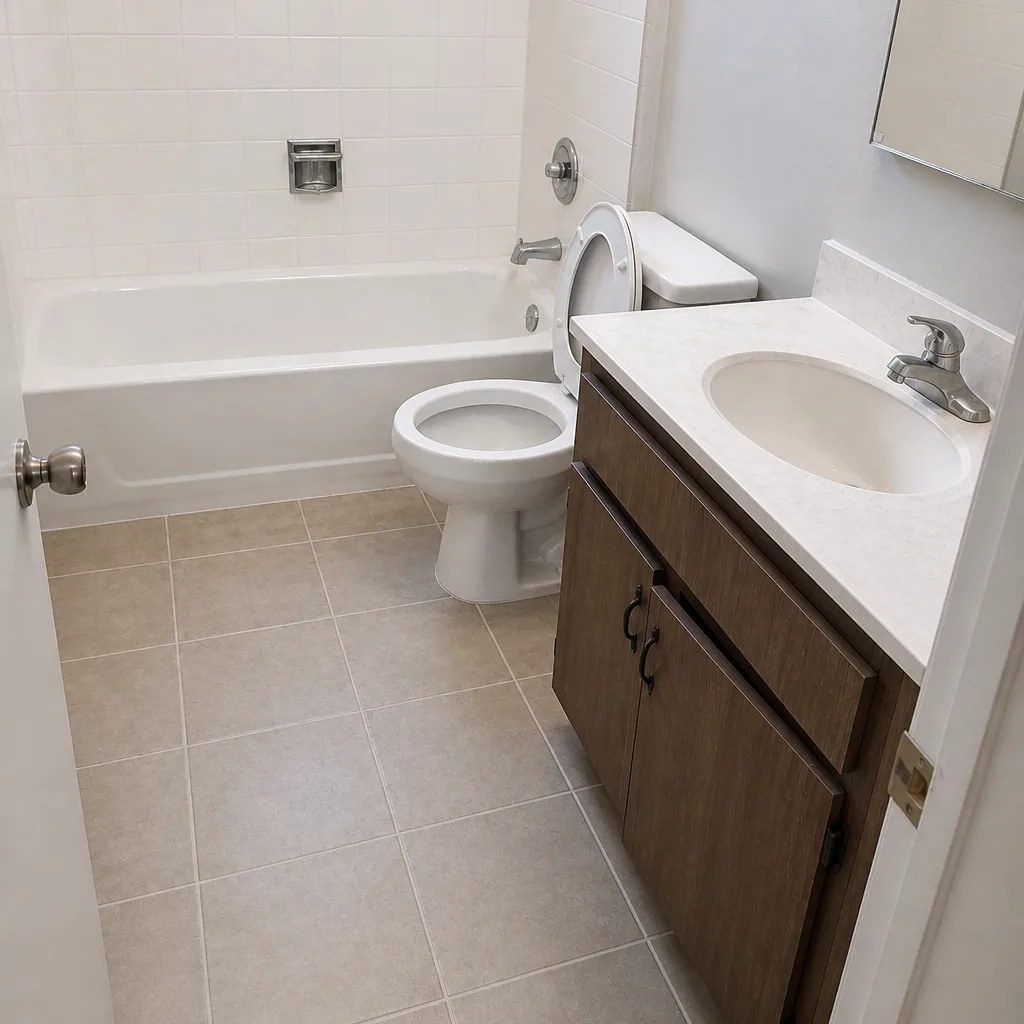
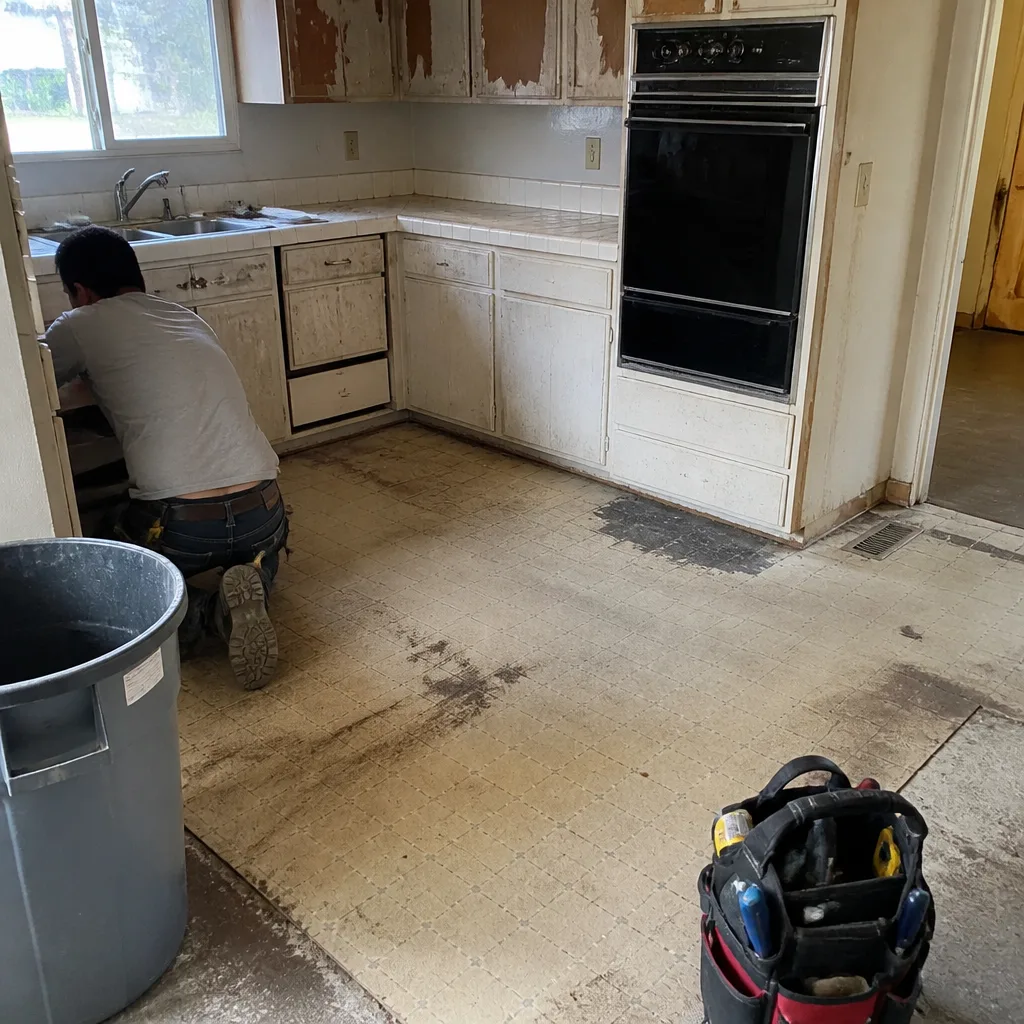
See the difference
 Before
 After
 Before
 After
 Before
 After
When to Call a Professional
Call a contractor if you see any of the following: a paver that stays loose after you’ve re-set it once, joint sand that erodes in a continuous line for two rainy seasons, an edge restraint that’s visibly leaning or lifting, a center dip you can feel when you drive in, or a border that has moved more than a quarter inch in a year. Those patterns are the ones where DIY resealing and re-setting just reset the clock. If your driveway meets the garage slab with a step or ridge, call before the next wet season, because that’s the transition most likely to fail in Fremont. Barrett & Sons Construction Fremont offers free estimates in Fremont. Call (833) 620-6162 to schedule yours, and have your photos ready.
If your driveway ties into a fence line or a new addition, the same conversation applies. Our Fence Installation in Fremont page covers how we handle the transition between hardscape and fence, and the Home Additions & ADU in Fremont page covers driveway tie-ins on larger projects. The driveway is often the first thing that moves when a foundation or addition changes the grade, so it’s worth having one contractor look at both.
Frequently Asked Questions
A paver that rocks after you’ve re-set it once is the earliest reliable sign of base failure. Re-setting a paver means lifting it, checking the bedding, and tamping it back down. If it rocks again within a month, the base beneath is compromised. That’s the sign to photograph and call a contractor about, because the fix is usually targeted and much cheaper than waiting for the neighborhood to notice.
A properly built paver driveway in Fremont, with a compacted base and a functioning edge restraint, typically lasts 25 to 35 years before it needs major work. The pavers themselves can last longer, but the joint sand needs topping every few years and the edge restraint needs checking every few seasons. The number that matters more is the base, because that’s what fails first if the original install was rushed.
Yes, in a random pattern, that’s normal wear and it’s why we recommend topping up joint sand every few years. Straight-line joint sand erosion is not normal, and it means water is channeling through the surface. Straight-line loss needs a drainage diagnosis, not just more sand, or the sand will be gone again by the next wet season.
Yes, at low pressure. A pressure washer at full power, usually 3,000 PSI or higher, strips joint sand out of the driveway in one pass. Use a wide fan tip and keep the pressure under 1,500 PSI, and wash downhill from the top of the slope. If you hire a washing crew, tell them it’s a paver surface and ask what pressure they use before they start.
At Barrett & Sons, no. Every scope, every allowance, and every price change arrives as a written change order before the work happens. That’s not a marketing line, that’s a written commitment. If you’re getting other estimates, ask the question directly: “If you open the base and find something you didn’t expect, what happens to my price?” The answer tells you what kind of contractor you’re dealing with.
Yes. Any eligible driveway job that involves grading, drainage changes, or a base rebuild gets the permit pulled and the inspection signed. Permits are often skipped by contractors who tell homeowners they’re “optional.” The permit inspector works for you, not for the contractor, and that inspection is worth having on record at resale. Call (833) 620-6162 for a free estimate on Fremont driveway work.
The Bottom Line
Most driveway failures give you a long, quiet warning. The paver that rocks after re-setting, the joint sand that erodes in a straight line, the edge restraint that leans, the dip in the center of the drive: each one is a specific signal about a specific cause underneath. Reading those signals early is the difference between a targeted repair and a full rebuild, usually a savings of thousands of dollars over the life of the driveway. Fremont’s dry-then-wet seasons make early reading even more valuable, because the damage hides in spring and shows up in winter. Photograph the pattern, write down the timing, and call with a specific problem. Call (833) 620-6162 for a free estimate on your driveway with the scope in writing, no surprises at the end.
Written by the team at Barrett & Sons Construction Fremont.