Last updated November 17, 2026





Free written scope consultation - allowances, timeline, and change-order rules on paper before a single trade is scheduled
Fence Installation Troubleshooting: Common Problems and How to Fix Them
A gate that swings open on its own isn’t a latch problem. It’s a post problem, and that post has almost certainly moved because of something underground that never got dealt with at installation. We’ve re-set enough leaning fences in Fremont to know the pattern: homeowners spend an afternoon shimming a hinge or propping a post, the symptom disappears for a month, and then the same failure shows up three panels down. Fix the cause, not the symptom, and the fence stops asking you for attention.
This guide teaches you how to read a failing fence like a contractor does. You’ll learn to tell surface rot from below-grade rot, know when a leaning section can be re-plumbed for a few hundred dollars versus when it needs new posts for a few thousand, and understand the gate geometry that tells you whether you need a hinge tweak or a full re-hang. If you’re weighing repair against replacement, our Fence Installation in Fremont page covers materials and cost ranges in more detail.
Quick Answer
Most leaning, sagging, and rotting fence problems trace back to the original post installation: too shallow a footing, a footing poured in soil that drains poorly, or a post set directly in dirt with no clearance from the ground. A leaning fence can usually be re-plumbed if the post still holds in the ground and the wood is sound; it needs new posts if the post has rotted below grade or the concrete has heaved. Diagnosing which problem you have before you touch anything saves you somewhere between a few hundred and a few thousand dollars.
Styles & brands we work with
- Kitchen remodeling
- Bathroom remodeling
- Home additions & ADU
- Roofing
- Windows & doors
- Driveway & pavers
- Fence
Table of Contents
- How to Read a Failing Fence Before You Fix Anything
- Diagnosing Post Failure by Type: Surface Rot, Below-Grade Rot, Concrete Heave, and Improper Depth
- The Gate Geometry Checklist: Hinge Adjustment, Post Repair, or Full Re-Hang
- Why Painting or Staining Over Surface Checks Can Make Rot Worse
- Re-Plumb or Replace? The Decision That Saves You Thousands
- Why Fremont Soil and Weather Move Posts More Than You’d Think
- Photograph Everything: Building a Record for Warranty Claims
- Choosing Installers Who Get the Underground Work Right the First Time
How to Read a Failing Fence Before You Fix Anything
A single failing panel is telling you something. Read it before you reach for a wrench. Start at the ground and work up. Look at the base of the post where it meets soil or concrete: is there a gap? A crack in the concrete running away from the post? Soil pulled away in a cone shape? Each of those points to a different cause, and each cause has a different cure.
Then check the horizontal members. A rail that has separated from the post, a picket that has dropped, a top rail that bows toward the neighbor’s yard: these all suggest the posts on either end are moving relative to each other. When we see a fence failing in a repeating pattern every third or fourth post in a Fremont yard, we know the installer used a consistent footing depth that wasn’t below the frost or drainage line for that specific soil.
Here’s how to walk the fence line systematically:
- Walk both sides. The downhill side tells you more about drainage than the uphill side.
- Push-test each post with your hand at shoulder height. A post that moves more than about half an inch needs investigation.
- Check the ground at each post base. Note cracks, gaps, erosion, or concrete that has lifted.
- Look up. A post that’s straight at the base but tilted at the top means the footing has rotated, not settled uniformly.
- Check hardware. Rusted fasteners with sound posts usually mean installation used the wrong fasteners, not that the fence is failing.
Write down what you find, post by post. This beats guessing when you talk to a contractor or decide to do it yourself. And if the whole fence is at this stage, weighing repair versus replacement up front is worth an hour of your time.
Diagnosing Post Failure by Type: Surface Rot, Below-Grade Rot, Concrete Heave, and Improper Depth
Not all post failures are the same, and lumping them together is the most common mistake we see homeowners make when they try to fix a fence. Here’s how to tell them apart.
Surface Rot
Surface rot shows as soft, chalky, or crumbling wood in the top inch or two of the post, usually just above the soil line. Push a screwdriver into the wood about a quarter-inch in. If it goes in easily but stops, that’s surface rot. This kind of rot often looks catastrophic but is fixable with a post-saver sleeve or a section splice that adds a treated post scrap alongside the existing one. The underground portion of the post usually still has structural strength.
Below-Grade Rot
Below-grade rot is the silent killer. The wood below the soil line has rotted through, often because the original installer set a standard pressure-treated post directly in dirt instead of using a concrete footing or a post base above grade. The post looks fine above ground for years. Then one day a windstorm leans the whole section. The only reliable test: dig down six to eight inches alongside the post and probe the wood. If your screwdriver sinks two inches in, the post is done. Don’t try to save it.
Concrete Heave
Concrete heave shows as a cracked or lifted concrete collar around the post. This happens when water gets into the footing during freeze cycles (rare in Fremont) or, more commonly here, when soil expands and contracts with seasonal moisture against a footing that was poured too shallow or too narrow. Heave means the footing has lost its grip on the post. The post itself may be sound, but the whole assembly has failed. Re-set the footing, don’t just shim.
Improper Depth
Improper depth is a design failure, not a material failure. Post footings in most of the Fremont area need to go down somewhere between 24 and 36 inches below grade, depending on soil type and local code, and the hole needs to be wider than the post by at least twice the post diameter. A footing that’s only 18 inches deep holds up for two or three dry years and then starts moving when the soil settles. You can usually spot this only by pulling a post. If you’ve had posts fail repeatedly in the same fence line, this is your answer.
The Gate Geometry Checklist: Hinge Adjustment, Post Repair, or Full Re-Hang
A sagging gate is a diagnostic problem before it’s a repair problem. Run through this checklist in order. Stop as soon as you find the answer.
- Check the diagonal. A gate that’s out of square will drag regardless of hinge quality. Measure corner-to-corner in an X. If the two measurements differ by more than a quarter-inch, the gate frame has racked and needs a brace or a rebuild.
- Check the hinge posts. Push-test each post independently. If either moves, you have a post problem, not a hinge problem. Fix the post first. A hinge bolted to a moving post will fail again within a season.
- Check the hinges themselves. A hinge that’s bent, rusted, or missing a pin needs replacement. Hinges that swing freely but the gate still drags aren’t the problem.
- Check the gap on the latch side. A uniform gap means the gate is square in the frame and the problem is hinge wear or post movement. A gap that’s tight at the top and wide at the bottom means the gate has dropped; replace the hinges.
- Check the gate weight. A solid wood gate more than 42 inches wide needs three hinges, not two. If your gate is heavy and only has two hinges, that’s a design flaw, not a failure.
Only when the posts are solid and the gate is square do the hinges become the real fix. Hinge adjustment is a fifteen-minute job and a ten-dollar part. Post repair is a half-day job and a couple hundred dollars. Full re-hang is a day or two and can run several hundred or more. Knowing which one you need before you call anyone keeps you from paying for the wrong solution.
Why Painting or Staining Over Surface Checks Can Make Rot Worse
This one costs homeowners more money than any other mistake on this list. A wood fence develops small cracks (checks) as it dries and expands through seasonal moisture cycles. Painting or staining over those checks before the wood has fully dried traps moisture inside. The moisture feeds rot from the inside out, and when the rot finally shows through the finish, the wood under the paint is already gone.
The rule we follow on every fence: never apply finish to wood that hasn’t had a week of dry weather and hasn’t been moisture-tested. Here’s how to check:
- Press a piece of clear plastic against the wood for 24 hours. Condensation on the underside means the wood is still holding moisture; wait.
- Test a small hidden spot with a moisture meter. Below 15% is safe to finish. Above 20% is not.
- Sand over checks lightly before finishing, but don’t fill them with caulk. Caulk over a check traps moisture and looks worse in a season.
- Use a penetrating finish (oil-based wood stain) rather than a film-forming finish (heavy paint) on any wood fence that goes through wet-dry cycles. Penetrating finishes let wood breathe.
If your fence is going up this spring, the finish decision matters at installation time. Installers who finish too early and tell you it’s fine are giving you the first sign that they’ll cut other corners, too. In Fremont’s dry summers and wet winters, the wood needs to dry slowly for two to three weeks after installation before any finish goes on. A quality installer using James Hardie fiber cement or a pre-finished composite skips the timing risk altogether, which is one reason we lean that direction on West Coast jobs.
Re-Plumb or Replace? The Decision That Saves You Thousands
This is the question that separates a few-hundred-dollar fix from a few-thousand-dollar rebuild. Here’s how to answer it without guesswork.
A leaning fence section can usually be re-plumbed if all of the following are true:
- The post won’t budge more than about half an inch when you push-test it at shoulder height.
- Digging down six inches alongside the post shows sound wood or a solid concrete footing.
- The panels on either side of the failing post are still square in their frames.
- The failing section is one or two consecutive posts, not a repeating pattern along the whole fence.
It needs new posts if any of the following are true:
- The post has rotted below grade (probe test shows soft wood under soil).
- The concrete footing is cracked or lifted.
- Three or more consecutive posts are failing.
- The fence is more than fifteen years old and made from standard pressure-treated pine, which rarely lasts past twenty in Fremont’s mix of wet winters and dry summers.
Re-plumbing a section usually runs a few hundred dollars for a pro to do properly (footing grout, new hardware, brace). New posts, footings, and panels for the same section run into the thousands. Getting this decision right the first time saves you from paying twice.
Why Fremont Soil and Weather Move Posts More Than You’d Think
Fremont sits on a patchwork of soil types – adobe clay in some parts of town, sandy alluvium near the bay, and fills or old orchard soils in a lot of the established neighborhoods. Adobe clay expands significantly when wet and shrinks when dry. That cycle, repeated over years, works a poorly-set post loose. A footing poured in clay without the right diameter-to-depth ratio will eventually start to rock, no matter how good the post is.
In the older neighborhoods, we regularly see posts from the 1980s or 1990s set eighteen to twenty inches into the ground, some of them not even in concrete. They held for twenty years because the climate was forgiving. They’re failing now in clusters, often after a wet winter that pushed clay against the footings and then pulled back in the summer.
If you’re in one of the neighborhoods with heavy clay, plan on a deeper footing when you install or repair. If you’re near the bay or on sandy soil, plan on a wider footing. A contractor who quotes the same footing depth for every fence in Fremont isn’t reading the soil. Ask them what depth they use and why. A straight answer tells you a lot about the rest of the work.
Photograph Everything: Building a Record for Warranty Claims
Before your repair, take photos. After your repair, take photos. If anything goes wrong later, those photos are your proof.
Here’s what to photograph:
- Every post base before and after any work. Close enough to show the wood-to-soil transition clearly.
- Every gate hinge and latch before and after any adjustment.
- The overall fence line from three angles: one from each end, one from the center pointed along the line.
- Any hardware you removed, laid out flat, before you throw it away.
- The date stamp on a piece of mail or a newspaper in at least one shot per session, so the timeline is clear.
If you hire a contractor, ask for a written note on what was found and what was done. A written scope is what holds up when a warranty question comes up, whether that’s a product warranty on the wood or a workmanship warranty on the install. Every job we do comes with a written scope and a written change order if anything shifts mid-job, and that record is what you’ll want if the same fence asks for attention again.
Choosing Installers Who Get the Underground Work Right the First Time
The best fence conversation is the one you don’t have to have in five years. Everything in this guide is really about one thing: getting the underground work right the first time. That means footings sized to the soil, post bases that keep wood above grade, and hardware rated for what it’s holding.
Before you sign a fence quote in Fremont, ask three questions:
- What footing depth are you using for my soil type, and why?
- Are you setting posts in concrete or using a screw-pile or post-base system, and what’s the drainage plan?
- What’s the written scope, and what happens if the price changes?
A contractor who answers those questions in plain English, with a real number for footing depth and a written scope you can read that night, is likely to do the underground work well. One who hand-waves and says “we’ve been doing this a long time” isn’t giving you anything you can verify.
If your project has grown past fence repair into retaining walls, patios, or a new driveway to match, look at our Driveway & Pavers in Fremont page. If the yard work is part of a bigger picture, our Home Additions & ADU in Fremont service covers what a new structure means for fence lines and setbacks. And for the full picture of what we do around Fremont, start at the Barrett & Sons Construction Fremont home page.
Common Mistakes to Avoid
- Shimming a leaning post instead of fixing the footing. A shim transfers load to a footer that’s already failed. It buys you a season, not a decade.
- Painting over checks before the moisture is gone. Two weeks of dry weather before finish, every time. A moisture meter costs less than one call-back.
- Bolting a new hinge onto a moving post. The hinge isn’t the problem if the post is moving. Post first, hinge second, always.
- Replacing one failing post when it’s a repeating pattern. If posts every third panel are failing, the footings on the whole run are too shallow. One replacement becomes five within two seasons.
- Skipping the permits on a structural repair. A fence is a permitted structure in most of Fremont, and repairs that change post depth or footing often trigger an inspection. Called-out inspections are how you know the depth is right.
- Choosing finish color before choosing finish type. A penetrating finish and a film-forming paint behave differently on West Coast wood. Pick the type first, color second.
- Not writing down what was found. Photos and a written note are your warranty file. Five minutes now saves a call later.
See the difference
 Before
 After
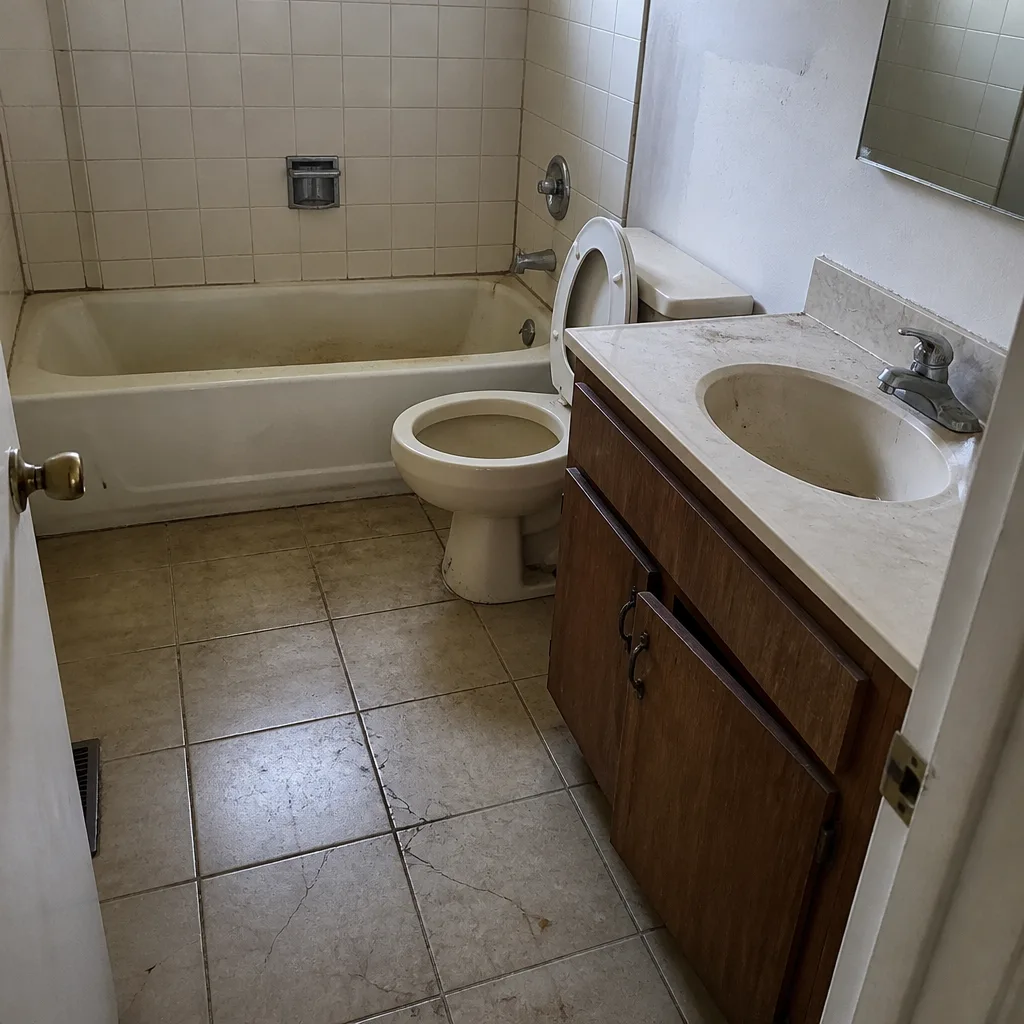 Before
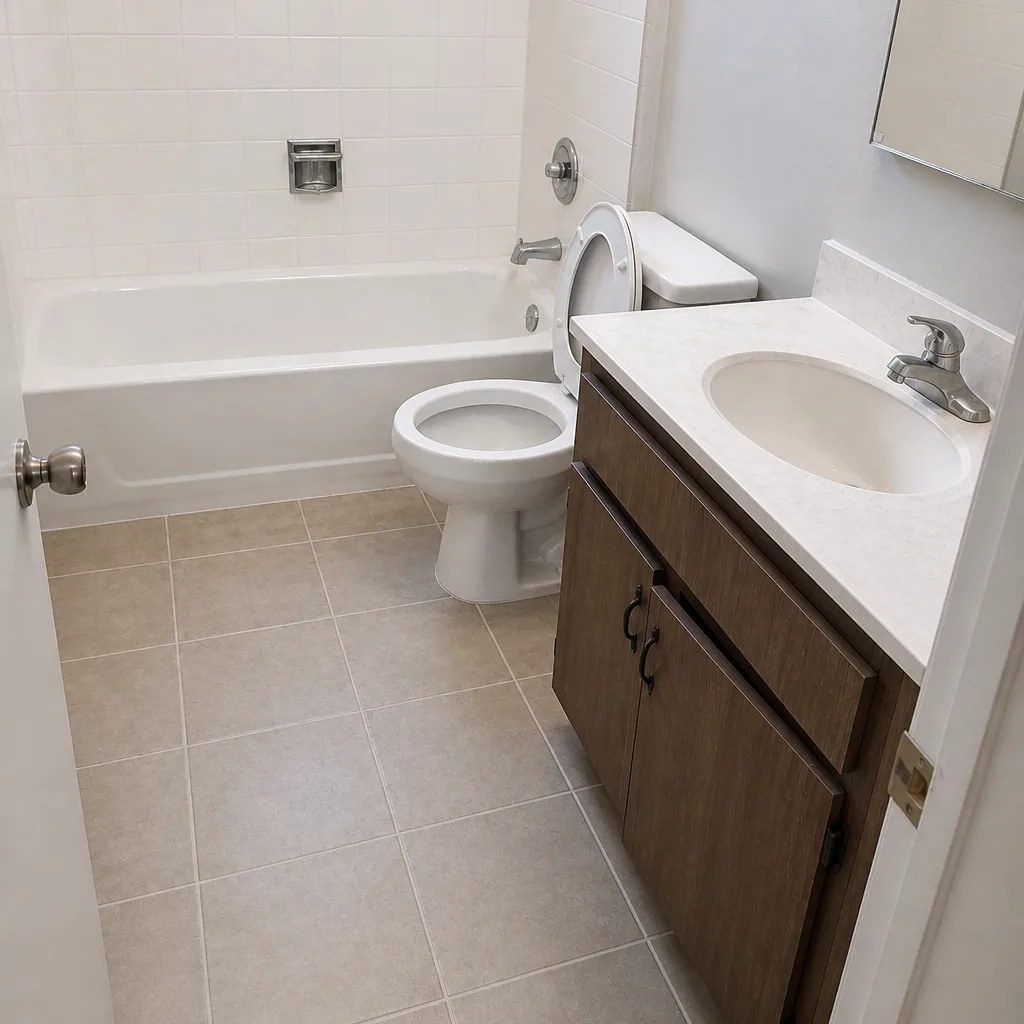 After
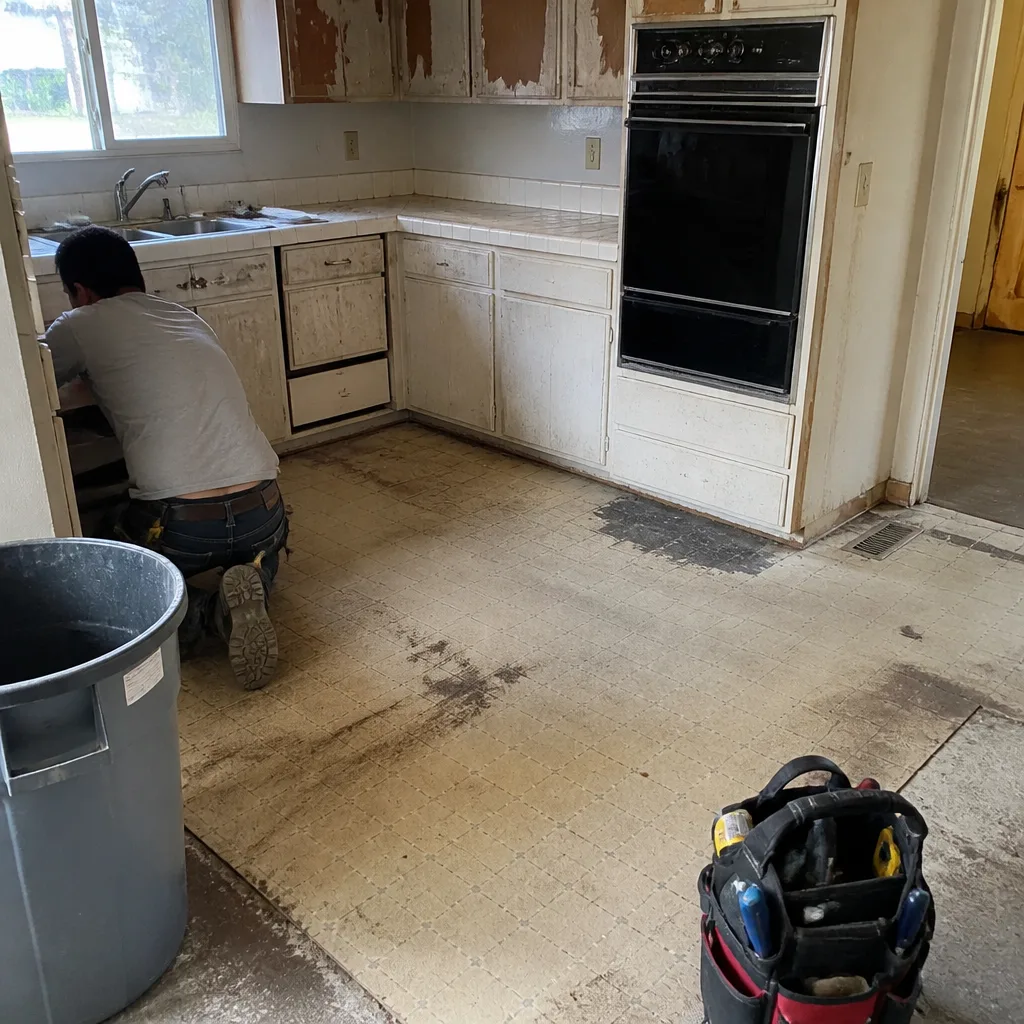 Before
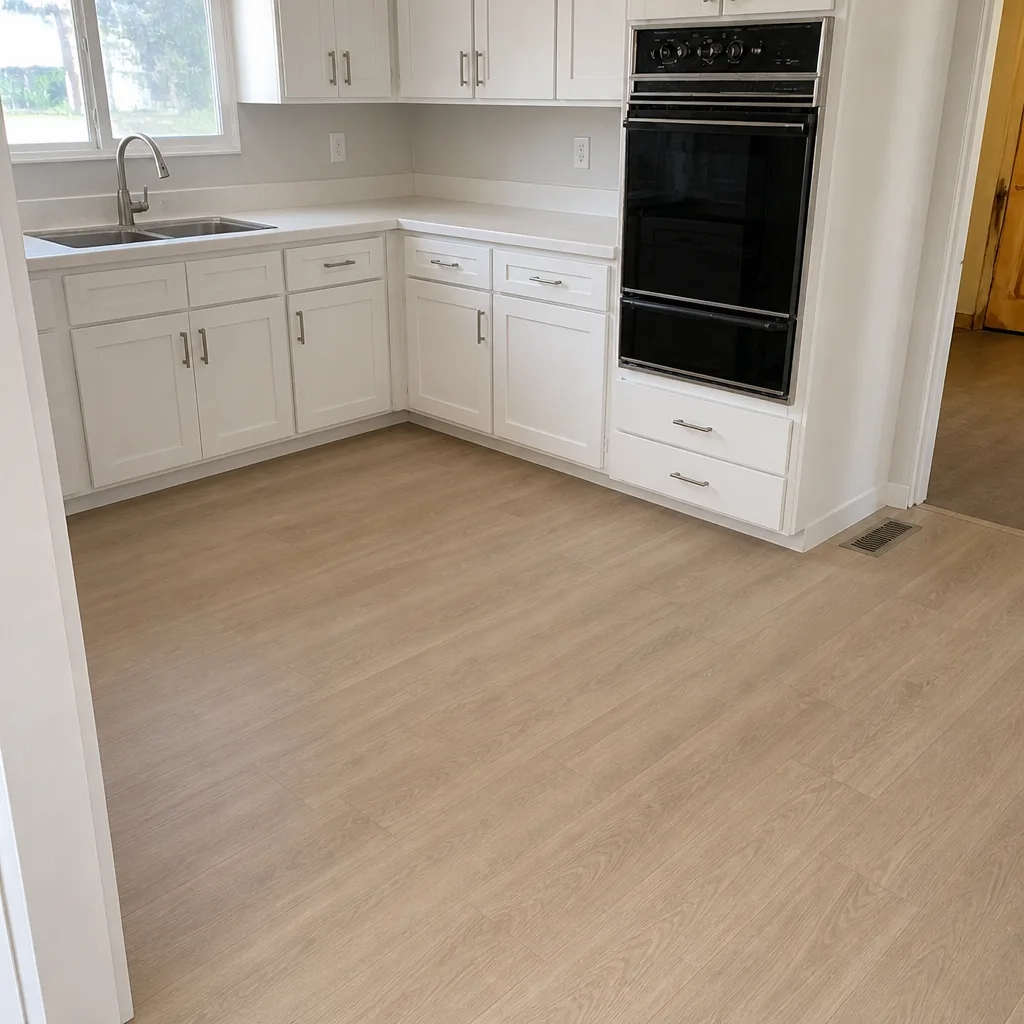 After
When to Call a Professional
Some fence repairs are a homeowner job. Bolting a new hinge, replacing a picket, sanding and re-finishing – those are fine with a Saturday morning and a hardware store list. Call a professional when the problem is below ground or structural. That means: any post you can push more than half an inch, any post that probes soft below grade, any footing that’s cracked or lifted, any gate that’s out of square, and any repair that pulls a post out of existing concrete. Digging up footings in a Fremont adobe-clay yard is a different job than it looks, and re-pouring a footing to the right depth and width is worth getting right the first time. If you’ve had the same problem come back twice, that’s your signal to bring in help.
Barrett & Sons Construction Fremont offers free estimates in Fremont – call (833) 620-6162. We’ll come out, walk the fence, and tell you honestly whether it’s a repair or a replacement. Every job we do pulls the permits, gets inspections signed, arrives with a written scope, and is backed by the written 90-Day Done Right Promise. No surprises, no change orders you didn’t see coming.
Frequently Asked Questions
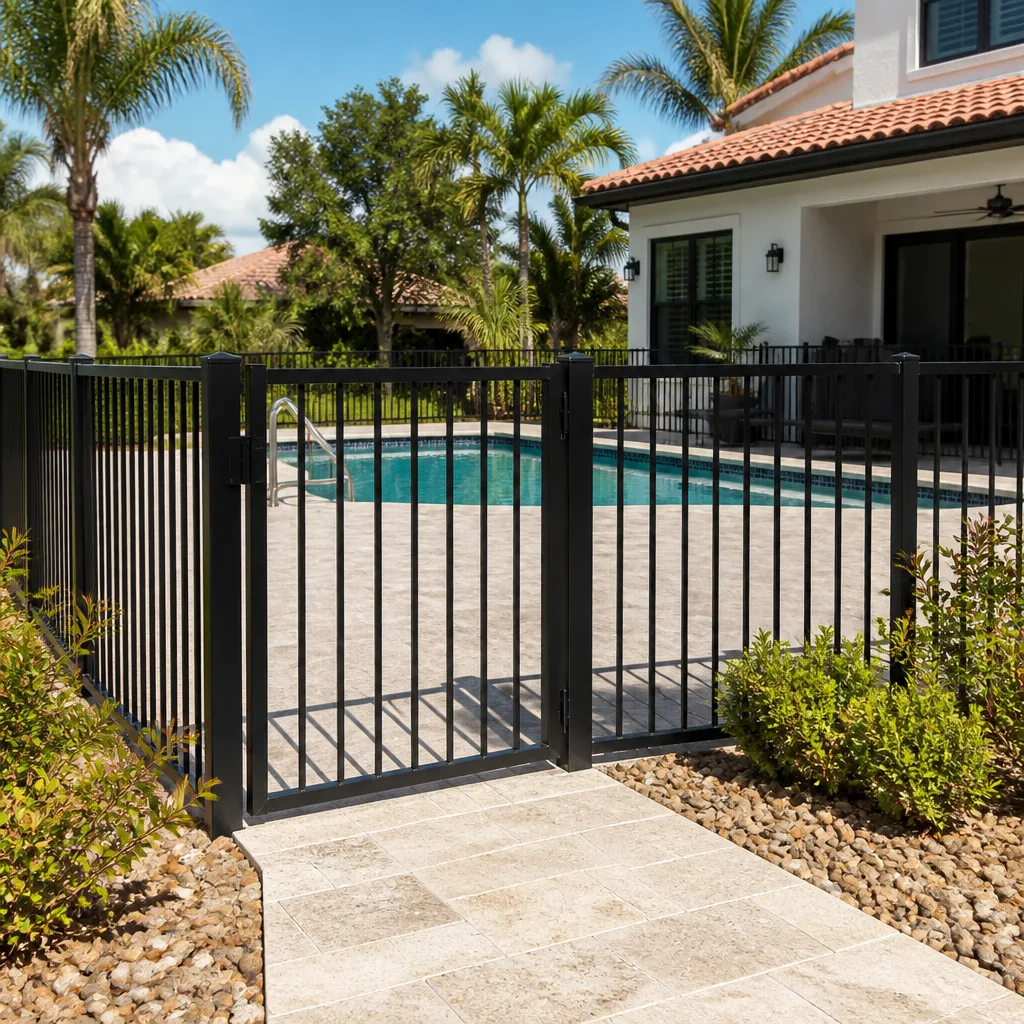
Repairing a single post – pulling it, re-setting the footing to proper depth, and re-hanging the panel – usually runs a few hundred dollars per post when done properly, and re-plumbing a leaning section without replacing posts often comes in under a thousand for a small run. Full post-and-panel replacement runs into the thousands for the same length. The difference is whether the wood below grade is still sound. Call (833) 620-6162 for an exact quote on your fence – estimates are free.
You can sometimes stabilize a leaning post without pulling it, using a post brace driven alongside the existing post, but this is a temporary fix and shouldn’t be counted on to last more than a season or two. The permanent fix is a new footing at proper depth. If the post is only moving a little and the wood is sound, a brace might be worth doing as a stopgap while you plan the permanent repair. If the wood below grade is soft, no brace will hold it.
Not if the contractor works off a written scope. On any repair we do, if the scope shifts because we find something unexpected underground, you get a written change order before we pick up a tool. You know the new number before any work happens. Ask for that in writing from anyone you hire. Call (833) 620-6162 to schedule a free estimate.
Yes, on every job that qualifies. A fence is a structure, and any repair or replacement that changes the footing depth, post spacing, or fence height typically needs a permit and inspection in Fremont. The inspector who signs off on your fence works for you, not for us. That’s why we like him. If a contractor says permits are optional for a structural fence repair, that’s a red flag worth acting on.
Re-plumbing one leaning section is usually a half-day job. Replacing a single post with a new footing is a full day because the concrete has to cure before the post carries load. Multiple posts or a full gate re-hang can run two to three days. Weather matters: Fremont winters mean wet clay and slower cure times, so plan a few extra days if you’re doing this between November and March. Call (833) 620-6162 and we’ll give you a realistic timeline for your fence.
It depends on two things: how many posts are failing and how the wood below grade is holding up. One or two failing posts on an otherwise sound fence is usually worth repairing. Three or more consecutive failing posts, or a fence over fifteen years old with standard pressure-treated pine, usually means replacement wins on cost per year of service. We’ll walk the fence with you and give you an honest call, repair or replace, with a written scope on either. Call (833) 620-6162 for a free estimate.
The Bottom Line
Almost every fence problem homeowners call us about is a symptom of one root cause: something underground that wasn’t addressed at installation. A leaning post is a footing problem. A sagging gate is a post problem. A rotted rail is a moisture problem. Read the cause before you fix the symptom, and you won’t pay for the same repair twice. Get the footing depth right for your soil, keep wood above grade, and finish it only after the wood has dried. Get those three things right in Fremont and your fence will hold for the twenty-plus years it’s supposed to.
When it’s time to fix or replace, we’d like a chance to look at it. Barrett & Sons Construction Fremont is owner-operated, every eligible job pulls its permits and passes inspection, and every price change arrives as a written change order before work starts. Call (833) 620-6162 for a free estimate – and for a second opinion on any written estimate you’ve already got, bring ours in and we’ll compare them line by line. No trip charge inside the county. Our technicians have up to 28 years of experience, and every completed job carries the 90-Day Done Right Promise, written on the contract, not buried in fine print.
Written by the team at Barrett & Sons Construction Fremont.