Last updated November 17, 2026







Free written scope consultation - allowances, timeline, and change-order rules on paper before a single trade is scheduled
Home Additions & ADU Maintenance Schedule: What to Do and When
Here’s the part almost nobody tells you when the final inspection passes: the addition you just built or bought with the house is on its own clock. New lumber keeps moving for years. Fresh stucco and caulk joints flex with the first two summers. A detached ADU sits on its own foundation and often its own sub-panel, water heater, and mini-split, and none of that shares a schedule with your main house. In our experience around Fremont, the homeowners who catch problems early are the ones who wrote the maintenance dates down on day one. This guide gives you that schedule – year one, year three, and every year after – with the specific checks that matter for additions and ADUs.
Quick Answer
Additions and ADUs need a staged maintenance schedule, not a yearly checklist: heavy inspection in year one (settling, caulk lines, framing connections, flashing), a deeper review in year three (foundation, roof-to-wall transitions, utility connections), then annual checks every fall after that. The single most important recurring item is the flashing where your new roof meets the old – it’s the first place water gets in, and it usually fails silently.
Styles & brands we work with
- Kitchen remodeling
- Bathroom remodeling
- Home additions & ADU
- Roofing
- Windows & doors
- Driveway & pavers
- Fence
Table of Contents
- Year One: What Settles and What to Watch
- Year Three: The Deep Review
- Roof-to-Wall Flashing: The Check You Do Yourself
- Moisture Under a Detached ADU in Fremont’s Climate
- Utility-Specific Maintenance Most People Skip
- Which Tasks Protect Your Warranty (and Which Void It)
- The Annual Checklist, Every Fall
- Common Mistakes to Avoid
Year One: What Settles and What to Watch
A new addition is built with lumber that was milled wet and dried on a truck. By the time it’s framed and closed in, it’s still losing moisture, and that means the whole structure shrinks and shifts slightly for the first twelve to eighteen months. An ADU on a separate slab does the same thing on its own timeline. This isn’t a defect – it’s normal – but it’s why year-one maintenance looks different from year-five.
In the first year, focus on the joints that connect new to old:
- Caulk lines at all transitions. Where new stucco or siding meets the original house, where trim meets wall, and around every window and door on the addition. Walk these with a tube of paintable exterior caulk and a flashlight. Re-caulk any line that has opened more than a credit card’s thickness.
- Foundation hairline cracks. Small vertical cracks under a quarter inch on a new slab or stem wall are common settling. Horizontal cracks, or any crack that widens over a month, warrant a call.
- Framing connections you can see. In an unfinished garage, attic, or crawlspace, check that the hangers and ties where new framing ties into the old house haven’t backed off. A loose joist hanger nail is easy to spot and easy to fix early.
- Door and window operation. New doors that stick in July and free up in January are telling you the frame is still moving. Note it; don’t force it.
- Interior drywall seams. Hairline cracks at ceiling corners and above doorways are normal first-year movement. Patch them once and watch whether they return the following year.
Write the date of every check on the back of a folder. In Fremont, a folder that lives in the hall closet beats a phone reminder every time.
Year Three: The Deep Review
By year three, the addition has moved through at least two wet seasons and two dry ones. Most of the settling is done. This is the point where you stop watching for new-construction movement and start checking the building envelope and utility connections. It’s also the window where failing caulk and small flashing leaks become visible as stains rather than drips.
- Roof-to-wall flashing and every roof penetration. Look at the base of the chase, the skylight curbs, and the furnace vent boots. Any lifting, cracking, or gap in the sealant is a call to a roofer, not a weekend project.
- Gutters and downspouts. Confirm the addition’s downspouts still dump away from the new foundation and haven’t been knocked loose by the first few winters.
- Exterior paint and stain. New wood trim on an addition typically needs its first refresh at year three or four around Fremont, where the summer sun is hard on west-facing walls.
- Windows and doors under warranty. Open and close every window and exterior door on the addition and note anything stiff, drafty, or leaking. If your windows are Andersen or Marvin, their finish and seal warranties have windows of time for claims – use them before they close.
- Attic and crawlspace once more. Check for new moisture staining on rafters or floor joists, and confirm the insulation hasn’t settled or been pulled back by a contractor doing other work.
If your ADU or addition has its own water heater, HVAC, or sub-panel, this is also the year to confirm the manufacturers still honor their warranties and that you have the receipts filed. Contact info for the original installer belongs in the same folder.
Roof-to-Wall Flashing: The Check You Do Yourself
Here’s the hook that started this whole guide: the flashing where your new roof ties into the existing roofline will fail before anything else on the addition. Not because it was installed wrong, but because the old roof plane and the new one move at different rates with every heat cycle. The sealant that bridges them dries, cracks, and lets water in behind the siding – where you won’t see it until a ceiling stain shows up months later.
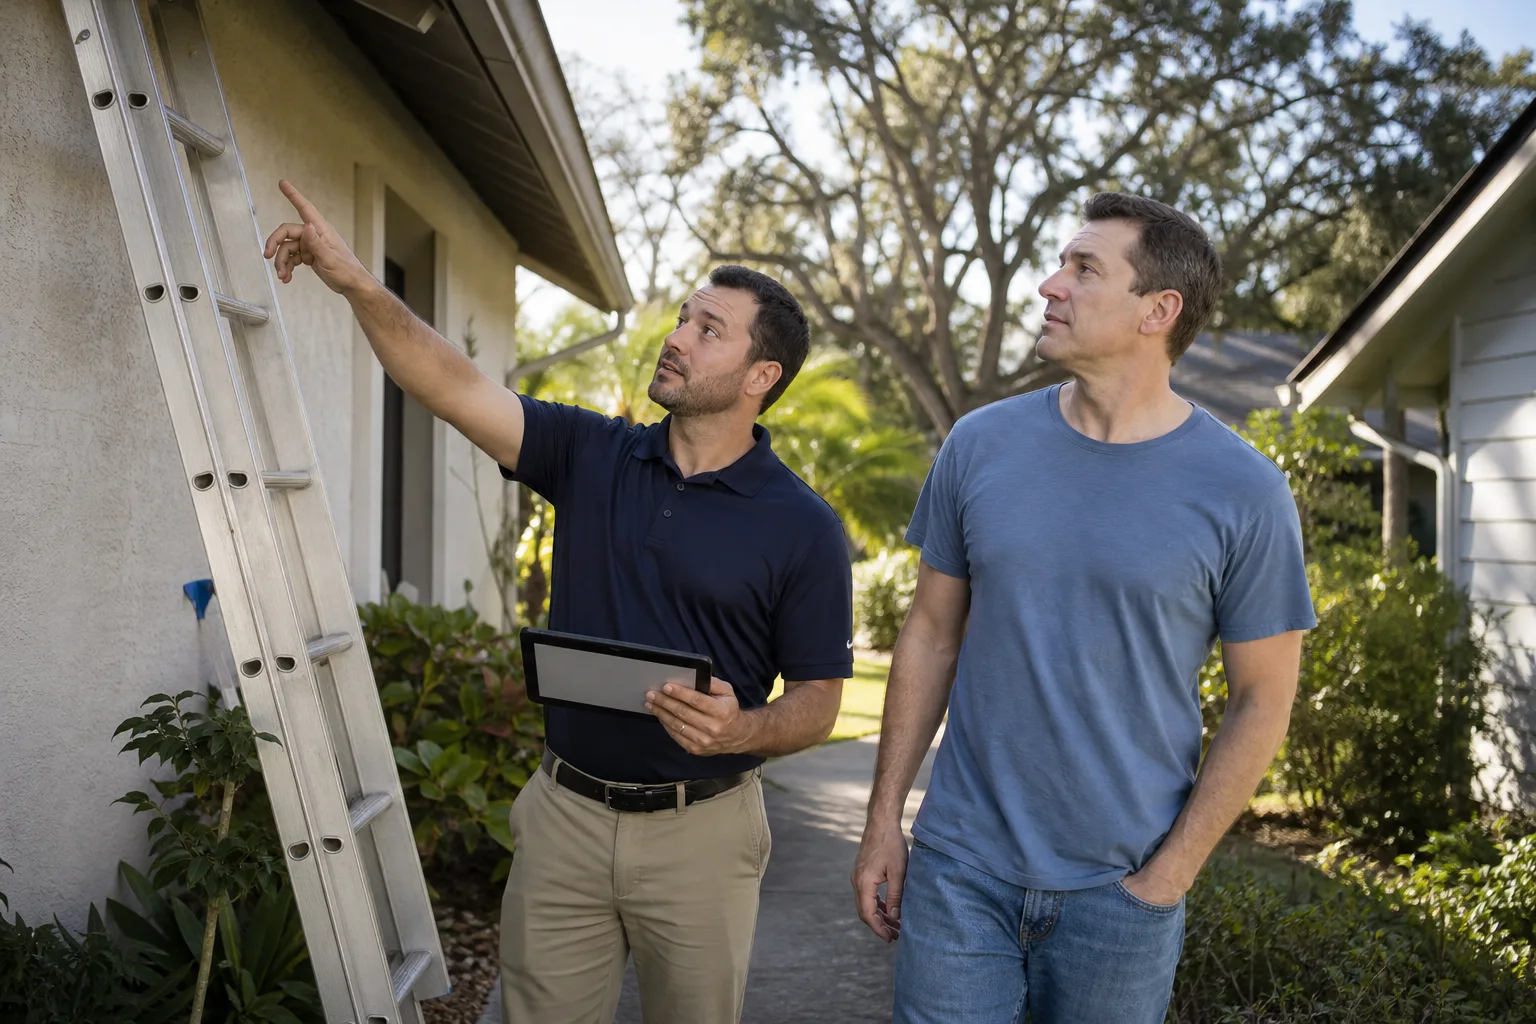
You can check most of it yourself without calling anyone, using a ladder and a pair of binoculars. Follow these steps:
- Set the ladder on firm ground, three rungs above the roof edge, feet flat. Never lean it against a gutter. If you don’t feel steady on a ladder, stop here and call someone.
- Stand on the ground where you can see the transition. Use binoculars to trace the flashing line from the old roofline to the new.
- Look for lifted edges, cracked sealant, or gaps. A flashing piece should lie flat against the wall with the sealant unbroken. Any dark gap means water has a path.
- Check the counter-flashing at the top of the wall intersection. This is the metal strip set into the siding that laps over the step flashing. It should be tight to the wall, with no separated caulk joint.
- Look for water stains on the ceiling below. Interior stains near the transition, even faint ones, are the earliest sign and often the only one you get.
- Write down what you saw. A dated photo from the same angle each fall tells you whether a joint is stable or slowly opening.
Do this check every fall and again after the first big storm of the season. If anything looks lifted or cracked, get a roofer out before the next rain. Small flashing repairs are cheap; rotted sheathing and interior drywall are not.
Moisture Under a Detached ADU in Fremont’s Climate
Fremont sits in a rain-shadow band that gets most of its moisture between November and March, with long dry summers that draw soil moisture back up and down again. A detached ADU on its own slab is separate from your main house’s foundation, so it has its own moisture behavior. The sub-slab vapor barrier and the crawlspace underneath (if your ADU has one) need to be checked at the right time of year.
Look in late winter, after a few weeks of rain, not in July. Here’s what to inspect:
- The vapor barrier under a raised floor. It should cover the soil completely, lap seams by at least six inches, and run up the stem wall. Any tears or bare soil are a moisture highway.
- Standing water or damp soil under the ADU. Puddles under a slab-on-grade ADU usually mean the grade has settled away from the slab edge, or a downspout is dumping under the building.
- Condensation on ducts or pipes. In a Fremont crawlspace, a sweating duct or water line in winter is a sign of poor ventilation, and it’s worth a look by a professional.
- Musty smell inside the ADU. That’s the reading most homeowners actually need. If a Fremont ADU smells musty in February and not in August, the source is the crawlspace or a poorly flashed window.
What should concern you: standing water under the slab, visible mold on joists or insulation, or a moisture reading on a wood moisture meter above about 20%. If any of those show up, call a professional. Damp under an ADU is usually easy to fix and expensive to ignore.
Utility-Specific Maintenance Most People Skip
The systems inside an ADU or addition are often newer, smaller, and separately metered, and they need their own maintenance calendar. Here’s what we see get skipped most often in Fremont:
Tankless Water Heater Descaling
A tankless water heater in Fremont needs descaling once a year, because our water runs hard enough to leave mineral scale on the heat exchanger. Most manufacturers specify annual flushing, and many require proof of it for warranty claims. Flushing takes about an hour with a pump kit and a gallon of vinegar. If your ADU tenant relies on it, don’t skip it – a scaled heat exchanger heats slower, then quits.
Mini-Split Filter Cleaning
A ductless mini-split – common in ADUs because it’s cheap to install – needs its filters rinsed every one to three months depending on dust and how much the unit runs. In Fremont’s dry, dusty Auguests, monthly in summer is realistic. A clogged filter shortens the compressor’s life and drives up the electric bill. Once a year, have a tech clean the indoor coil and check refrigerant charge; that’s not a homeowner job.
Sub-Panel Breaker Exercise
The sub-panel serving an ADU or addition sits idle most of the year, and breakers that never move can stick. Once a year, with the main panel shut off and a licensed electrician present for the first time, exercise each breaker – flip it off and back on – to keep the mechanism free. This is a task to do with an electrician the first time, not a solo project; a sub-panel handles enough current to hurt you badly.
Which Tasks Protect Your Warranty (and Which Void It)
The maintenance schedule isn’t just about catching problems; it protects the money you spent. Almost every manufacturer warranty on an addition or ADU has maintenance conditions attached, and skipping them can void the coverage you paid for.
What preserves your warranty:
- Annual tankless water heater descaling, documented with a receipt or log.
- Re-caulking transitions on schedule, because most exterior warranties exclude water intrusion at unfinished joints.
- Cleaning the mini-split filters and scheduling the annual coil service, which most heat pump warranties require.
- Keeping the original receipts and documentation for every installed product. Anderson, Marvin, GAF, and CertainTeed warranties all expect you to be able to show that the product was correctly installed and maintained.
- Prompt repair of flashing and roof leaks before they spread. A slow leak that rots sheathing usually voids the roofing warranty for the affected area.
What voids it: ignoring a manufacturer-required service, having work done by an unlicensed installer, or letting a leak continue until structural damage appears. At Barrett & Sons Construction, every eligible job we do includes permits pulled and inspections signed, and our 90-Day Done Right Promise is written on every contract. That promise covers the work we perform; it does not cover a tankless heater that wasn’t descaled for three years and scaled up.
The Annual Checklist, Every Fall
Once year three is behind you, the schedule settles into one solid annual pass each fall, before the rain. Here’s what to run through:
- Check the roof-to-wall flashing from the ground with binoculars, following the six steps above.
- Walk the entire exterior caulk line on the addition, tube in hand, and re-caulk anything cracked.
- Clean gutters and confirm downspouts discharge at least four feet from the foundation.
- Look for new foundation cracks and photograph any you find with a date marker.
- Service the tankless water heater and log the date.
- Rinse mini-split filters, and schedule the annual coil service with a tech.
- Exercise sub-panel breakers with an electrician the first year, then on your own if you’re comfortable.
- Check the crawlspace or sub-slab vapor barrier after the first big rain.
- Inspect attic insulation and look for water stains on rafters and ceiling drywall.
Write down each item and the date you did it. A three-ring binder in the hall closet is worth more than any app when a warranty claim comes up.
Common Mistakes to Avoid
- Skipping the year-one and year-three passes entirely. Most homeowners treat the addition like the rest of the house and only look when something breaks – which means they’re catching problems about two years late.
- Caulking over wet or dirty joints. A bead laid over a damp seam in Fremont’s winter won’t bond, and you’ll be redoing it in spring.
- Never descending the gutters on the ADU. Detached ADUs get forgotten downspouts, and the water ends up under the slab, not in the yard.
- Treating the mini-split filter like a one-time chore. It needs attention monthly through the dry season, not once in May.
- Never writing down what was serviced. Without a log, you have no proof for a warranty claim when the tankless heater fails two months past its manufacturer protection.
- Taking a roof flash repair into your own hands on a steep ladder. Flashing repairs require getting onto the roof; that’s a trained-roofer task, not a weekend project.
- Assuming the addition shares the main house’s systems. Separate water heater, separate sub-panel, separate crawlspace – each with its own schedule.
See the difference
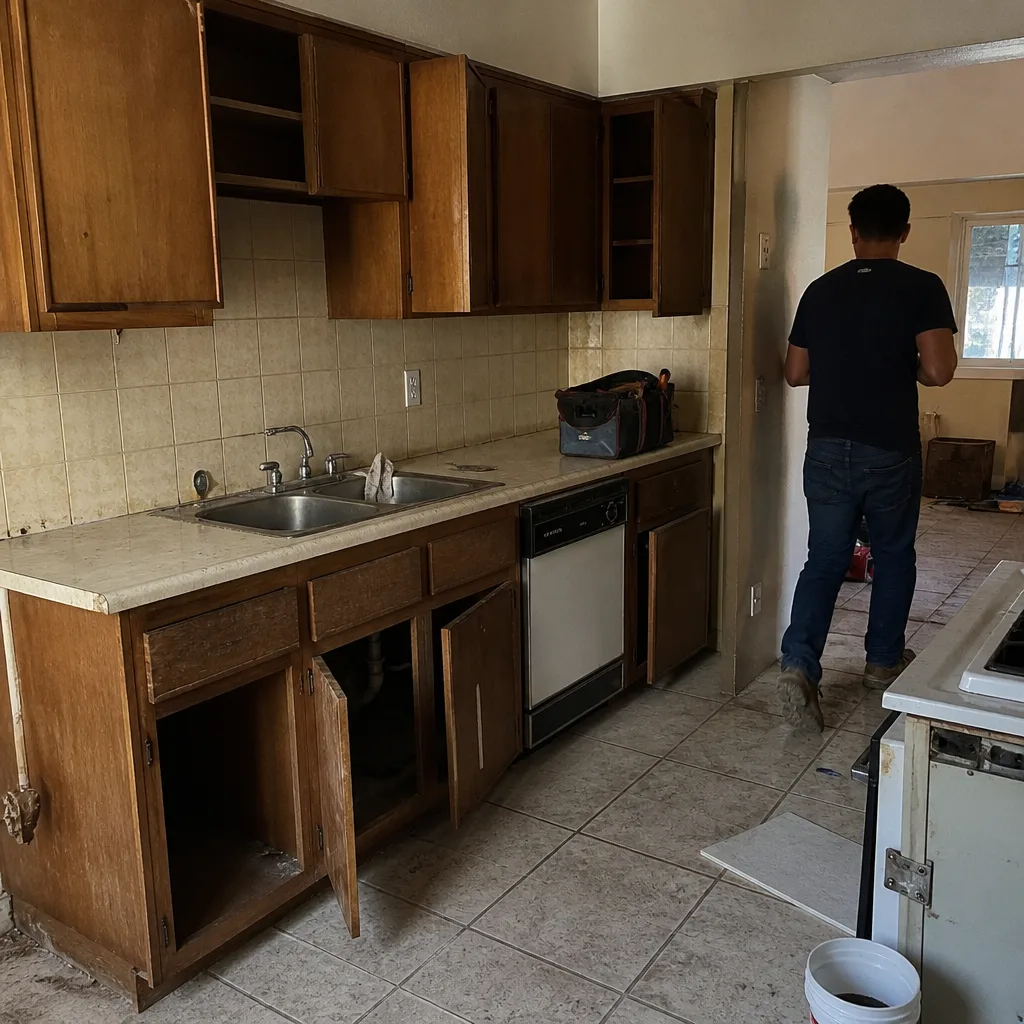 Before
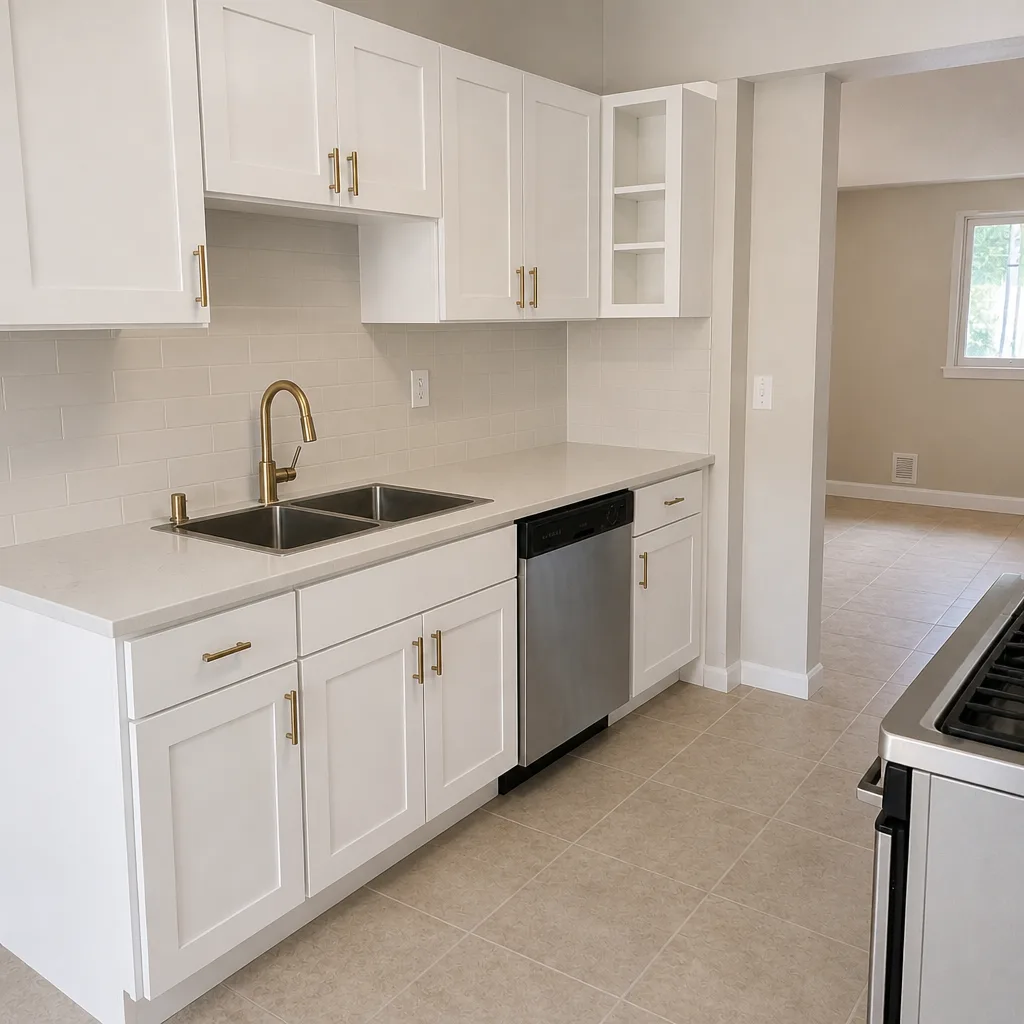 After
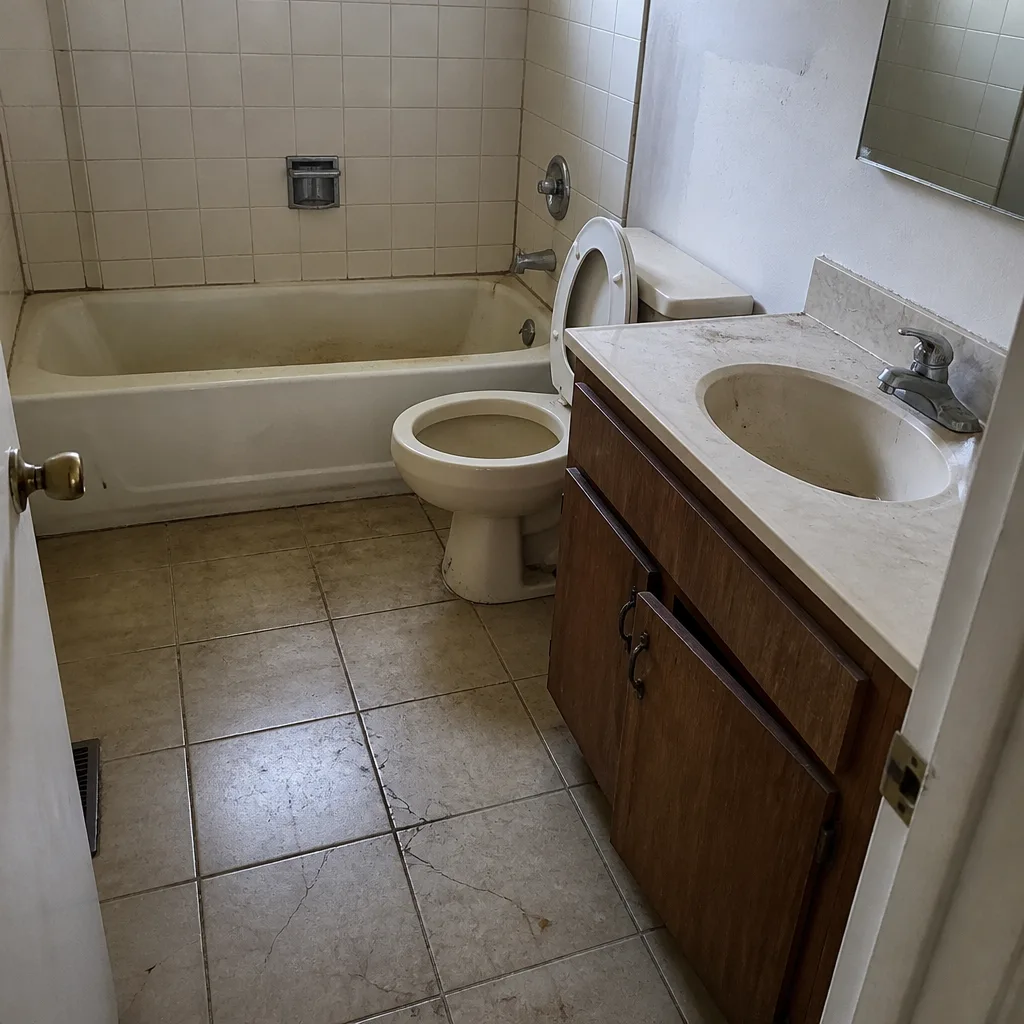 Before
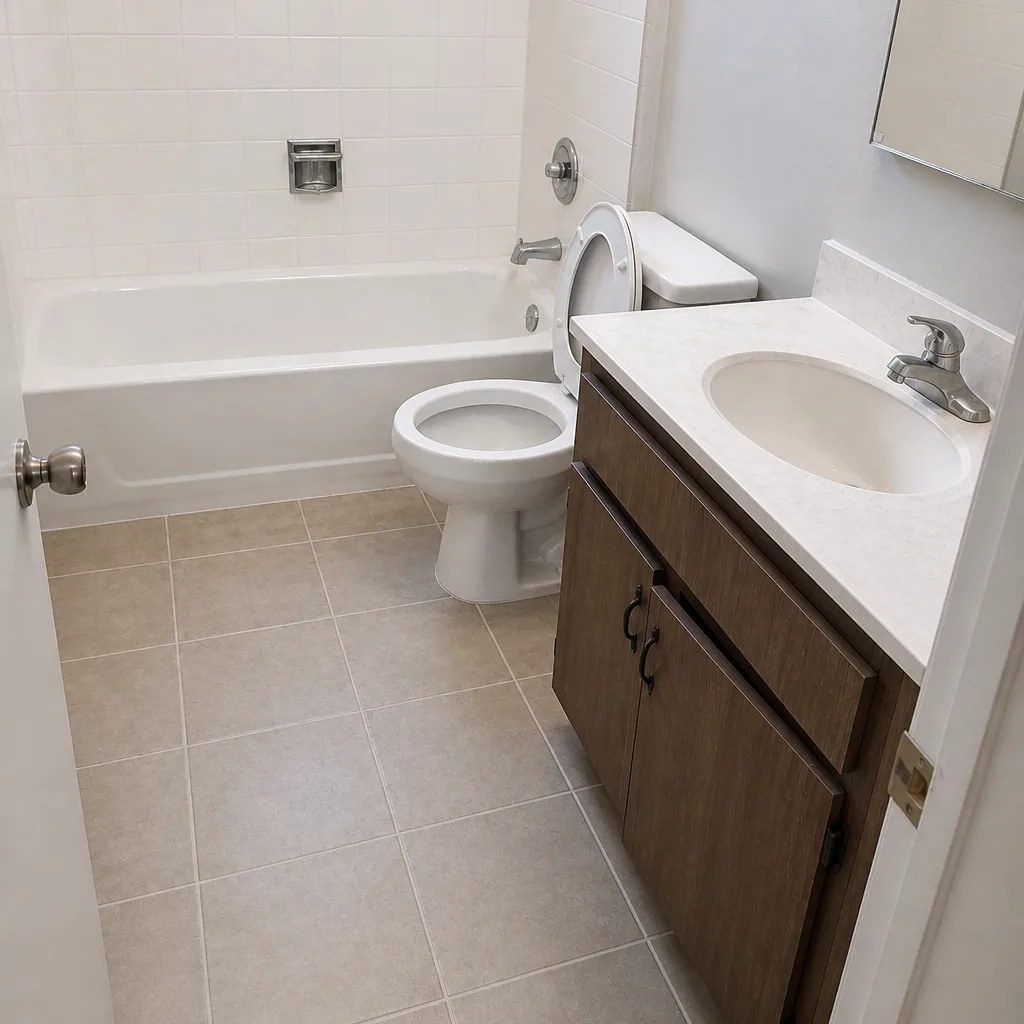 After
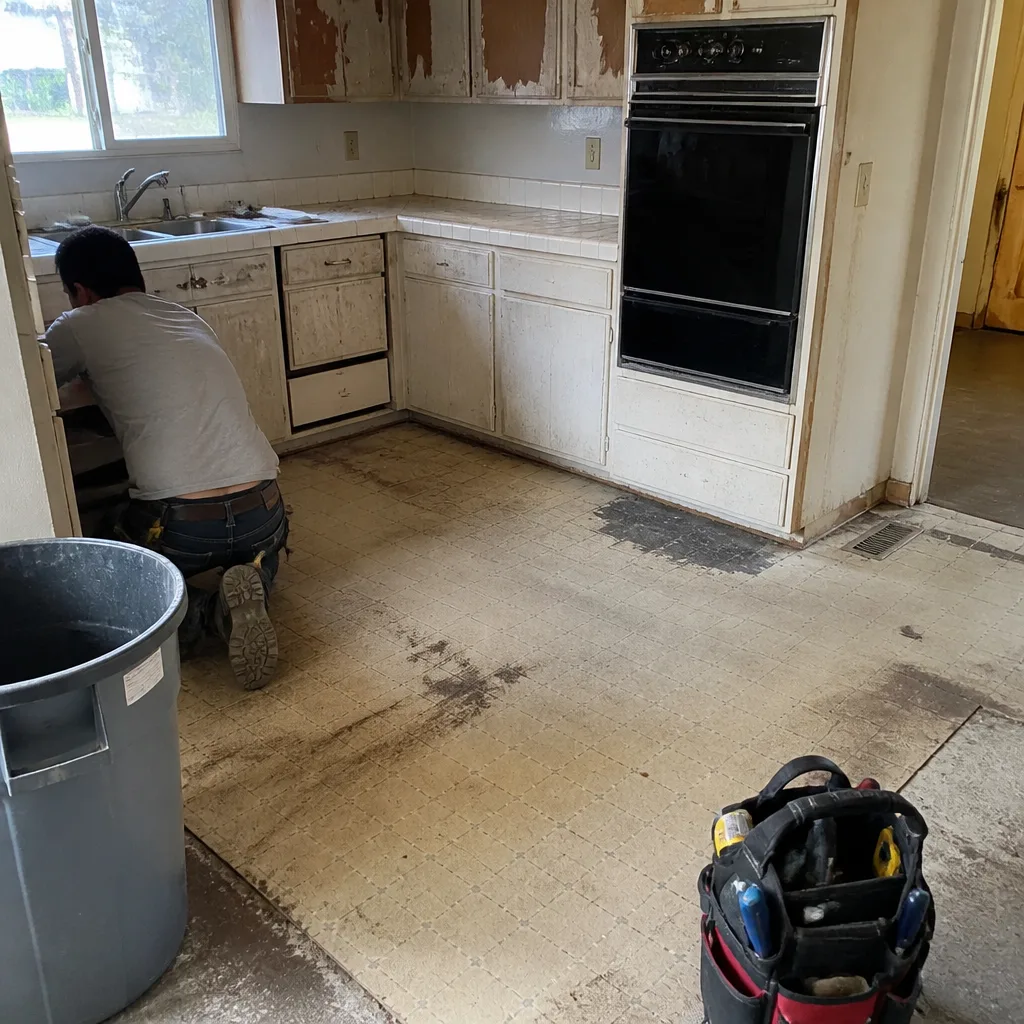 Before
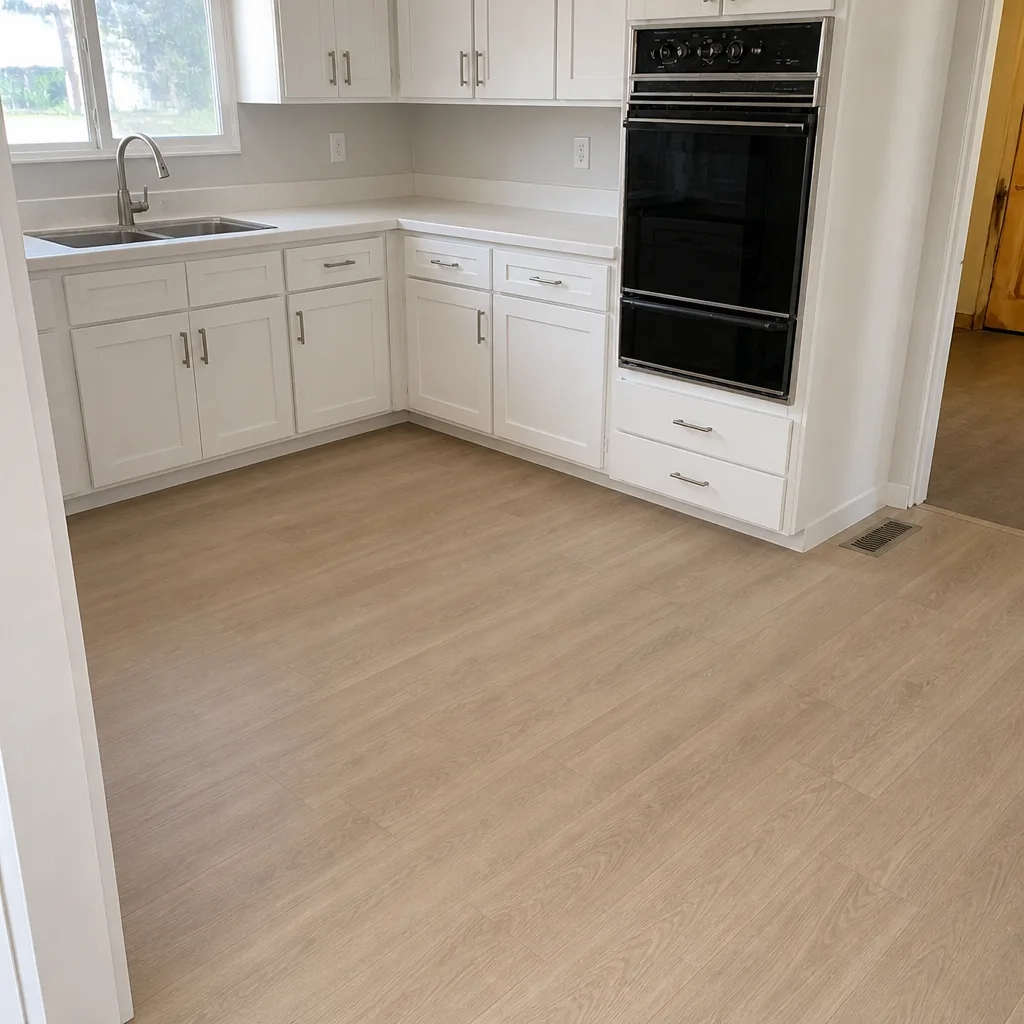 After
When to Call a Professional
Some of this you can do yourself: caulk, filters, gutter cleaning, a visual flashing check from the ground. Some of it you should hand to a pro, every time. Call a trained professional when you see or suspect a roof or flashing leak, a horizontal foundation crack, standing water or mold under the ADU, an electrical fault in the sub-panel, or a tankless water heater that’s making noise or running out of hot water. Water and electricity are the two areas where the cost of a mistake is measured in thousands, and where Barrett & Sons Construction Fremont offers free estimates in Fremont – call (833) 620-6162. Our crew members have up to 28 years of experience, and every eligible job includes permits pulled and inspections signed. For your existing addition or a new project, see our Home Additions & ADU in Fremont page.
Frequently Asked Questions

Twice a year: once in early fall before the rain, and once after the first big storm of the season. The roof-to-wall transition is the first place a new addition fails, because the old and new roof planes move differently. A visual check from the ground with binoculars catches most problems before they leak inside.
It’s almost always the crawlspace or a poorly flashed window letting in moisture during Fremont’s rainy season. Get under the ADU after a few weeks of rain and check the vapor barrier for tears, bare soil, or standing water. If you find mold or a wood moisture reading above about 20%, call a professional.
Once a year. Fremont’s water is hard enough to leave mineral scale on the heat exchanger, and most manufacturers require annual descaling to keep the warranty valid. Skip it and the heater runs slow, then quits, usually right when you need it most.
Usually not for caulk, filters, or gutter work, but anything structural or electrical does require a permit in Fremont. When in doubt, call the city’s building department or ask us – Barrett & Sons pulls permits and gets inspections signed on every eligible job.
Most new-construction settling happens in the first twelve to eighteen months, and by year three the structure has moved through enough weather cycles to be largely stable. That’s why year-one checks focus on joints and caulk lines, and year-three is when you look deeper at foundation, envelope, and utility connections.
Documented annual service on the tankless heater, regular mini-split filter cleaning, and prompt repair of any flashing or roof leak. Most exterior warranties exclude water damage at joints you let sit uncaulked. Keep every receipt in one place – the log is what proves the maintenance happened.
The Bottom Line
An addition or ADU is on its own maintenance clock. Treat it like the rest of the house and you’ll catch problems about two years late. Follow the schedule: heavy checks in year one for settling, caulk, and framing joints; a deep pass in year three for the envelope and utility connections; and an annual fall checklist after that, starting with the roof-to-wall flashing. Write down every date. Protect the warranties – and when something’s beyond a tube of caulk, get a pro out. Barrett & Sons answers the phone 24 hours a day and offers a free second opinion on any written estimate. Call (833) 620-6162 to schedule your free estimate, and take a look at our Barrett & Sons Construction Fremont home page for the full picture of what we build. If the maintenance leads to a bigger project, our Fence Installation in Fremont and Driveway & Pavers in Fremont teams install brands you can look up – Master Halco and Ameristar fencing, Belgard and Techo-Bloc pavers – so the work is as verifiable as the name on the truck.
Written by the team at Barrett & Sons Construction Fremont.