Last updated November 17, 2026





Free written scope consultation - allowances, timeline, and change-order rules on paper before a single trade is scheduled
Home Additions & ADU Troubleshooting: Common Problems and How to Fix Them
A hairline crack in new drywall is almost always nothing. A hairline crack running diagonally from the corner of a new door frame is sometimes everything. The difference between those two cracks is what this guide is about. Most problems that show up in a home addition or accessory dwelling unit after move-in were visible during construction. Homeowners just didn’t know what they were looking at. In Fremont, where lots are tight and additions often squeeze against an existing wall, that gap in knowledge is where five-figure repairs get born. Below we walk through the five failure points we see most often, plus the flat truth about California’s 10-year latent defect law.
Quick Answer
Post-construction problems in additions and ADUs fall into five buckets: settling cracks, moisture at the new-to-old connection, HVAC rooms that never heat or cool right, undersized electrical panels, and permit shortcuts. Most cosmetic cracks that appear in the first 12 months are normal shrinkage and need patching, not panic. Diagonal cracks, doors that won’t latch, and water stains at the tie-in point need a professional look before they get worse. Knowing which is which is the whole game.
Styles & brands we work with
- Kitchen remodeling
- Bathroom remodeling
- Home additions & ADU
- Roofing
- Windows & doors
- Driveway & pavers
- Fence
Table of Contents
- Settling Cracks vs. Structural Movement: How to Tell Them Apart
- Moisture at the Connection Point: The Number One Failure
- HVAC Problems When an Addition Outgrows the System
- Electrical Overload Symptoms in ADUs
- Permits, Inspections, and What Went Wrong
- California’s 10-Year Latent Defect Statute: What You Can Demand
- Common Mistakes to Avoid
- When to Call a Professional
Settling Cracks vs. Structural Movement: How to Tell Them Apart
Every new addition settles. The framing dries, the lumber shrinks, and the drywall moves a little. That’s why insurance companies and inspectors don’t blink at hairline cracks in the first year. What separates cosmetic settling from structural movement is direction, width, and what else is happening around it.
Cosmetic settling cracks are typically vertical or horizontal, less than 1/16 inch wide, and they show up along drywall seams or above door frames. Structural cracks run diagonally, usually starting at the corner of a door or window opening, and they widen over time. Look at the floor while you’re at it. A slope of 1/4 inch over 10 feet is worth a call. A slope of an inch over the same span isn’t settling, it’s movement.
- Photograph the crack with a tape measure beside it for scale, and date the photo.
- Check each side of the wall – is the crack visible from both interior and exterior? Same crack on both sides is a stronger signal.
- Test every door and window in the new space. Binding, sticking, or a latch that suddenly won’t catch is the giveaway that the frame has racked.
- Recheck in 30 days. A crack that grows is a problem. One that plateaus is usually done.
In Fremont, we’ve seen more structural movement on additions built on flat lots that sit against a slope side than almost anywhere else. The Hayward Fault runs through town, and property in Niles and Mission San Jose sometimes shows cracked foundations going back decades. If the original house has a visible patched crack, we ask about it before we add a single footing.
Moisture at the Connection Point: The Number One Failure
Where a new addition meets the existing house is the single most common failure we see. The new wall and the old wall move differently. The flashing either bridges them correctly or it doesn’t. And when it doesn’t, water finds the gap within one or two winters.
The warning signs are worth memorizing:
- Peeling paint or blistering stucco on the exterior wall right at the roofline of the addition.
- Soft drywall at the top inside corner, especially after heavy rain. Fremont’s rain comes fast in atmospheric river years – a single January storm can expose a flashing mistake from a summer build.
- Mildew smell in the new room that doesn’t clear after a week of open windows.
- Staining on the ceiling right where the addition roof meets the original roof.
Proper flashing at the tie-in involves step flashing, kick-out flashings at every corner, and a housewrap lap that goes over the new wall but under the existing weather barrier. When we frame an addition, the crew photographs every flashing lap before the stucco goes on. That photo set is what a contractor should be able to show you. If yours can’t, that’s an answer in itself.
Fixing a flashing failure after the fact means removing siding or stucco in a 4 to 10 foot band, replacing the flashing, and re-sealing. It’s not the cheapest repair and it’s not the most expensive. It’s the one that, ignored, becomes mold remediation. For additions we build in Fremont, the exterior weather barrier is on our scope-of-work list under its own line item, in writing, before framers set a nail.
HVAC Problems When an Addition Outgrows the System
A surprising number of additions go through without a proper load calculation. The contractor sizes the new rooms by eyeballing them, connects them to the existing ductwork, and hands over the keys. Six months later, one room is 8 degrees colder than the rest of the house.
Here’s what’s actually happening. A 400-square-foot addition adds a load the original furnace and air handler weren’t sized for. Older systems designed for 1,400 square feet at a specific insulation value don’t have spare capacity. Running duct runs 30 feet through an unconditioned attic loses more air than a properly sized stub duct. And Fremont’s mild climate hides the problem 9 months a year – then July comes and the room hits 92 degrees while the rest of the house is at 74.
The actual fix isn’t more insulation on the duct. It’s one of three things:
- A Manual J load calculation for the whole house including the addition, so you know exactly what the system needs to deliver.
- A dedicated mini-split system for the addition, running on its own thermostat. This is often the smartest option because it decouples the new space from the old system’s limits.
- Upsizing the primary system – a bigger purchase, not always the right answer for a house that’s already balanced.
If your addition is cold every winter or hot every summer and the thermostats seem to be fighting each other, ask the original contractor for the load calculation. If they can’t produce one, that’s the diagnosis right there.
Electrical Overload Symptoms in ADUs
ADUs burn through electrical load faster than most contractors expect. Washer, dryer, water heater, microwave, coffee maker, hair dryer, space heater, and a car charger all drawing off one sub-panel sized for 60 amps is a recipe for a summer of tripping breakers. The question is whether you’re looking at a nuisance or a fire risk, and the answer depends on which symptom you’re seeing.
Nuisance symptoms (annoying, usually not urgent):
- Same breaker trips, always when two named appliances run together.
- Breakers trip once or twice a month and reset fine.
- Lights flicker slightly when the dryer starts.
Fire-risk symptoms (call an electrician this week, not next month):
- Breakers that trip without a clear appliance cause – that means they’re doing their job on a short or a fault.
- Warm or discolored outlet faceplates, especially in the kitchen.
- Burning smell near the panel, or a crackling sound when a load starts.
- A sub-panel fed from the main with a wire gauge that looks too small for its breaker. If the breaker is 100 amps and the wire looks like 60-amp wire to you (or to an electrician), the breaker isn’t protecting the wire. That’s a fire waiting.
An ADU built in Fremont that runs an EV charger, an induction range, and a heat-pump water heater needs a 100 to 125 amp sub-panel in most cases. If yours is 60 amps and appliances are on a rotation schedule, that’s not the finished product. A licensed electrician can run a load calculation and tell you in an hour whether you’re looking at a $200 breaker change or a $4,000 service upgrade.
Permits, Inspections, and What Went Wrong
Every addition and ADU in Fremont goes through plan review, foundation inspection, framing inspection, rough MEP (mechanical, electrical, plumbing), insulation, and final. That’s five or six inspector visits minimum. When a problem shows up later, the first question a contractor will ask is: what did the final say?
A final inspection sign-off means the inspector saw the work at each stage. If a homeowner is discovering a code violation now, one of three things happened:
- The job never got permitted. (Most common – the original contractor said permits were optional, or that the addition was “under 120 square feet so it doesn’t need one,” which is not how Fremont reads the code for habitable space.)
- The job was permitted but the contractor schedule-shifted inspections – pulled the final without the rough inspections being done cleanly.
- The job was permitted, inspected, and signed off correctly, and the problem is a maintenance issue rather than construction.
Look up your address on the City of Fremont’s permit portal. Every issued permit, every inspection date, and every sign-off is public record. If your addition was permitted, you’ll see it. If it wasn’t, you’ll see an empty record and know exactly where you stand. That lookup is the single most useful 10 minutes a homeowner can spend, and it’s the first thing we do when we’re called to troubleshoot someone else’s finished work.
We pull permits on every eligible job for a reason. The permit inspector works for you, not us – that’s why we like him. For a deeper look at how we sequence a build from permit through final, see our Home Additions & ADU in Fremont page.
California’s 10-Year Latent Defect Statute: What You Can Demand
California gives homeowners 10 years from the date of substantial completion to file a claim on a latent defect – a problem that wasn’t reasonably discoverable when you accepted the work. That’s Code of Civil Procedure section 337.15. Ten years is a long runway. It’s not a warranty of perfection, though, and the difference matters when you’re staring at a crack.
What falls under the statute:
- Structural failures (foundation, framing, load-bearing connections).
- Water intrusion that traces back to construction detail – flashing, weather barrier, roof tie-in.
- Code-violation work that would have failed an inspection if it had been inspected.
- Work done outside the permitted scope without a change order.
What most likely doesn’t:
- Hairline cracks at drywall seams that appear in the first 12 months and stop growing.
- Paint or caulk that needs redoing after 5 years in the sun.
- Normal wear on doors, windows, or hardware.
- Problems caused by later work you or another contractor did to the addition.
The statute protects you, but pursuing it requires documentation: the permit record, the written contract, the change orders, and photo evidence of the defect. If those don’t exist, the case gets harder. This is exactly why we hand over a project binder at closeout – permits, change orders, inspection cards, manufacturer warranties, and material spec sheets, all in one folder. If a problem surfaces three years later, that folder is the conversation, and it’s why our customers who’ve been burned before tend to relax a little once they see it.
A homeowner can’t demand that a contractor redo cosmetic settling – that’s not what the statute covers. And a homeowner shouldn’t absorb a structural flashing failure as wear and tear. Getting the line right is worth a consult with a construction attorney for anything over $5,000 in repair cost.
Common Mistakes to Avoid
- Skipping the permit lookup. Ten minutes on the city portal tells you whether your addition is legal or paperless. Every conversation about repairs changes once you know.
- Accepting “we’ll handle the paperwork later.” In Fremont, hundreds of square feet of “later” tends to be never. A contractor who says permits are optional is telling you something about the final product.
- Sizing the HVAC by eyeball. An addition of 400 square feet deserves a Manual J, not a guess. Skipping it lands you in “the back room is always cold” territory for the life of the house.
- Under-sizing the ADU sub-panel. 60 amps is fine for a studio with a mini-fridge. Add an EV charger and a heat-pump water heater and you’re on a rotation schedule that will annoy you every month.
- Treating every crack as settling. Diagonal cracks from door corners, doors that won’t latch, and floor slope over 1/4 inch in 10 feet are not settling. They’re the reason to call someone.
- Patching over water staining. A stain at the addition’s ceiling-to-old-roof tie-in is a flashing problem. Paint over it and you’ve just moved the problem behind the drywall where it grows quietly.
- Letting a verbal promise replace a written change order. An allowance that isn’t on paper is a surprise waiting for a date. Every scope change we make arrives in writing, before work starts.
See the difference
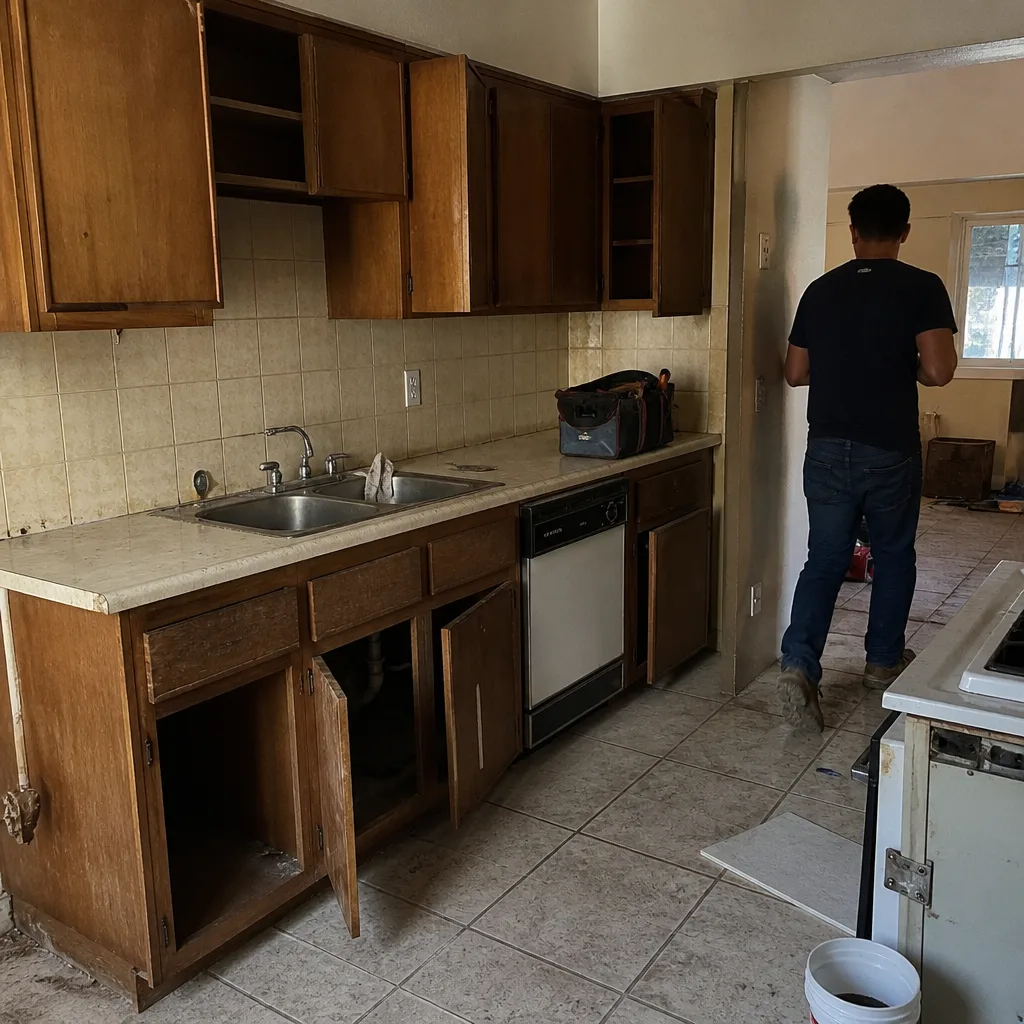 Before
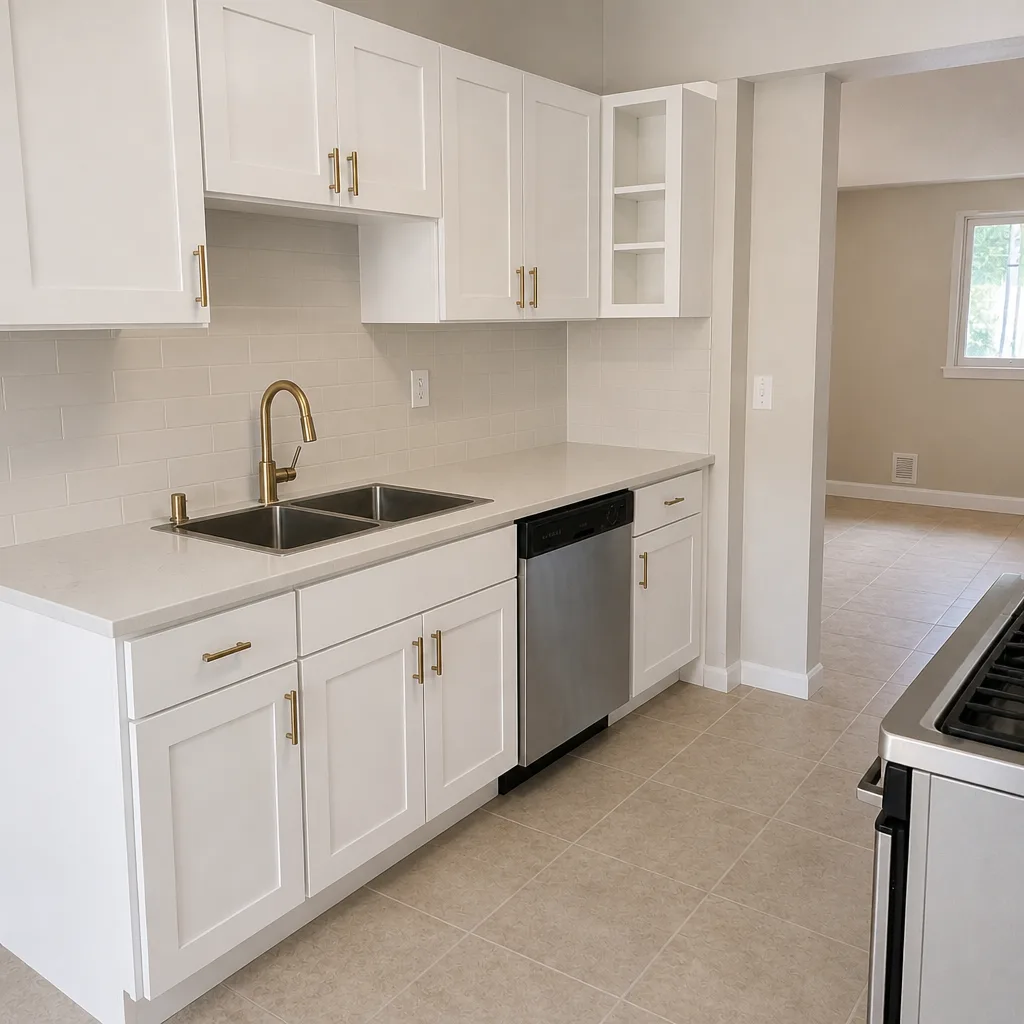 After
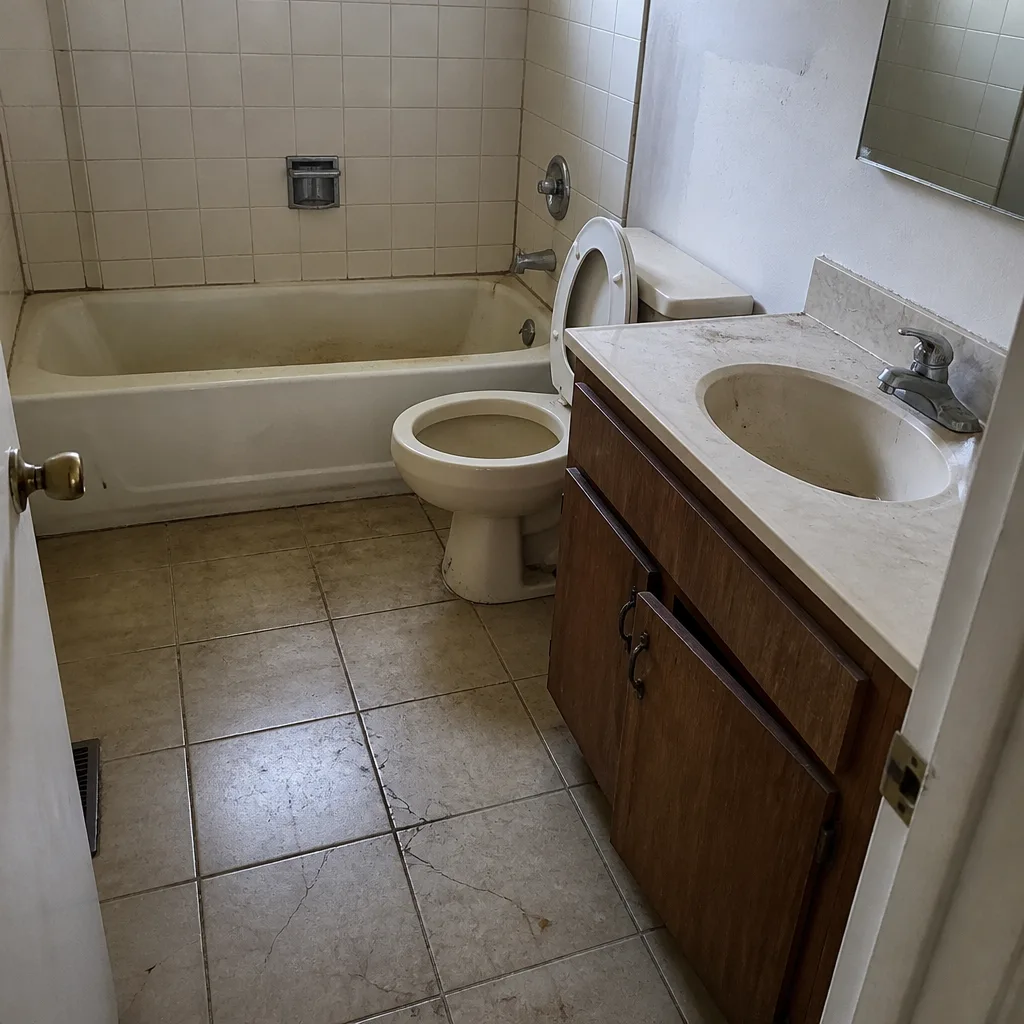 Before
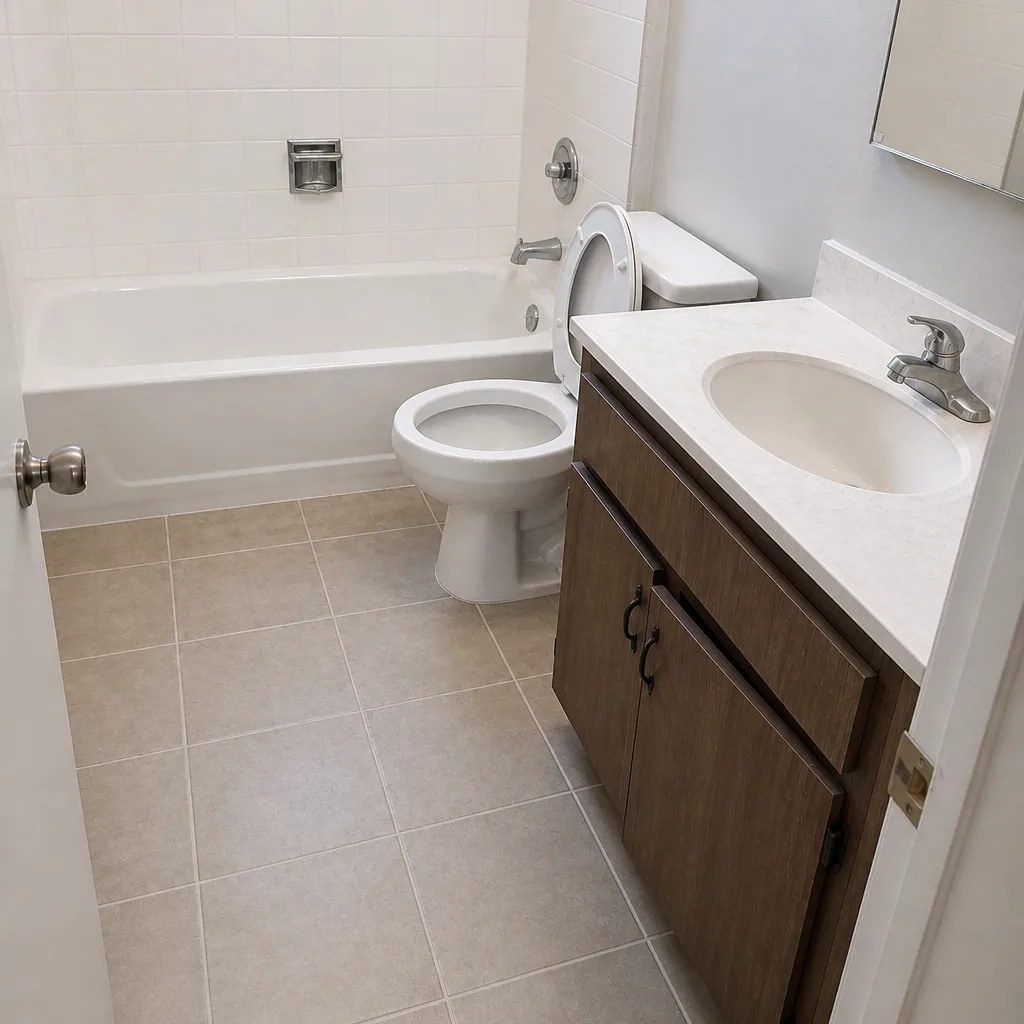 After
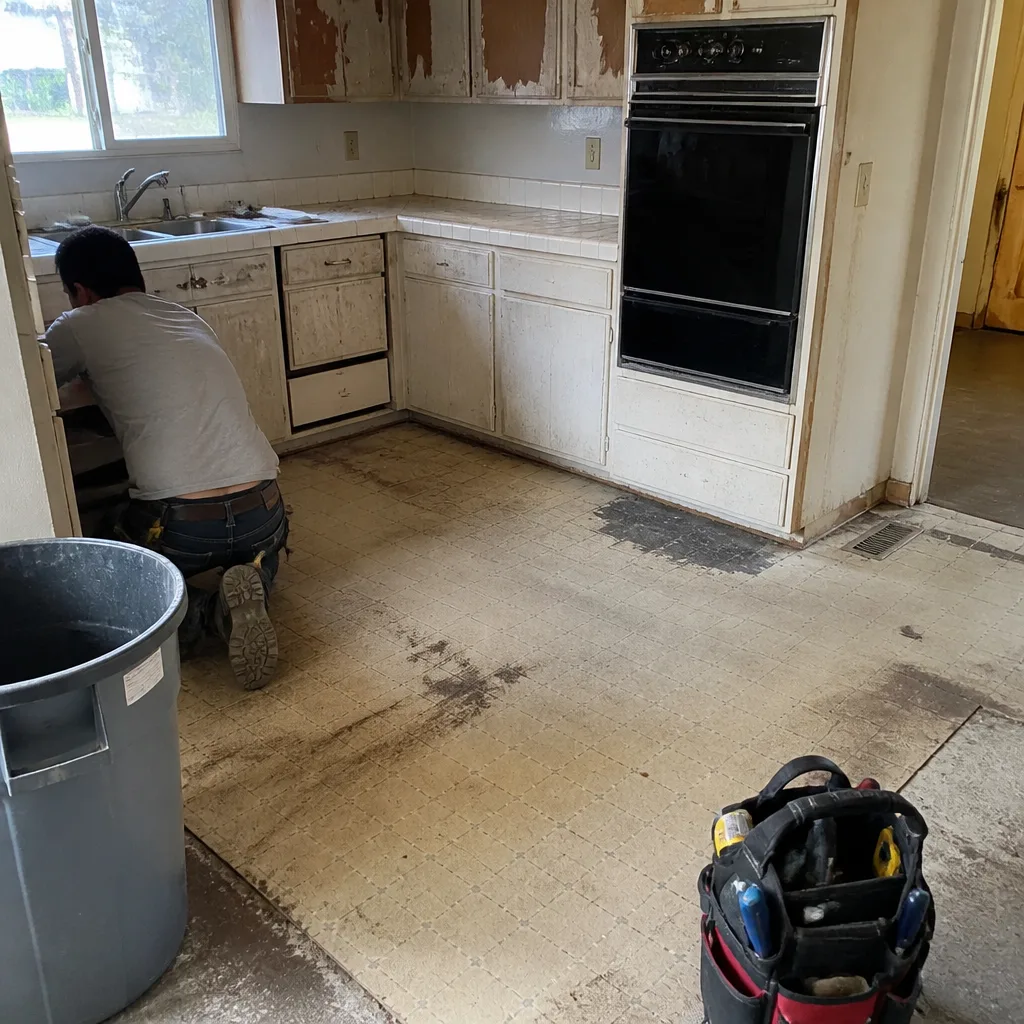 Before
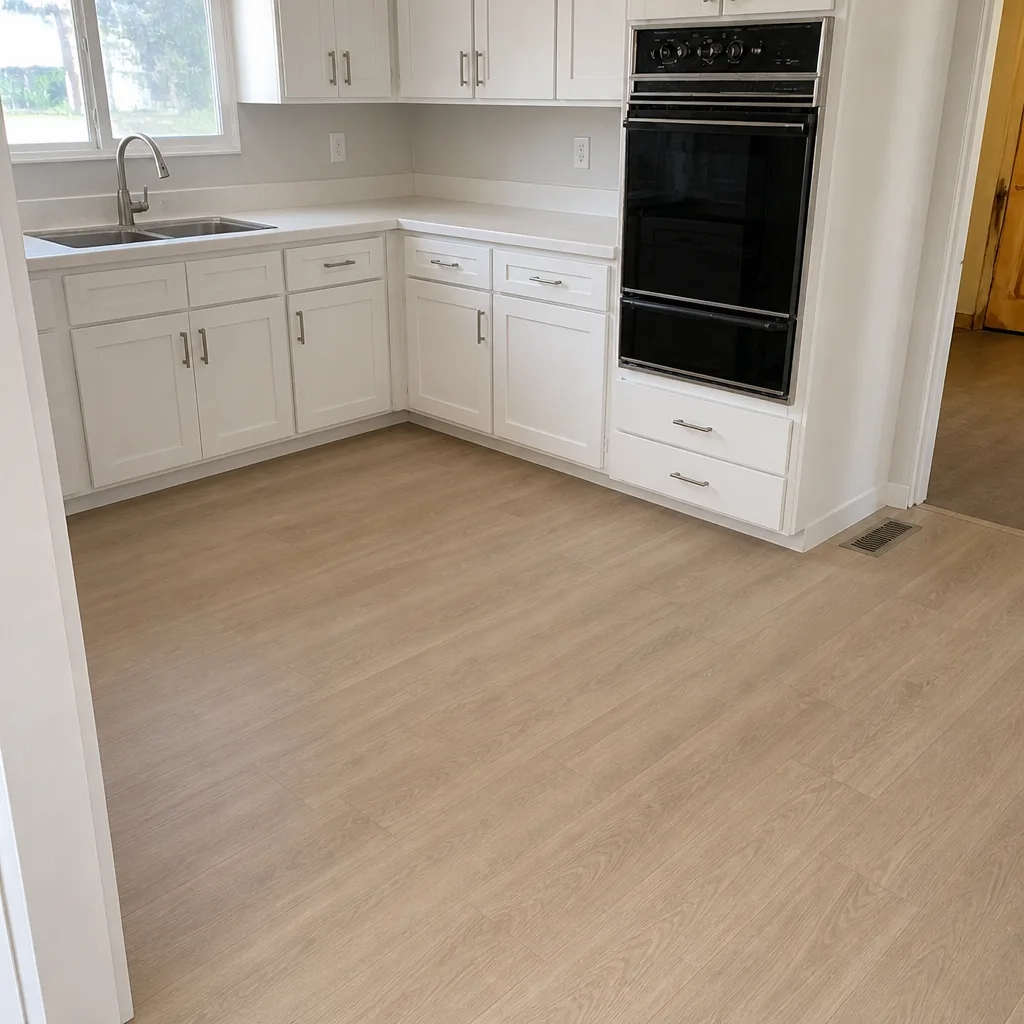 After
When to Call a Professional
Call us when a diagonal crack starts at the corner of a new door or window and grows over 30 days. Call when you see staining or soft drywall at the connection between the addition and the original house. Call when one room in the addition is consistently 6 or more degrees off the rest of the house and the thermostat isn’t the answer. Call when a breaker trips more than weekly or when an outlet faceplate is warm. Call when the permit lookup comes back empty and you need to know what it takes to make the addition legal.
What we don’t want you to call about is a 1/16 inch hairline crack at a drywall seam in month two. That’s normal. Patch it, watch it, and if it doesn’t grow, you’re done.
Barrett & Sons Construction Fremont offers free estimates in Fremont – call (833) 620-6162 to schedule one. We’ll come out, look at the problem the way a builder looks at it, and tell you the truth about whether it’s cosmetic, serious, or somewhere in between.
Frequently Asked Questions
Most of the settling happens in the first 12 to 18 months, with the heaviest movement in the first two rainy seasons. After that, cracks that have been photographed and measured should have stopped widening. If a crack is still growing after 18 months, it’s not settling – it’s movement, and it deserves a professional look.
No, but it’s worth checking. A short diagonal crack, under 2 inches long, that appears once and doesn’t grow is usually a stress riser at a corner bead, which is a drywall patch, not a structural issue. A diagonal crack that runs from the corner of a door or window across the wall, or that widens over time, is the signature of racking and needs a professional look before you patch it.
Usually because the existing HVAC system was never load-calculated for the new square footage. An addition often gets appended to a furnace and air handler sized for the original house. The result is a room that never gets enough air. A Manual J load calculation, followed by either a dedicated mini-split or a system upgrade, is the fix. Insulating the duct more won’t solve it.
Add up the amp draw of the biggest-ticket appliances (range, water heater, dryer, EV charger, space heater) and compare to the panel’s main breaker. If you’re at more than 80% of the panel’s capacity with those appliances running, you’re undersized. A licensed electrician’s load calculation is a 30-minute visit and tells you whether you need a service upgrade or just a reshuffle of breakers.
No. The 10-year statute under Code of Civil Procedure section 337.15 covers latent defects – problems not reasonably discoverable at completion and traceable to construction defect. Cosmetic settling cracks, paint wear, and caulk deterioration are normal wear, not latent defects. Structural issues, water intrusion from flashing errors, and code violations from unpermitted work are the type of thing the statute is built for.
Yes. Any habitable addition or ADU in Fremont requires a building permit, plan review, and a series of inspections. The “under 120 square feet so no permit” line applies to non-habitable storage sheds in some jurisdictions, not habitable space, and not an ADU. If your contractor told you otherwise, look the address up on the city permit portal before you sign anything else.
The Bottom Line
Most of the problems that show up in a home addition or ADU after move-in were visible during construction. Cosmetic settling cracks are normal and stop growing. Diagonal cracks from door corners, moisture at the connection to the original house, HVAC rooms that never balance, and undersized sub-panels are the five failure points worth knowing by sight. Pull the permit record. Photograph your cracks. Ask for the load calculation. And if a contractor touches your house, put the scope, allowance, and every change order in writing before the nails go in – because the allowance that isn’t on paper is a surprise waiting for a date. Every project we finish is backed by our written 90-Day Done Right Promise: if it’s not right, we come back and make it right. To see the rest of what we build, start at the Barrett & Sons Construction Fremont home page, look at our Driveway & Pavers in Fremont work, and check our Fence Installation in Fremont for the site-work side of an addition. We install ViewLux and Barrette fencing on exterior scopes where it fits the property.
Call (833) 620-6162 for a free estimate.
Written by the team at Barrett & Sons Construction Fremont.