Last updated November 17, 2026


Free written scope consultation - allowances, timeline, and change-order rules on paper before a single trade is scheduled
DIY vs Professional Bathroom Remodeling: What’s Safe to Do Yourself
A homeowner in the East Bay replaced his own shower valve a few years back. Clean work, no leaks, felt good about the savings. Then he sold the house. During escrow, the buyer’s inspector found unpermitted plumbing behind the tile, and the deal got renegotiated $15,000 off the asking price. He didn’t lose that money because he was a bad plumber. He lost it because the work he did sat outside what the city of Fremont requires inspected, and nobody told him. That’s the real dividing line in a bathroom remodel, and it’s not about whether you’re handy. This guide walks through what you can genuinely do yourself in Fremont, what will cost you later if you do, and where a professional belongs even when the task looks simple.
Quick Answer
You can safely DIY cosmetic and surface-level work in a bathroom: painting, trim, vanity replacement, light fixture swaps, register covers, and hanging shelves. You should not DIY anything that moves a drain, relocates a supply line, builds a shower pan, terminates an exhaust duct through the building envelope, or touches the toilet flange. In Fremont, plumbing relocations, new electrical circuits, and structural changes require permits and licensed trade work, and unpermitted work can complicate insurance claims and home sales even when the job itself was done cleanly.
Styles & brands we work with
- Kitchen remodeling
- Bathroom remodeling
- Home additions & ADU
- Roofing
- Windows & doors
- Driveway & pavers
- Fence
Table of Contents
- Where Fremont Draws the Permit Line
- Three Tasks That Look Cosmetic but Aren’t
- What “Safely DIY” Actually Means in a Wet Room
- Sequencing Your Work Around Professional Rough-In
- The Insurance Angle Nobody Warns You About
- The Genuinely Safe DIY Tasks (and What They Save)
- Common Mistakes to Avoid
- When to Call a Professional
Where Fremont Draws the Permit Line
The city of Fremont issues building permits for work that affects structural, plumbing, electrical, or mechanical systems. What makes a bathroom confusing is that surface work and system work interleave. Pull the vanity and you’ve exposed supply lines. Remove tile and you’ve exposed the shower valve. Suddenly the cosmetic project has plumbing in it, and that plumbing triggers an inspection.
Here’s the practical breakdown of what requires a permit versus what doesn’t, based on how we see inspections handled on jobs throughout Fremont:
- Requires a permit in almost every case: relocating a drain, adding or moving a supply line, installing a new electrical circuit or outlet inside the bathroom, changing the exhaust fan to a different model or adding a timer switch on a new circuit, altering walls, converting a tub to a shower, and any structural change.
- Usually permitted as part of a larger remodel: replacing a shower valve, replacing a toilet (permit requirements vary, but a straight like-for-like swap in the same location is often not separately permitted), replacing a vanity when plumbing is neither added nor moved.
- Typically no permit needed: painting, replacing tile on an existing substrate, swapping a vanity in the same location, replacing light fixtures on existing wiring, hanging mirrors and shelves, replacing the toilet seat or faucet.
When the boundary is unclear, ask the city before you swing a hammer. Fremont’s building department will tell you whether your specific scope needs a permit, and the thirty-second phone call saves a much longer conversation at resale. We’ve watched enough escrow disputes to know that “I didn’t know” is not a defense anyone accepts. If you’d rather hand the permitting to a team that pulls and closes them as part of the job, Barrett & Sons Construction Fremont home lays out how permits roll into the scope in writing.
Three Tasks That Look Cosmetic but Aren’t
Most of the expensive mistakes we’re called in to fix trace back to three tasks that are usually filed under “small.” They aren’t. Each of them either affects the structure behind your walls, the waterproofing that keeps your house dry, or the building’s mechanical code. These are the tasks you read about and think “I could do that Saturday.”
- The toilet flange height. When you install new tile or a thicker flooring underlayment, the floor rises. The toilet flange needs to sit on top of the finished floor, not under it. Get this wrong and you’ll have a slow leak at the base of the toilet that doesn’t reveal itself for months. By the time you see staining on the subfloor, the damage has already traveled. Flange height is a plumbing calculation, not a flooring decision.
- The shower pan liner. A shower pan is a sloped assembly: preslope, liner, mortar bed, with weepholes at the drain left clear. It’s not a flat sheet of rubber under the tile. If the slope is wrong, water pools and the pan grows mold from underneath. If the liner is punctured during installation, you have a slow drip onto the joists below and no way of knowing for years. This is the single most common cause of water damage in bathrooms we see around Fremont and across the East Bay.
- The exhaust duct termination. Bathroom exhaust fans must vent to the exterior of the building, never into the attic or soffit. A fan that terminates in the attic pumps warm, moist air into the roof assembly, which is a mold problem in a wet season and a rot problem over a decade. In Fremont’s marine climate, we see this constantly on homes built before 2000 where the original duct was never rerouted. Terminating through a roof or sidewall also requires proper flashing, which is roofing work.
If any of those three tasks is on your list, it belongs to a licensed plumber or roofer. Not because you can’t learn them, but because the consequences of getting them subtly wrong are not visible for months and the fix is so much more expensive than the original job.
What “Safely DIY” Actually Means in a Wet Room
Bathrooms live in a water environment. That single fact changes what “cosmetic” means. Materials that look like trim work in a bedroom can function as waterproofing in a bathroom, and vice versa. A homeowner who doesn’t know the difference will paint over a vulnerable substrate, drill through a moisture barrier, or use the wrong backing panel and think they’ve done fine work until the second winter.
Here’s what to understand before you pick up a tool in a wet area:
- Backer board is not drywall. Cement backer board or a bonded waterproofing membrane goes behind tile in wet areas. Drywall (even “moisture-resistant” drywall) belongs only in dry zones. If your tile is directly bonded to drywall in a shower, that’s a future failure even if it looks fine today.
- Waterproofing is a system, not a material. A waterproof membrane needs to be continuous from the shower floor over the curb and up the walls, with seams taped and thinset applied correctly. If you’re not familiar with the system, don’t try it. The failure mode is invisible.
- Caulk isn’t sealant for structural gaps. Caulk flexes and fails. A crack in the shower curb, a gap at the shower pan edge, or a void behind trim needs a substrate fix, not a tube of silicone.
- Vapor and moisture travel. A bathroom vent that runs on a timer is not the same as one that runs long enough to clear the room after every shower. If your fan is noisy or undersized, it’s often better replaced than “DIY-silenced” with a lower-CFM model.
The good news: understanding those four points is enough to keep your cosmetic work safe. You don’t need to learn how to install a shower pan. You do need to know one when you see a bad one, especially if a previous owner left one behind.
Sequencing Your Work Around Professional Rough-In
You can save real money on a bathroom remodel without touching the rough-in yourself. The trick is sequencing. Bring a professional in for the plumbing, electrical, and waterproofing work; take the cosmetic surface work back. Here’s the order that makes it work:
- Design and permit. Decide what moves and what stays. Pull permits for anything on the system side. Draw the layout, note fixture positions, and confirm the allowance list with your contractor in writing.
- Demo (you can do this). Tearing out old tile, cabinetry, and fixtures is often a homeowner task that saves several hundred dollars. Wear a respirator for dust, and turn the water off at the main before you start.
- Professional rough-in. Licensed plumber relocates drain and supply lines. Electrician runs the new circuit for the exhaust fan and vanity lights. Both inspections happen here, before walls close.
- Professional waterproofing. Shower pan, curb, and wall board get built by the trade. This is your most important checkpoint. Don’t skip it to save money on the labor line.
- Tile and flooring (you can often do this, or split it). If your substrate and waterproofing are correct, laying tile is a skill you can learn. Setting tile over a professionally prepared pan is a much safer DIY than building the pan itself.
- Paint, trim, hardware, mirror, and shelving (you can do this). Everything that goes on the outside of the finished wall is fair game. This is where the biggest visible saving is for the least risk.
One caution: sequence your DIY work around, not inside, the contractor’s scope window. If a contractor has just finished a rough-in and closed walls, don’t drill into that wall to hang a mirror before the work is inspected. And confirm whether your contractor’s written workmanship warranty covers adjacent surfaces you chose to handle yourself. At Barrett & Sons, every scope and price change is written out before work starts, which means you can see exactly where the line sits between their warranty and your hands-on work.
The Insurance Angle Nobody Warns You About
Here’s the part of the DIY conversation most guides skip, and it’s the part that costs the most money. When a water damage claim originates in a bathroom, the insurance adjuster is going to ask two questions: what failed, and was the work permitted and inspected. If the answer to the second question is no, the claim is not automatically denied, but it starts getting contested. Adjusters commonly look for the following in a bathroom water-loss investigation:
- Whether a permit was pulled for the plumbing or electrical work that failed
- Whether the failed assembly matches what was in the permitted drawings (a shower relocation that was never permitted gets noticed)
- Whether the waterproofing meets building code, which is often determined by opening the wall
- Whether the exhaust fan terminates properly, because improper termination is a contributing cause in many mold claims
- Whether a licensed contractor performed the work that required one
Unpermitted work also comes up during a home sale. Buyers’ inspectors flag it. Lenders treat it as a defect. And the number that sticks in most homeowners’ heads is the $15,000 negotiation we mentioned at the top, because that’s not a rare story. It’s a routine outcome when a home inspector catches unpermitted plumbing. You don’t need a permit to hang a mirror. But you do need one to relocate a drain line, and the difference between those two tasks is the difference between a $200 saving and a five-figure hit at closing.
The Genuinely Safe DIY Tasks (and What They Save
Let’s give the safe list the respect it deserves, because there’s real money in the cosmetic work. Depending on the size of the bathroom and how far you’re going, taking on the finish-work tasks yourself can shave a meaningful percentage off the contractor’s labor line without any risk to the structural or code side of the job.
- Painting walls, ceiling, and trim. Straightforward, low risk, high visual impact. Use a bathroom-grade paint with mildew resistance.
- Vanity replacement in the same footprint. If the plumbing doesn’t move, swapping a vanity is often within reach. Have a licensed plumber do the final hookup if you’re not comfortable with supply connections.
- Light fixture and mirror swaps on existing wiring. Replacing a fixture on the same circuit is a genuine DIY task. Running a new circuit is not.
- Hanging towel bars, shelves, mirror frames, and register covers. All cosmetic, all yours.
- Flooring on a prepared substrate. If the subfloor is stable and level, laying LVP or tile yourself is often practical.
- Final caulking and paint touch-up. A careful final caulking job in a wet area matters more than most homeowners realize, so get it right.
If you’re also thinking about exterior projects around the home while the bathroom is underway, our guide to Driveway & Pavers in Fremont uses the same “what’s structural, what’s cosmetic” test to help you sort out which yard projects to hand off. Premium hardscape materials like Unilock and Techo-Bloc look best when the base is right, and the base is the part most homeowners should not attempt.
Common Mistakes to Avoid
- Assuming a toilet swap doesn’t need a permit. A like-for-like replacement in the same location often doesn’t, but if you also change the flange height or move the shutoff valve, it can require inspection. Ask before you start.
- Treating a shower pan as a DIY first-timer project. We see shower pan failures on a regular schedule in Fremont, and the pattern is identical: slope too shallow, weepholes blocked, liner punctured. No amount of thinset and caulk fixes a pan that was built wrong.
- Venting the bathroom fan into the attic. This is one of the most common code violations we open walls to fix. It’s never a small repair once the attic has absorbed a few winters of humid air.
- Skipping the moisture barrier behind backer board. Water-resistant board is not a substitute for a proper waterproofing layer. Both belong behind wet-area tile, and one without the other will eventually fail.
- Buying a bargain vanity that doesn’t match the rough-in. Cabinets that don’t line up with the drain and supply lines add cost on the plumbing side that eats the savings on the cabinet. Measure twice.
- Handing a contractor a scope change verbally. If you or a contractor adjust a scope mid-job, get it in writing before the work happens. This is why we issue a written change order every time, so there’s no surprise invoice at the end.
- Assuming DIY work is covered by the contractor’s warranty. Read the warranty. When surface work you did yourself fails, the contractor is not going to fix it for free, and most won’t cover adjacent failures they can’t trace to their own work.
When to Call a Professional
Call a professional when the task moves water, moves electricity, moves load, or moves a permit requirement. That means: relocating a drain, adding a supply line, installing or replacing a shower valve, building a shower pan, terminating an exhaust fan through a roof or wall, running a new electrical circuit, altering a load-bearing wall, converting a tub to a shower, and any work that requires a building inspection in the city of Fremont. Also call when you’re not sure whether a task belongs on that list, because the phone call to the city or a licensed contractor is free and the mistake isn’t. Barrett & Sons Construction Fremont offers free estimates in Fremont and will tell you honestly which tasks you can do yourself and where the professional line sits. Call (833) 620-6162 to schedule yours, with no trip charge inside the county.
If your project extends beyond the bathroom, the same trade-by-trade standards apply to our Home Additions & ADU in Fremont work, where every permit gets pulled and every inspection signed before we call a scope complete. And if you’re also planning a fence replacement this year, our Fence Installation in Fremont guide walks through the exterior projects where the same “structure first, finish second” rule applies.
See the difference
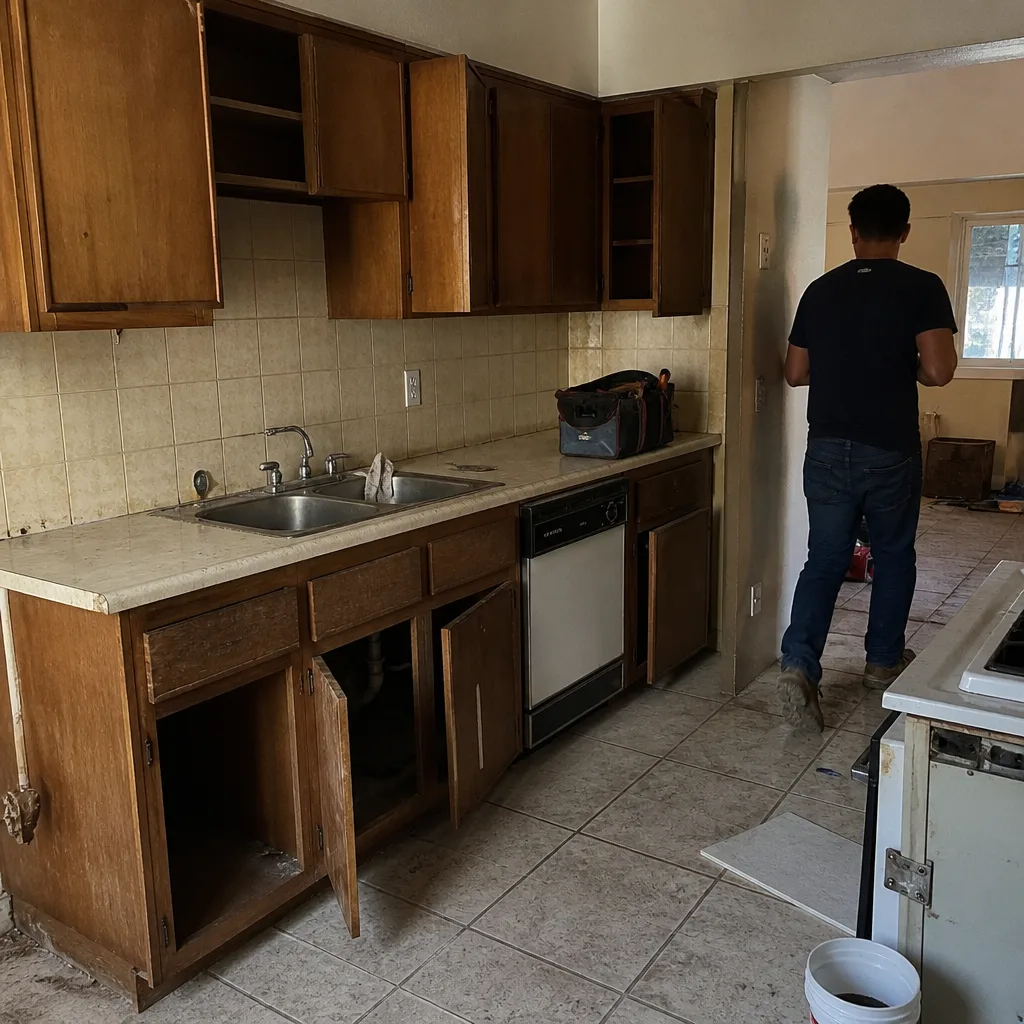 Before
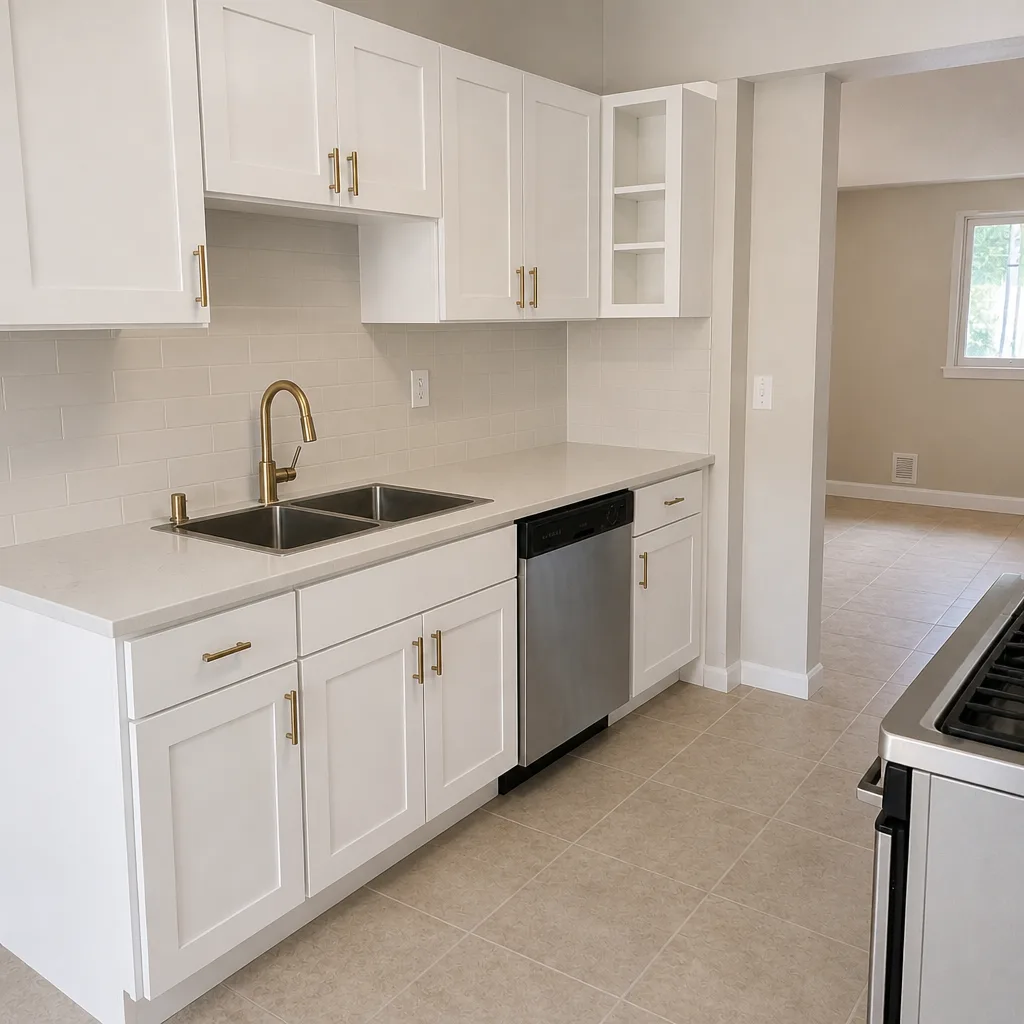 After
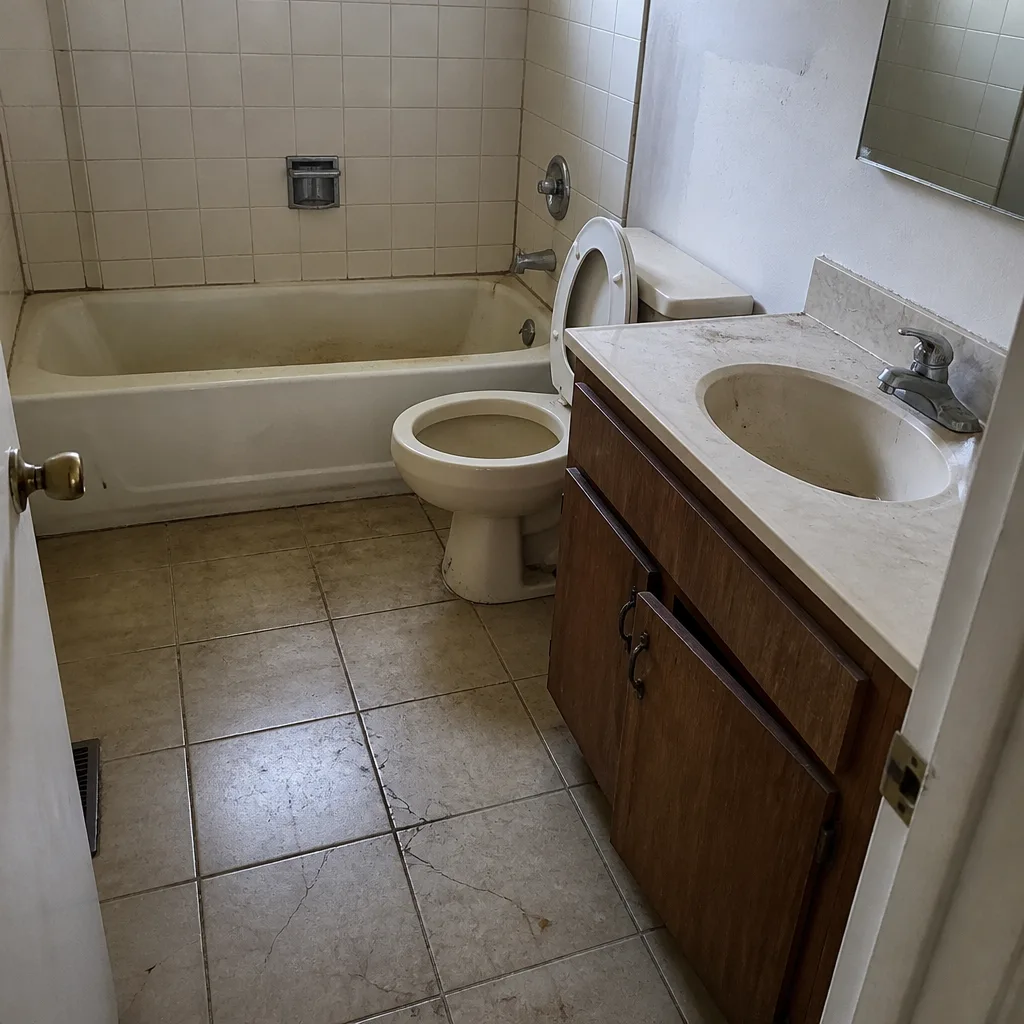 Before
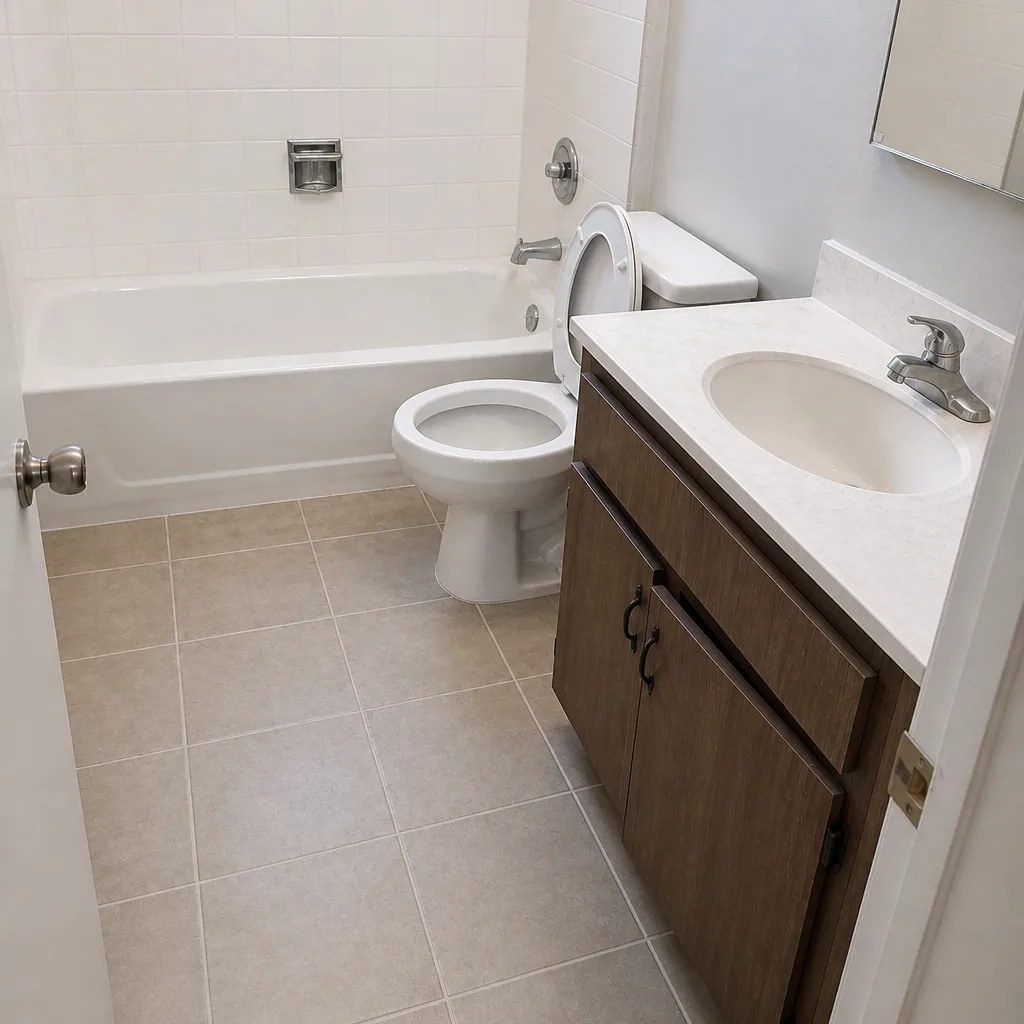 After
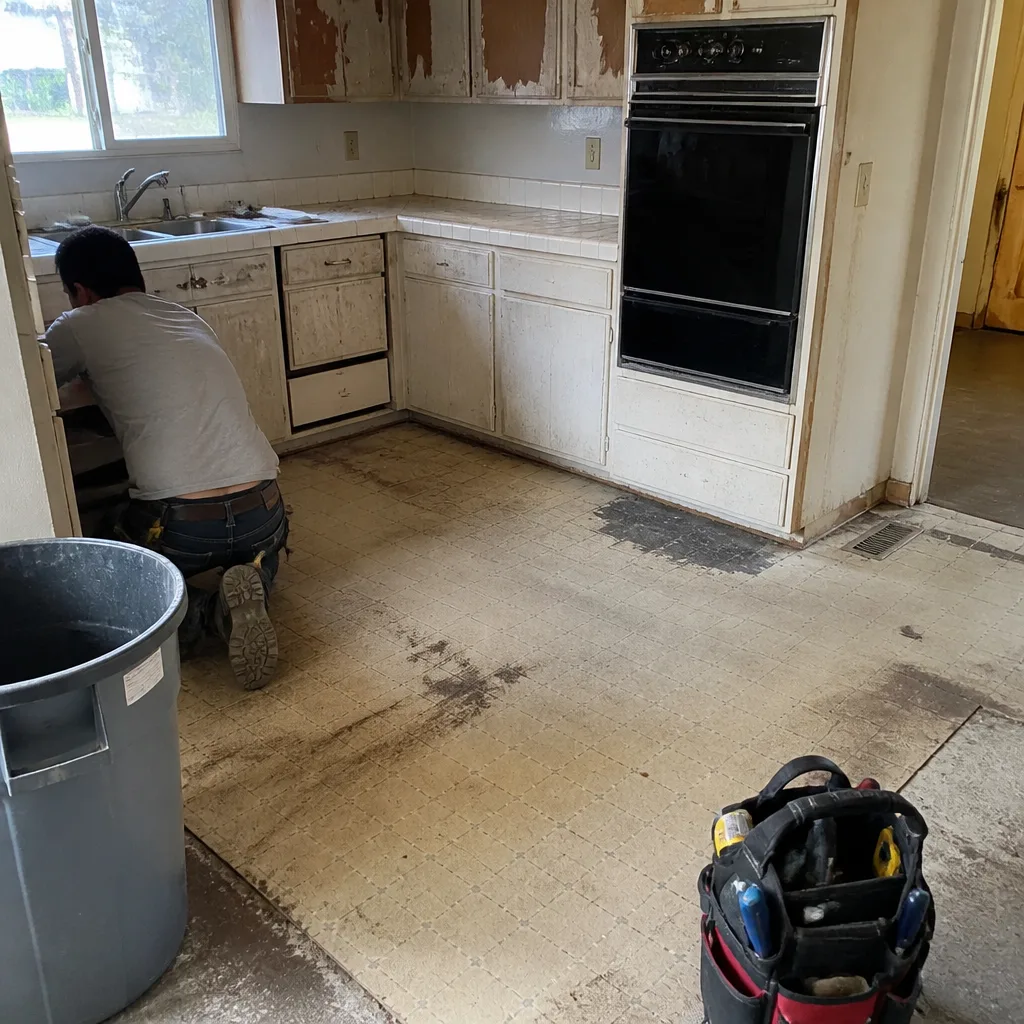 Before
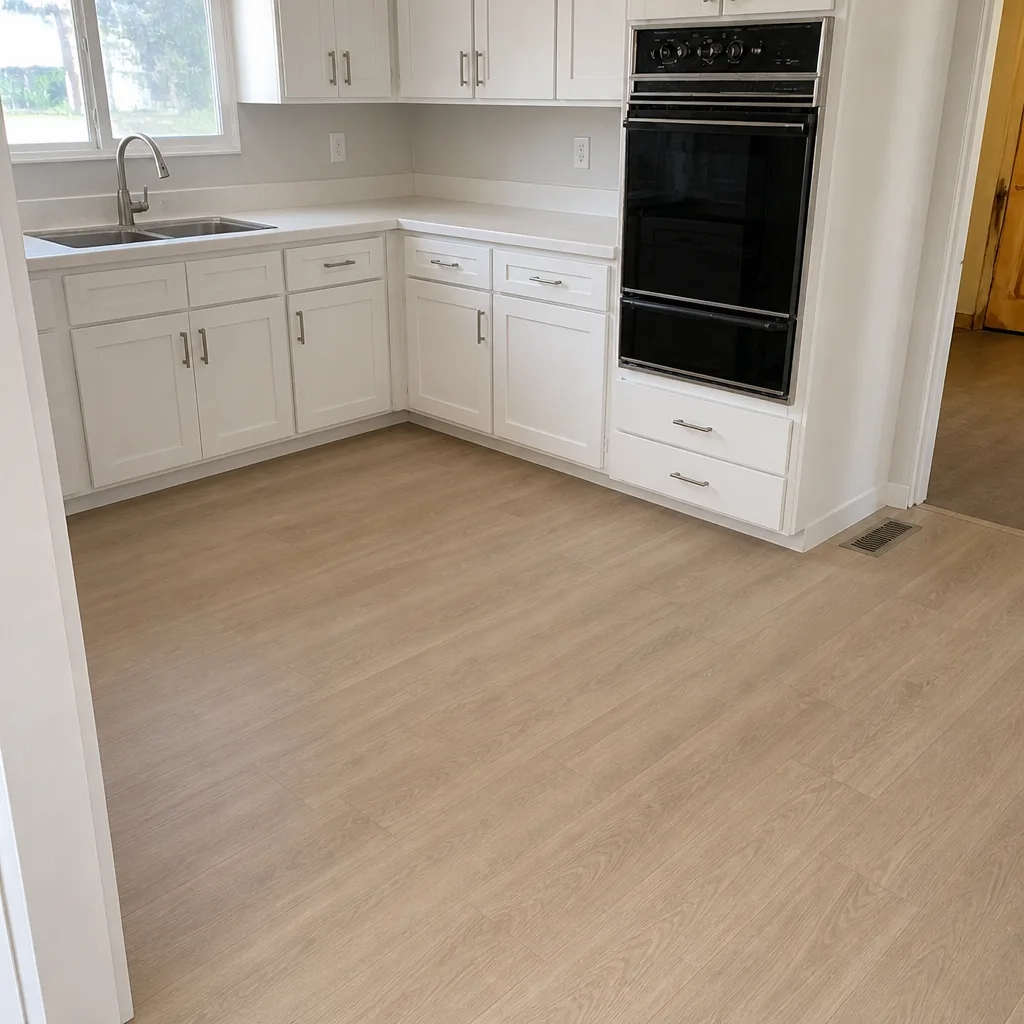 After
Frequently Asked Questions
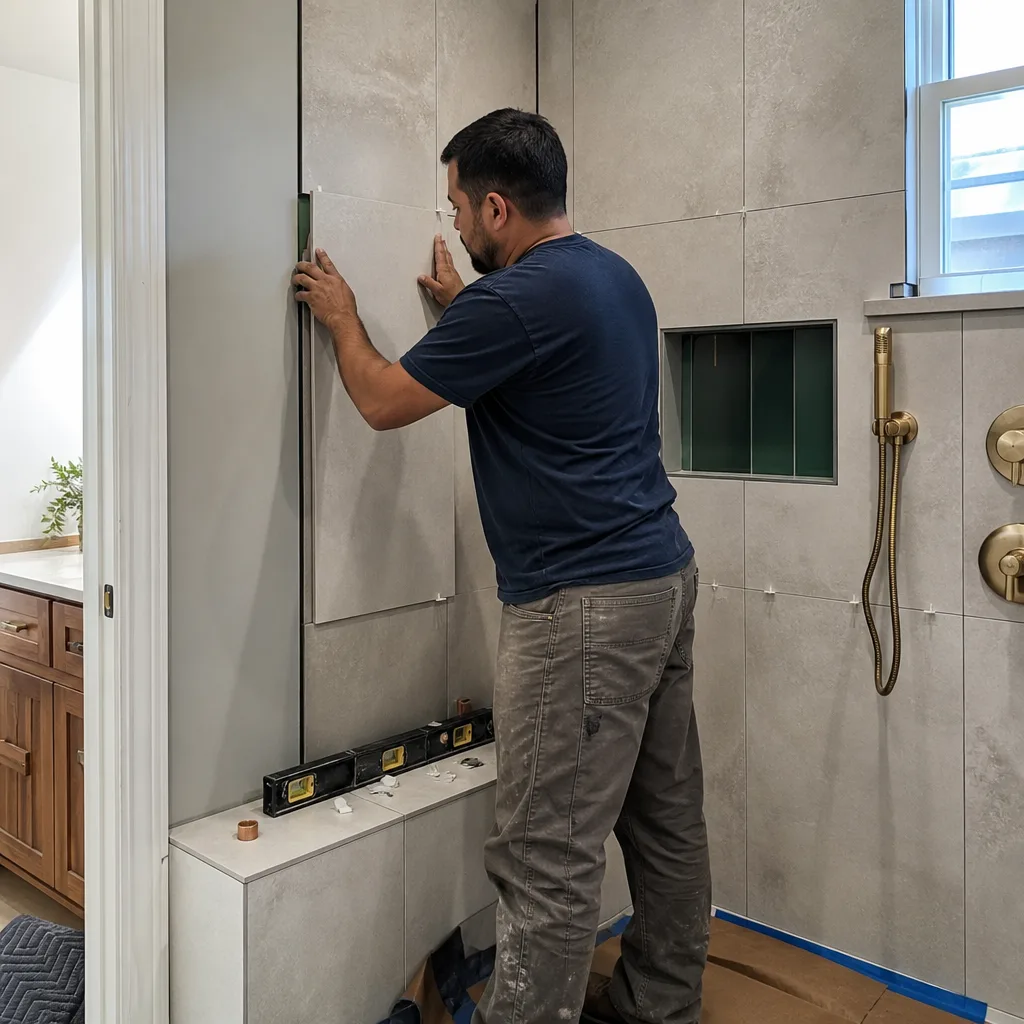
Any work that touches plumbing, electrical, mechanical, or structural systems requires a permit in Fremont. Cosmetic work like painting, tile replacement on an existing substrate, and vanity replacement in the same location usually doesn’t. When a task is on the line, call the city’s permit desk before you begin. The permit process also protects you if the work ever needs to be inspected for insurance or a future home sale.
Replacing a shower valve is plumbing work that typically requires a licensed plumber and, in most cases, an inspection. The valve sits behind the wall, and a slow leak from a bad connection damages the wall assembly for months before it’s visible. This is also one of the tasks where unpermitted work becomes an escrow problem, so it’s not a good candidate for a Saturday solo project.
Painting, trim, hanging shelves and mirrors, swapping light fixtures on existing wiring, replacing register covers, installing flooring over a properly prepared substrate, and final caulking are all safe DIY tasks. Vanity replacement in the same footprint is often fine, but have a licensed plumber do the finish connections if you’re not entirely comfortable with them. The pattern is simple: finish work is yours, systems work is not.
Unpermitted work doesn’t automatically void a policy, but it complicates a water damage claim significantly. Adjusters look at whether the failed work was permitted and inspected, whether it matches the permitted drawings, and whether a licensed trade performed what required one. In practice, many claims tied to unpermitted plumbing get contested, delayed, or partially denied after investigation. The safe approach is to have a written record of every permit pulled.
Bathroom remodels in Fremont typically run anywhere from a modest cosmetic refresh to a full gut remodel depending on square footage, fixture selections, and how far plumbing or electrical work has to move. Because the cost varies so widely by scope, the most useful next step is a written line-item estimate for your specific bathroom. That estimate should break out allowances, trade labor, and permits, so you can see what you’re saving by taking on the finish work yourself.
Yes, demo is one of the highest-value DIY tasks in a bathroom remodel. Tearing out old tile, cabinetry, and fixtures can shave several hundred dollars off the labor line, and it doesn’t affect the structural or code side of the job. Turn the water off at the main first, wear a proper dust mask, and confirm with your contractor which surfaces they want protected before you start swinging.
The Bottom Line
The dividing line in bathroom DIY isn’t skill, and it isn’t confidence. It’s consequence. If a task going wrong is a cosmetic fix next week, it’s yours to do. If a task going wrong is a wall that opens in two years, a claim that gets contested, or a closing that gets renegotiated, it belongs to a licensed professional with a permit on file. Painting, trim, tile over a prepared substrate, and hardware are all real savings. Shower pans, drain relocations, and exhaust terminations are not. In Fremont, where a bathroom remodel already moves real money, the safest posture is to know which side of that line you’re standing on before you pick up a tool.
Contact
If you’re planning a bathroom remodel in Fremont and want to know exactly which tasks are safe to keep and which should be handed off, call (833) 620-6162 to schedule your free estimate. Every scope, allowance, and price change arrives in writing before work happens, permits are pulled on every eligible job, and completed work is backed by the written 90-Day Done Right Promise. Whether you’re a do-it-yourselfer looking for the smart split or you want the whole job handled, we’ll tell you straight where the line is for your bathroom.
Written by the team at Barrett & Sons Construction Fremont.