Last updated November 17, 2026






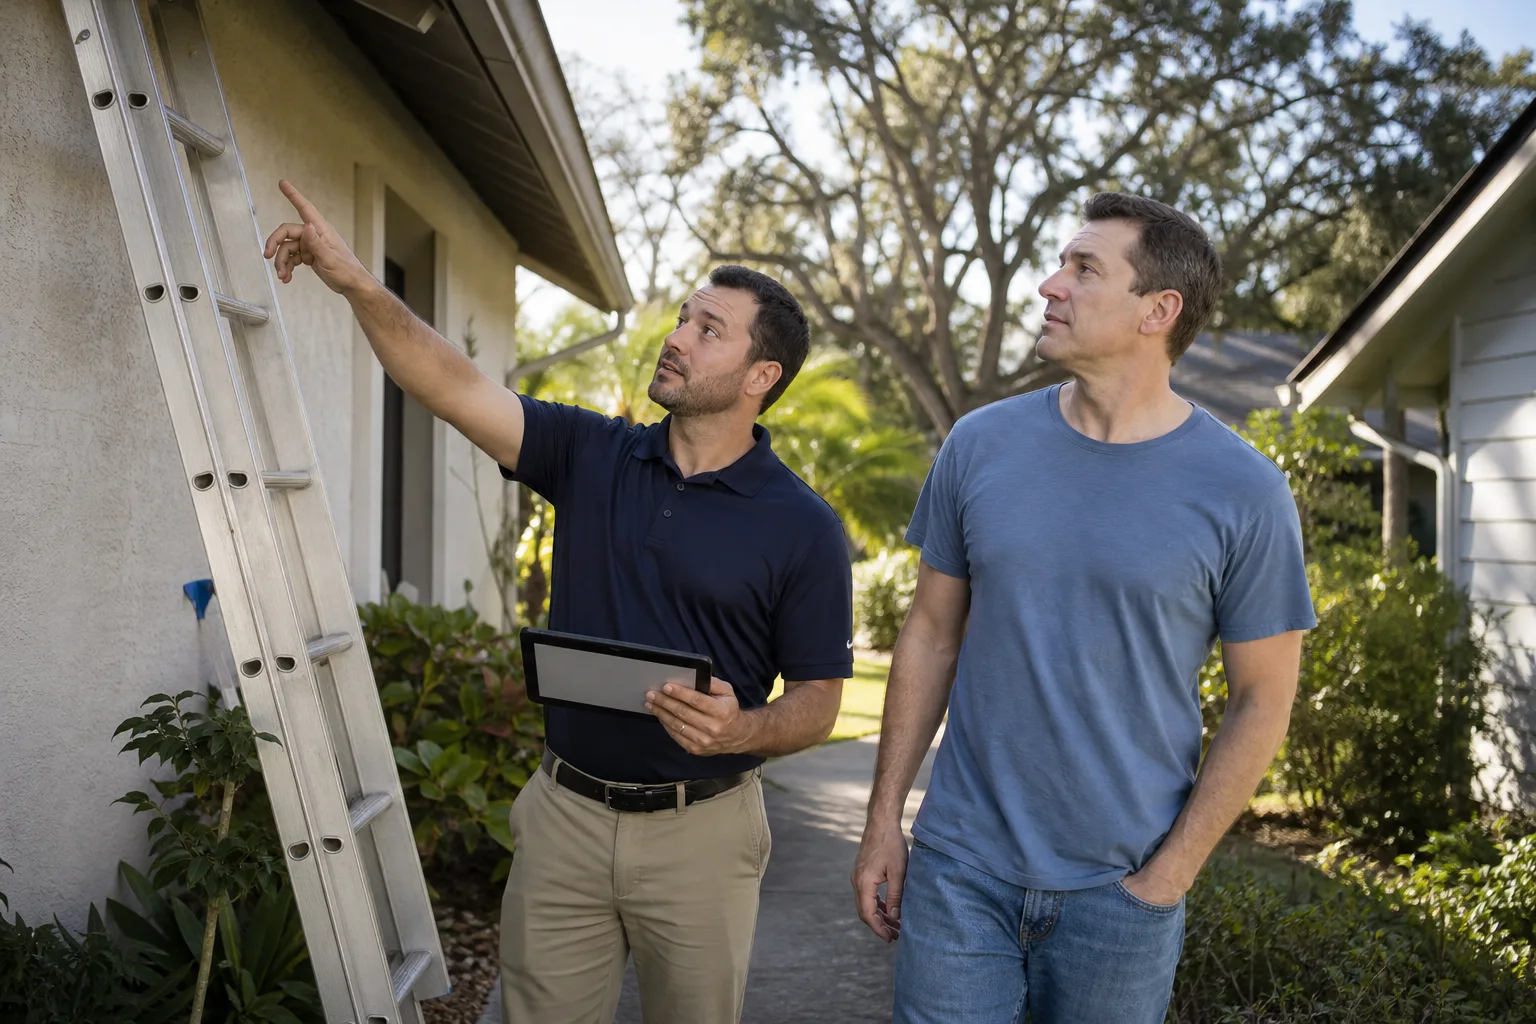
Free written scope consultation - allowances, timeline, and change-order rules on paper before a single trade is scheduled
Construction Emergency Preparedness Guide for Fremont Homes
Here’s the counterintuitive part about preparing a Fremont home for disaster: the two biggest risks sitting under the same city roof demand almost opposite construction responses. A house in Niles Canyon faces flying embers and radiant heat from a brush fire; a house out on the bay flats faces liquefaction – ground that can briefly behave like a liquid during a major quake. One calls for ember-resistant vents and noncombustible decking. The other calls for a beefed-up foundation and cripple wall bracing. Most Fremont homeowners have prepared for neither. This guide walks through all three of Fremont’s real emergency profiles – seismic, wildfire, and flood – and what each one actually means for how your house is built and maintained.
Quick Answer
Construction emergency preparedness in Fremont means matching your upgrades to the hazard your specific neighborhood faces: seismic retrofitting (foundation bolting and cripple wall bracing) for homes on the flats and older tracts, ember-resistant construction and defensible space in the eastern hills, and flood-conscious drainage and elevation awareness in the western lowlands. The work that matters most is documented, permitted, and done before an emergency – not after. Keep your permit history, warranties, and appliance records stored off-site so a claim moves fast when you need it to.
Styles & brands we work with
- Kitchen remodeling
- Bathroom remodeling
- Home additions & ADU
- Roofing
- Windows & doors
- Driveway & pavers
- Fence
Table of Contents
- Fremont’s Three Emergency Profiles and Why They Differ
- Seismic Risk by Neighborhood: Mission Hills, Warm Springs, and Irvington
- The Hillside Wildfire Interface: Construction Steps Beyond Clearing Brush
- Flood Exposure on the Western Flats
- Post-Earthquake Assessment: What to Check Before Re-Entering
- Emergency Contractor Scams That Spike After Bay Area Disasters
- What to Document and Store Off-Site Before an Emergency
- How a Seismic Retrofit Actually Works
Fremont’s Three Emergency Profiles and Why They Differ
Fremont is unusual because three distinct hazard zones meet inside one city boundary, and the construction trade-offs between them aren’t small details. A retrofit that makes sense in the Warm Springs flats might not be the first dollar you spend up in the hills, and vice versa. This is where a lot of generic preparedness advice falls apart – it treats a house as one generic box instead of three different boxes in three different landscapes.
Here’s how the profiles break down in practical construction terms:
- Eastern hills (Niles Canyon, Mission Hills, the foothills toward Vargas Plateau): The dominant risk is wildfire – specifically ember intrusion and radiant heat, not just a flame front. Construction response centers on vent screens, roof and gutter details, deck materials, and window ratings.
- Western lowlands (bay-adjacent flats, areas near the sloughs and marshlands): The dominant risks are liquefaction during a major quake and localized flooding in heavy rain. Construction response centers on foundation type, drainage capacity, and knowing your elevation.
- The older central tracts (Irvington, Centerville, Glenmoor): Many homes here date to mid-century construction with unbolted foundations and short cripple walls. The dominant risk is seismic movement and the structural failure that follows a foundation that isn’t tied to the house.
If you’re not sure which profile fits your address, that’s the first thing to sort out. Your hazard zone drives everything else you’ll read here.
Seismic Risk by Neighborhood: Mission Hills, Warm Springs, and Irvington
Ground shaking isn’t the same across Fremont. The Hayward Fault runs through the East Bay, and the composition of the ground under your foundation changes how that shaking reaches your house. Two neighbors a few miles apart can have very different experiences in the same quake.
Mission Hills sits up in the hills, where stiffer, rockier ground tends to transmit higher-frequency shaking. That can mean more of the sharp lateral jolt that stresses cripple walls and connections. Homes on slopes also carry the added concern of how the foundation is tied into grade, and whether retaining structures are holding.
The Warm Springs flats are the classic liquefaction concern. Soft, saturated, sandy soils there can lose strength during prolonged shaking. When the ground moves like that, even a well-built house can shift, and a poorly anchored one can slide off its foundation. This is where bolting and proper cripple wall bracing matter most, and where knowing the type of foundation you have is not optional.
Irvington has a lot of older homes – many from the 1940s through 1960s – with unbolted sill plates and short cripple walls that predate modern seismic standards. The buildings are often solid for their era, but they were never designed to take the shaking a major Hayward Fault event can deliver. That’s not a scare tactic; it’s a construction fact. What it means, plainly:
- Bolt the sill plate to the foundation, or add a foundation if there isn’t enough of one to anchor to.
- Brace short cripple walls with structural plywood so they can’t rack sideways.
- Strap the water heater so it can’t tip and start a fire or a flood in the same event.
- Check how chimneys and masonry are anchored – older brick can come down.
A licensed contractor should assess your specific house before any of this is scoped. There’s no reliable way to pick the package from a distance. Our technicians have up to 28 years of experience with these older Bay Area foundations, and the first visit is always about finding out what you actually have.
The Hillside Wildfire Interface: Construction Steps Beyond Clearing Brush
Everyone talks about clearing vegetation around the house, and that matters. But in a wind-driven wildfire, the fire that reaches your home often arrives as thousands of embers landing on roofs, gutters, vents, and decks hours before any flame front gets close. Vegetation clearing doesn’t stop embers. You need the building envelope itself to resist them.
In our experience with Fremont hillside homes, these are the construction-level steps that make the most difference, in rough order of impact:
- Ember-resistant foundation and attic vents. Standard open-slot vents let embers straight into the crawlspace or attic. Replace them with small-mesh, noncombustible vent covers rated for the exposure. This is one of the highest-value, lowest-cost upgrades on a hillside house.
- Gutter ember guards. A gutter packed with dry needles and oak debris is an ember trap that feeds fire right into the roof edge. Metal gutter guards keep the fuel load out and are far easier to keep clean through fire season.
- Deck and siding materials. Wood decking and thin lap siding can ignite from ember showers. Replacing an old deck with a fire-rated material, and upgrading hot exterior walls with noncombustible siding, closes one of the biggest gaps in an otherwise defensible home.
- Window rating. Tempered, dual-pane, high-heat-rated windows resist cracking from radiant heat – and a broken window is an open door for fire.
- Roof class. Class A roofing assemblies are the baseline. On older roofs, check the valleys, eaves, and any place debris collects; those spots decide how fast a roof fire starts.
Windows and doors get replaced on plenty of these homes anyway when owners upgrade, and choosing a brand like Therma-Tru or a heat-rated window line adds real preparedness value on top of the everyday improvement. That’s the kind of decision where construction work doubles as safety work.
Flood Exposure on the Western Flats
The bay-side flats have a different problem. Large portions of the west Fremont lowlands sit in FEMA-mapped flood zones, and heavy winter rain combined with saturated ground and high tides can push water toward homes that don’t sit in a flood zone on most maps. When we look at flood preparedness from a construction angle, the conversation is usually about three things: drainage, elevation, and what’s stored where.
- Site drainage. Grading that slopes away from the house, working foundation drains, and clear storm lines are the difference between a wet crawlspace and a flooded one. A crawlspace that sits damp after every storm is worth investigating before the next rainy season.
- Elevation and foundation type. Knowing your finished floor height relative to the surrounding grade tells you how much margin you have. Homes with raised foundations or crawlspaces have more buffer than slab-on-grade homes, but that buffer only helps if the drainage works.
- What’s stored low. Anything electrical, mechanical, or irreplaceable that lives in a garage or basement corner needs to move up or move out. Water rises; plan for it.
On the flats, drainage repairs, regrading, and driveway and hardscape work that improves water movement around the house all serve preparedness at the same time. A properly sloped yard and functional hardscape isn’t just curb appeal – it’s flood infrastructure.
Post-Earthquake Assessment: What to Check Before Re-Entering
In the first hours after a serious quake, the safest choice is usually to stay out of the house until you’re sure it’s safe. Knowing what to look at means you’ll spot trouble fast and document it correctly for an insurance claim. Here’s a practical sequence for assessing your own home’s exterior and interior before full re-entry. This is observation, not repair – if anything looks structurally wrong, call a professional and stay out.
- From the street, look at the whole house. Is it still level? Is there a lean, a sag, or any separation between the house and the chimney? Is the house sitting squarely on its foundation, or has it shifted off the sill?
- Check the foundation line. Look for new cracks in the concrete, gaps between the sill plate and the foundation, or visible daylight under walls. Any of these is a call-a-professional signal.
- Check the exterior envelope. Cracked stucco or siding, popped window frames, and dislodged roof tiles or shingles all need documenting.
- Check the gas and the water heater. If you smell gas, get out and call the utility from outside. If the water heater tipped or its straps failed, that’s a note for the contractor and the insurer.
- Inside, look for diagonal cracks in drywall, sticking doors, and gaps at the ceiling line. A few hairline cracks are normal; a brand-new wide crack or a door that suddenly won’t close can mean the structure has racked.
- Photograph everything before you move a single item. Wide shots of each room, close-ups of every crack, and the exterior from several angles. Don’t clean a spill or sweep up debris until you’ve documented it. Insurers want the “before cleanup” record.
That last step is the one most people skip, and it’s the one that costs them at claim time.
Emergency Contractor Scams That Spike After Bay Area Disasters
Disasters bring out the worst in a small slice of the trades. After the 2014 South Napa earthquake, homeowners across the region – including here in Fremont – dealt with contractors who showed up in the days after a quake, quoted a repair on the spot, collected a large deposit, and disappeared or did unsafe work. The tactics weren’t subtle, but they worked because people were scared and in a hurry.
What made homeowners vulnerable was almost always the same. No written scope. No verifiable license. A deposit paid in cash with nothing on paper. And pressure to decide fast because “we’re booked solid after the quake.” Recognizing the playbook is the best defense:
- Unsolicited door-knocking right after a disaster. Legitimate contractors don’t need to chase work after an earthquake. Be wary of anyone who arrives uninvited offering to “fix it today.”
- A price quoted verbally and changed later. Insist on a written scope and a written price before any work. An allowance that isn’t on paper is a surprise waiting for a date.
- No published license or address. Anyone legitimate will hand you a name and license number you can look up. Ask for it, then actually look it up.
- Large cash deposits up front. Big deposits leave you with no leverage if the work stalls.
- Work that “doesn’t need a permit.” Post-quake structural repairs almost always need one. A contractor who says permits are optional is telling you something about how they operate.
Our approach is the opposite by design: scope in writing, allowances in writing, change orders in writing before the work moves, and permits pulled on every eligible job. The permit inspector works for you, not for us – that’s the point. When something’s wrong, we come back and make it right under our 90-Day Done Right Promise. Look up the license number before you sign anything; we publish ours for exactly that reason.
What to Document and Store Off-Site Before an Emergency
When a quake or a fire hits, the last thing you want to be doing is hunting for paperwork in a house you can’t safely enter. The documents that speed up a claim and get construction moving should already be copied and stored somewhere off-site – a cloud folder, a safe deposit box, or a relative’s house. Five minutes a year of maintenance saves weeks of frustration in the worst week of your year.
Here’s the list worth assembling now:
- Permit history. Every permit pulled on the house, who pulled it, and the final inspection sign-off. This proves what’s been done and to what standard.
- Contractor warranties. The written warranties behind your roof, windows, appliances, and any recent work. The 90-Day Done Right Promise and any manufacturer coverage should all be in that folder.
- Appliance and equipment model numbers. The model and serial numbers on the furnace, water heater, HVAC, and major appliances. Replacement matching is faster with the numbers in hand.
- Photos of every room and the exterior. Date-stamped, current, and shot from multiple angles. This is your “before” record for the entire house.
- Insurance policy and a home inventory. A room-by-room list of what you own, with values. Insurers can process a documented claim far faster than a remembered one.
- Receipts for major upgrades. Foundation work, roof replacement, window upgrades – anything that raises your coverage or proves the home’s condition.
Keep it current. A folder from five years ago is better than nothing, but a current one is what actually gets used.
How a Seismic Retrofit Actually Works
Seismic retrofitting is the single most valuable construction step for a lot of Fremont homes, especially the older ones in Irvington, Centerville, and Glenmoor. The goal is simple to say: keep the house attached to its foundation, and keep the foundation from moving independently of the house. The work behind that goal is specific and gets scoped to your house.
At a high level, a retrofit touches three things:
- Anchor the house. The wood frame gets bolted or plated to the concrete foundation so the two move together. Where the foundation isn’t adequate, a new foundation or foundation reinforcement comes first.
- Brace the cripple wall. The short wall between the foundation and the first floor gets sheathed in structural plywood so it can’t rack sideways. This is often the most important single component for older homes.
- Connect the systems. That includes strapping the water heater, anchoring the chimney, and confirming how the roof framing ties together.
A retrofit is a permitted, inspected job – not something to attempt from a kit or from a weekend video. The work involves structural connections, and getting them wrong can make a house more vulnerable. A trained professional assesses your foundation type and does the work properly. If you’re in the hills and facing wildfire first, our guide to Home Additions & ADU in Fremont also covers how new construction integrates modern fire and seismic ratings from the start.
Common Mistakes to Avoid
- Treating Fremont as one hazard zone. The mistake most owners make is reading generic earthquake advice when their real risk is wildfire or flood. Match the preparedness to your address.
- Skipping the construction envelope and only clearing brush. Vegetation clearing is important but it doesn’t stop embers. Ember-resistant vents and gutter guards do. The envelope is the part that gets tested first.
- Cleaning up before documenting. Sweeping debris or moving furniture before you photograph the damage undercuts your insurance claim. Document first, clean second.
- Hiring the first contractor who knocks after a quake. Post-disaster scams cost homeowners real money. A verifiable license and a written scope are non-negotiable.
- Never checking the foundation on a mid-century home. Plenty of Fremont homes built before modern seismic standards still have unbolted sills. That’s a quiet risk sitting under the floor.
- Keeping critical documents only on the premises. Permit history, warranties, and appraisals inside the house are the first things you can’t reach. Store copies off-site.
See the difference
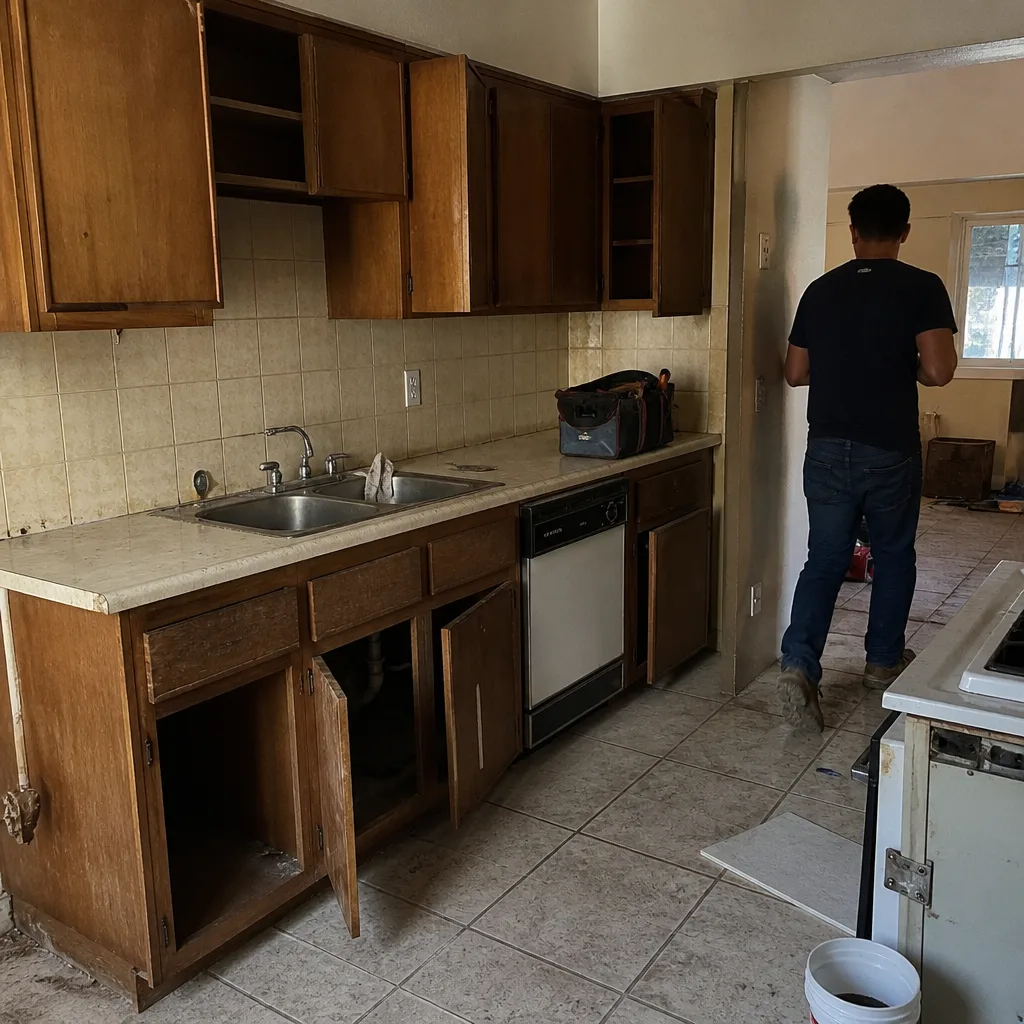 Before
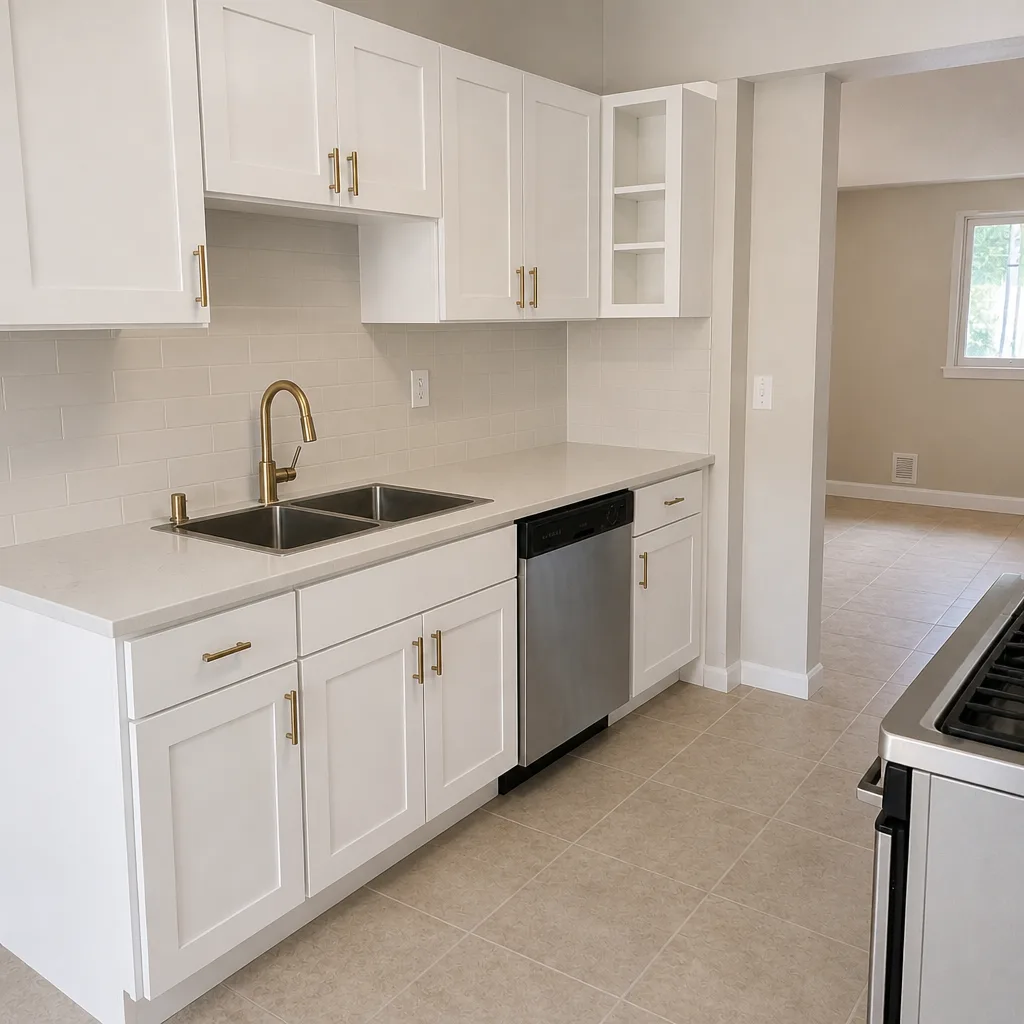 After
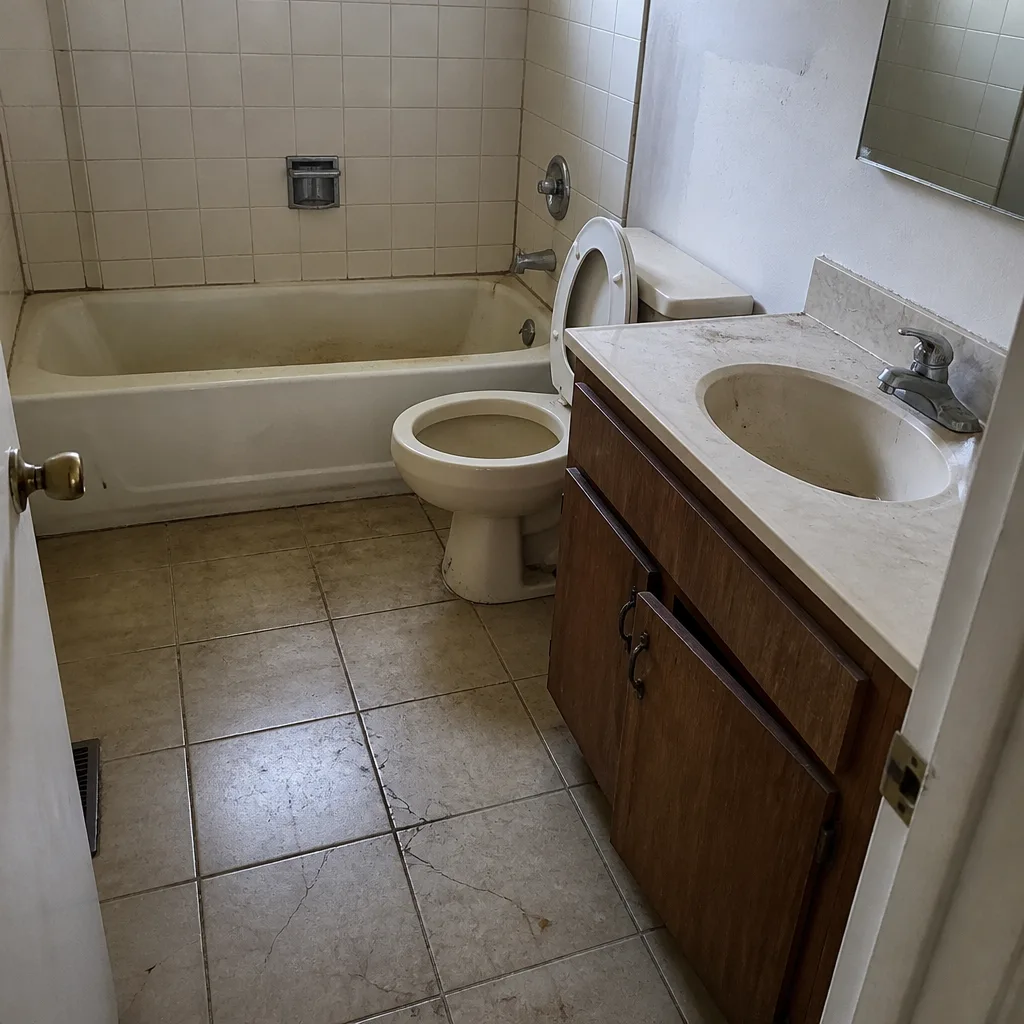 Before
 After
 Before
 After
When to Call a Professional
Some things you can inspect yourself. Others you should not attempt. Call a licensed contractor when you see a lean, a gap between the wall and the foundation, or daylight under the sill; when an older home has never been retrofitted and you want it assessed; when a hillside home needs vent, deck, or roof-edge upgrades and you want to know which ones are worth the money; or when drainage around a low-lying house is failing every rainy season. Post-quake structural repairs need a permitted, inspected path, and that’s exactly the work that shouldn’t be improvised. If you’re still sorting out your property’s whole picture, start with our guide to creating a current Barrett & Sons Construction Fremont home hazard map, then work outward from the biggest risk. Barrett & Sons Construction Fremont offers free estimates in Fremont – call (833) 620-6162 and a live person answers, day or night.
Frequently Asked Questions

For older homes, the highest-value upgrade is anchoring the house to its foundation – bolting the sill plate and bracing the cripple wall. That pair of steps does more than anything else to keep an older Irvington or Centerville home on its foundation during serious shaking. A licensed contractor should assess your foundation type before anything is scoped. Call (833) 620-6162 for a free estimate – estimates are free.
Yes. Brush clearance alone doesn’t stop wind-driven embers that land on vents, gutters, and decks hours before any flame front. Ember-resistant vent covers, metal gutter guards, and fire-rated decking and siding close the gaps that vegetation clearing leaves open. That’s a construction job, not a landscaping one. Call (833) 620-6162 for a free estimate – estimates are free.
Photograph the whole house before you move a single item – the exterior from the street, the foundation line, the roof edge, then each room wide and each crack close-up. Shoot the “before cleanup” record first, then any debris. Insurers process a documented claim far faster than a remembered one.
Not on a Barrett & Sons job without your written approval. Every scope, allowance, and price change arrives as a written change order before the work proceeds – no surprise invoices at the end. That’s the whole reason an allowance without paper is called a surprise waiting for a date. Call (833) 620-6162 to schedule your free estimate.
Yes – every eligible job gets permits pulled and inspections signed, and post-quake structural work almost always needs both. A contractor who says permits are optional after a disaster is telling you how they operate. The permit inspector works for you, not for us. Call (833) 620-6162 for a free estimate.
The tell is almost always no written scope and no verifiable license, plus a large cash deposit and pressure to decide same-day. Insist on a written price, look up the license yourself, and be wary of anyone door-knocking uninvited offering to “fix it today.” For a legitimate second look at any quote you’ve been given, use our free Second Opinion on Any Written Estimate.
The Bottom Line
Fremont’s three hazard zones – seismic, wildfire, and flood – each call for a different construction response, and the right preparation is the one matched to your address, not a generic checklist. Anchor and brace older homes on the flats, close the ember gaps in the hills, and keep drainage and elevation in mind on the low ground. Do the permitted work before an emergency, document everything and store the records off-site, and hire verifiable, licensed professionals you can look up. Preparedness is construction work, not a rainy-day hope. Whether you need a Driveway & Pavers in Fremont design that moves water away from the house or a Fence Installation in Fremont project using a brand like Barrette or Master Halco, the work starts with a conversation about your specific house.
If this all sounds like more work than you know where to start with, that’s normal. Call us at (833) 620-6162 for a free estimate and a live person will pick up. We’ll walk the property, tell you what your home actually needs, put the scope in writing, and pull the permits before anything gets built. Our technicians have up to 28 years of experience, and the crew that shows up carries the Barrett & Sons name.
Written by the team at Barrett & Sons Construction Fremont.