Last updated November 17, 2026




Free written scope consultation - allowances, timeline, and change-order rules on paper before a single trade is scheduled
DIY vs Professional Windows & Doors: What’s Safe to Do Yourself
Replacing a window in the same opening with the same size is one of the most DIY-friendly jobs in home improvement. Changing that opening by two inches in either direction becomes a permitted structural alteration in Fremont, and most homeowners don’t know which side of that line they’re standing on. The difference between a weekend project and a pulled permit isn’t skill. It’s geometry, egress code, and how your local building department reads your scope. This guide draws the line at the task level, not the skill level, so you can look at your own project and know exactly which jobs are yours and which ones need a licensed crew and an inspection. We’ve watched plenty of Fremont homeowners start on the safe side of that line and accidentally cross it halfway through a Saturday.
Quick Answer
A same-size window swap into an existing, undamaged opening is generally safe to do yourself if you’re comfortable with flashing, shimming, and sealing, and if the window meets egress rules for bedrooms. Any change to the rough opening size, any new opening in a wall, any door replacement that touches the header or framing, and any bedroom window project where you’re unsure of egress compliance belongs with a licensed contractor who pulls the permit. The work itself is often easy. The liability isn’t.
Styles & brands we work with
- Kitchen remodeling
- Bathroom remodeling
- Home additions & ADU
- Roofing
- Windows & doors
- Driveway & pavers
- Fence
Table of Contents
- The Permit Line: What “Like-for-Like” Actually Means in Fremont
- What You Can Safely Do Yourself
- The Egress Check Every Homeowner Should Run First
- Why Flashing Is the Most Consequential Part of the Job
- Doors: Where the DIY Line Sits Differently
- How to Work Alongside a Licensed Contractor and Cut the Bill
- Common Mistakes to Avoid
- When to Call a Professional
The Permit Line: What “Like-for-Like” Actually Means in Fremont
Most cities draw a permit exemption around what’s called like-for-like replacement. In Fremont, that generally means removing a window and installing a new one of the same size into the same opening, with no structural changes, no alteration to the rough opening, and no change in the window’s function or egress characteristics. If your project fits that description, you can often replace the window without a building permit. If it doesn’t, you’re into permitted work.
Here’s what typically disqualifies a window swap from the exemption:
- Changing the rough opening dimensions. Widening or heightening the opening by even a couple of inches changes the structural load path around the window. That’s a framing alteration, and framing alterations need a permit.
- Cutting a new opening in a wall. Any new window or door where none existed is permitted work and usually requires structural review.
- Changing the window type in a way that affects egress. Swapping an operable bedroom window for a fixed one, or a slider for an awning that opens less, can fail egress. That’s a code issue and it disqualifies the exemption.
- Altering the header, jack studs, or king studs. The moment you touch the structural frame around the opening, you’re past like-for-like.
- Any project on a historic property or in a designated overlay. Fremont has areas where exterior changes get additional review.
The practical test is simple. If the new window drops into the old opening with no cutting of framing and the same rough opening dimensions, you’re likely in the clear. The moment you pick up a saw to enlarge something, stop and call the building department. This is the same rule we apply to every window and door job we take on: the scope gets written down, the permit gets pulled if the scope requires it, and no work happens until both are settled.
What You Can Safely Do Yourself
Plenty of window and door work doesn’t touch the permit line at all. These are the jobs where a careful homeowner with basic tools and patience can save real money without creating liability.
Hardware replacement
Crank operators, locks, latches, hinges, and sash balances are all replaceable without removing the window. On older Fremont homes with aluminum slider windows, rollers and tracks wear out long before the unit itself does. Replacing them is a screwdriver and a ten-minute job once you have the right part. Look up your window’s manufacturer and model before ordering anything. ES Windows and ECO Window Systems, both common in Bay Area installs, publish parts lists and can point you to a local supplier.
Weatherstripping
Door sweeps, sill seals, and the foam or felt strips around window sashes are wear items. Replacing them costs less than $30 in materials and makes a measurable difference in drafts and energy bills. The limit: weatherstripping fixes air leaks, not water intrusion. If you’re seeing moisture inside the frame after a storm, the problem is higher up in the installation, not at the seal.
Interior and exterior casing
Trim around a window or door is finish work. You can remove and replace interior casing without touching the window. Exterior casing is also fair game as long as you’re not disturbing the flashing behind it or the weather barrier. The limit: if you remove exterior trim and find a metal flashing pan or a peel-and-stick membrane behind it, stop. That’s the water management layer, and it has to be reinstalled correctly.
Basic shimming and adjustment
On a newly installed window, adjusting shims at the sill to fix an out-of-square sash is fine. On an older window that’s been in service and has started sticking, adjusting shims usually means something has moved, and pulling on it can make things worse. If a window that used to operate smoothly now doesn’t, that’s a sign to look at the framing, not the shims.
The Egress Check Every Homeowner Should Run Before Touching a Bedroom Window
Bedroom windows are the single most common place a homeowner crosses the permit line without knowing it. Egress is the code requirement that every sleeping room has a window large enough to climb out of in a fire. If your replacement window doesn’t meet the minimum, the project isn’t like-for-like, and in most jurisdictions it isn’t permit-exempt either. Worse, a non-compliant egress window can cause real trouble at resale, when an inspector or a buyer’s agent catches it.
Run this five-step check before any bedroom window project:
- Measure the clear opening. That’s the actual open space once the window is fully open, not the window’s exterior dimensions. Measure both the width and the height of the open area.
- Confirm the minimums. The clear opening generally needs at least 5.7 square feet of total area, with a minimum 20-inch width and 24-inch height in most code editions used in California. Confirm the specific requirement with Fremont’s building department for your project.
- Check the sill height. The bottom of the opening typically can’t be more than 44 inches off the floor.
- Check the operating type. A single-hung window only opens half its total height. A slider opens half its total width. A casement or awning opens nearly the full opening. This is why swapping one operable type for another changes your egress result even when the exterior size is identical.
- Confirm it operates. A window that’s painted shut or has a broken operator isn’t an egress window regardless of its measurements.
If your replacement fails any of these, you’re not doing a like-for-like swap anymore. You’re doing permitted structural work on a life-safety component. That’s a contractor job, and the permit isn’t optional.
Why Flashing Is the Most Consequential Part of the Job
Flashing is the water management system around a window or door. It’s the sill pan, the head flashing, the side jambs, and the integration with the building’s weather barrier. It’s also where DIY window installations go wrong, and the reason getting it 90% right is worse than getting it 60% right is straightforward: water doesn’t care about averages. It finds the one edge you didn’t seal correctly, and it goes there every single time it rains.
In our experience, most window leaks we’re called to fix after a homeowner install aren’t from the window. They’re from the flashing. Specifically:
- The sill pan was skipped or installed backward, so water that gets behind the window drains inward instead of out.
- The head flashing was installed over the weather barrier instead of under it, so water running down the wall gets behind the membrane.
- The shims under the sill created a gap in the backing, letting water pool under the frame.
- The perimeter seal was run with caulk only, no foam or backer rod, so the seal failed within one or two seasons.
Fremont gets most of its rain between November and March, with dry summers in between. That pattern is forgiving to a lot of mistakes because leaks only show up during the wet season. But when they do show up, they’ve had months to work. A small flashing failure that lets a cup of water into the wall cavity every storm can rot framing, grow mold, and stain interior drywall by spring. The cost of fixing that is exponentially higher than the labor you saved on the install. Because the water damage is technically your responsibility once you’ve done the work, your homeowner’s insurance may also decline to cover it if the installation wasn’t permitted or inspected. That insurance point is the one most people miss.
Doors: Where the DIY Line Sits Differently
Doors shift the DIY line in two directions depending on the type of door and what’s happening behind the frame.
Safe to replace yourself: An interior door slab in the same jamb, replacing a door’s hardware, weatherstripping on an exterior door, and replacing a door’s threshold as long as you’re not disturbing the sill pan underneath. Hanging a pre-hung interior door into an existing framed opening is also reasonable for a confident homeowner. Therma-Tru and similar manufacturers make door slabs that install into existing jambs with minimal fuss.
Not safe without a licensed contractor: Any exterior door where the frame, rough opening, or header is being modified. Any new exterior door where none existed, which is a structural opening and always permitted. Any sliding patio door replacement where the rough opening is being changed. Any door opening that requires a new header or enlarged framing. And any garage-to-house door, which has a specific fire-rated assembly requirement.
Exterior doors also carry a weight and safety issue that windows often don’t. An exterior door is a security component, and a bad installation throws off the strike plate alignment, weakens the deadbolt’s anchoring into the jamb, and creates a drafty gap. A door that looks fine but doesn’t latch properly is a security problem, not just an inconvenience. If you’re not confident you can hang it plumb, square, and with the strike plate dead-on in the jamb, the labor you save isn’t worth it.
How to Work Alongside a Licensed Contractor and Cut the Bill
There’s a middle path that most homeowners don’t know exists. You can reduce a window or door project’s invoice by owning the prep work, the finish work, and the cleanup, without touching anything that needs to be on the contractor’s license or permit scope. It works like this:
- Demolition on like-for-like replacements. Removing interior casing and pulling out the old window sash is something you can do. Have the contractor confirm the scope in writing first, so there’s no confusion about who’s responsible if interior framing is discovered to be damaged once the old window is out.
- Pre-project measurements. Take your own measurements and write them down. Real pros measure to the rough opening themselves, but having your numbers ready shortens the estimate visit and reduces the chance of a size surprise.
- Interior finish work. If the contractor installs and flashes the window correctly, you can do the interior drywall patching, trim, and paint afterward. Many contractors will leave the interior open for this. Get it agreed in writing before the job starts.
- Cleanup and disposal. Some quotes include debris hauling and some don’t. Confirm in the written scope. Doing the haul yourself, including old window units, can save a small line item.
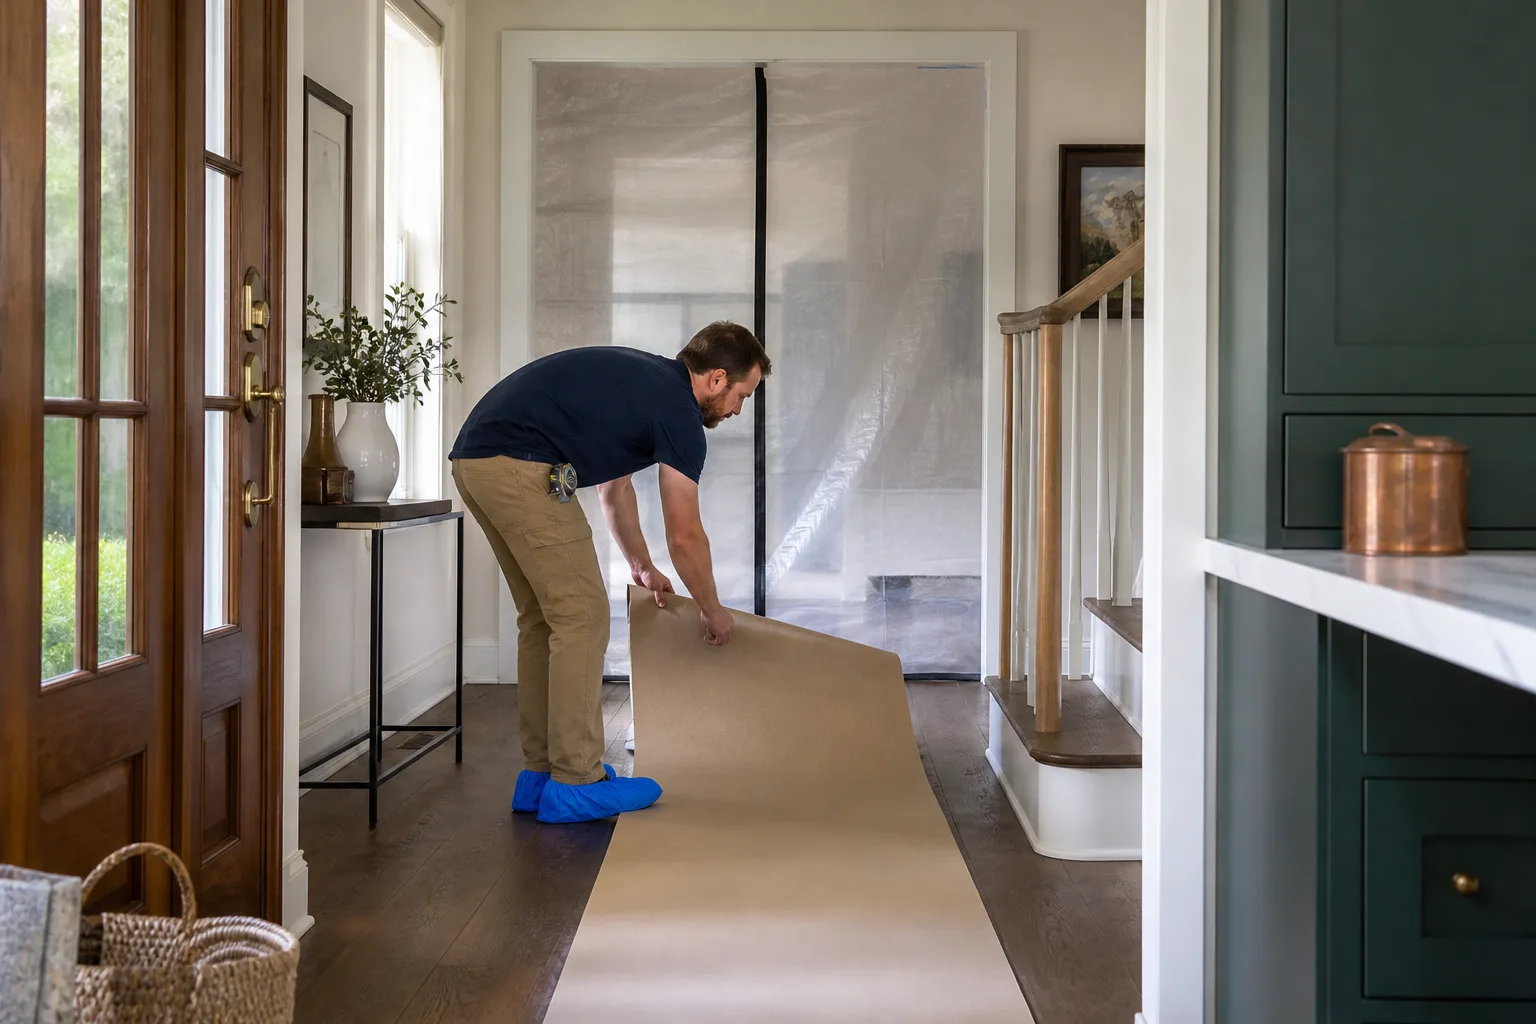
- Landscaping protection and reinstatement. Move furniture, cover floors, and protect flowerbeds. Removing and reinstalling any window treatment hardware is your call.
What you cannot do, on a permitted job, is perform the rough opening work, the flashing, or the framing. Those are the permit scope and they need to be on the licensed contractor’s work record. The inspector signs off on the contractor’s work, not yours. This is why every job we do includes a written scope line by line, with change orders in writing before anything moves. An allowance that isn’t on paper is a surprise waiting for a date.
If you’re planning window work as part of a larger remodel, the same principle applies. Our guide to Home Additions & ADU in Fremont covers how scope, permits, and written change orders work on a bigger job where DIY isn’t in the picture. And if the window replacement is happening because a winter storm just took out a section of your roof, our Barrett & Sons Construction Fremont home page covers what we handle across all of these trades.
Common Mistakes to Avoid
- Skipping the egress check on a bedroom window. This is the most common and most expensive DIY mistake we see. If the replacement window fails minimum clear opening requirements, you’re looking at a redo, a permit, and a real resale problem.
- Trusting caulk instead of flashing. Caulk is a sealant, not a water management system. In Fremont’s wet winters, a caulk-only installation can be dry through one season and leaking by the second.
- Replacing a window with the wrong operating type. Swapping a slider for an awning, or a double-hung for a fixed pane, changes the egress result even when the opening is identical. Measure clear opening, not exterior size.
- Not checking the rough opening before ordering. Manufacturer specs matter. A window that fits the old opening to within a quarter inch is different from one that requires shimming beyond the allowable range. ES Windows and ECO Window Systems both publish exact rough opening tolerances.
- Assuming your homeowner’s policy covers a self-installed leak. Many policies exclude water damage from unpermitted or non-inspected work. A $200 line item on a permit is cheaper than the deductible on a rotted wall.
- Doing permitted work yourself to save money. If the scope is structural or touches egress, the permit and the licensed professional aren’t optional. A contractor who offers to skip the permit on that scope isn’t saving you money. They’re transferring the risk to you.
- Not verifying a contractor’s license before signing anything. Ask for the license number and look it up before you sign. The minute it comes out of the contractor’s mouth, it’s verifiable in about ninety seconds online.
When to Call a Professional
Call a licensed contractor when the scope involves the rough opening, the structural frame, or a new opening in a wall. Call when the bedroom window’s egress compliance is uncertain. Call when an exterior door’s jamb or header is coming out. Call when the existing frame or flashing is damaged once the old window is removed. Call on any job that needs a permit, which is more jobs than most homeowners expect. And call if you’re not confident in your ability to flash correctly, because that’s the part that matters most and it’s the part most DIY installs get wrong.
Barrett & Sons Construction Fremont offers free estimates in Fremont, including a second opinion on any written estimate you’ve already received. Call (833) 620-6162 to schedule yours. We pull permits on every eligible job, write the scope and allowances out before work starts, and back it all with our 90-Day Done Right Promise.
See the difference
 Before
 After
 Before
 After
 Before
 After
Frequently Asked Questions

Same-size replacement into an undamaged existing opening generally does not require a permit in Fremont, but any change to the rough opening dimensions, any new opening in a wall, or any window that fails bedroom egress requirements typically does. Confirm the specific rule with Fremont’s building department before you buy materials. If the project is permitted, the work needs to be done by a licensed contractor. Call (833) 620-6162 if you want a free second opinion on what your specific project needs.
You can if the replacement window meets egress requirements for clear opening, sill height, and operating type, and if the installation is genuinely like-for-like with no changes to the rough opening or framing. If you haven’t verified the clear opening dimensions of the new window against the egress minimums, don’t start. A non-compliant bedroom window is a life-safety and resale problem, and it usually means a full redo. Call (833) 620-6162 for a free egress check on your specific window.
DIY window replacement typically runs $150 to $500 per window in materials, plus the cost of tools if you don’t already own them. Professional installation in Fremont generally runs higher because it includes labor, flashing materials, disposal, and where required, permit and inspection costs. The real comparison isn’t just the invoice. A flashing failure that lets water into the wall for one Fremont rainy season can cost several thousand dollars to repair. That’s the number to weigh against the savings. Call (833) 620-6162 for a free estimate so you can compare actual numbers.
Fremont’s building department can require you to pull a permit retroactively and may require that the work be brought up to current code, which sometimes means redone. The more common problem shows up at resale, when a buyer’s inspector or title review notices the unpermitted work and the sale gets delayed. Water damage from an unpermitted install may also be excluded from your homeowner’s insurance coverage. If you’re unsure whether your project needs a permit, call (833) 620-6162 and we’ll walk you through it.
It’s worth it when the project is genuinely like-for-like, the bedroom egress check passes, and you’re confident in your flashing work. It’s not worth it when any of those three conditions fails. Material cost on a house full of windows adds up, but the repair cost from a single flashing failure usually exceeds the labor you saved on the whole project. Our technicians have up to 28 years of experience on window and door installs, and if you want a written estimate to compare against the DIY numbers, call (833) 620-6162.
Yes. The most common fix we do is re-flashing a window where the prior installation skipped the sill pan or installed the head flashing backward. That usually means removing the window, repairing any water damage behind it, and reinstalling with proper flashing and weather barrier integration. If a bedroom window failed egress and needs to be replaced with a compliant unit, that’s a permitted retrofit. Call (833) 620-6162 for a free evaluation.
The Bottom Line
Windows and doors have a wider DIY-safe range than most trade work, but the line is specific, not a general skill rating. Same-size replacement into a healthy opening, hardware, weatherstripping, casing, and basic shimming are fair game. Rough opening changes, new openings, egress-dependent bedroom windows, exterior door framing, and anything requiring a permit belong with a licensed contractor. Flashing is the part that matters most and the part most DIY installs get wrong. Get the permit question settled first, then decide. If you’re on the wrong side of the line or unsure, call (833) 620-6162 for a free estimate. Barrett & Sons Construction Fremont pulls permits, writes every scope in writing, and backs the work with the 90-Day Done Right Promise.
Written by the team at Barrett & Sons Construction Fremont.