Last updated November 17, 2026







Free written scope consultation - allowances, timeline, and change-order rules on paper before a single trade is scheduled
Bathroom Remodeling Troubleshooting: Common Problems and How to Fix Them
A bathroom can look completely finished and be completely wrong. The grout hasn’t failed yet. The caulk is still sealing. The tile still looks level. Meanwhile, water is quietly wicking through an unsealed shower pan into the floor framing below, and nobody will know until the subfloor softens or the ceiling below stains. We’ve walked into Fremont bathrooms a month after another crew finished and found the plywood under the pan already dark and spongy. The problem almost always traces back to waterproofing, the one phase that’s completely invisible in the finished product and the one phase most often rushed. This guide shows you how to find those failures, how to test for them yourself, and how to tell a cosmetic crack from a structural one.
Quick Answer
Most post-remodel bathroom problems come from three places: a shower pan that was never flood-tested, ventilation ducted into the attic instead of outdoors, and fixtures installed without a final leak-and-slope check. You can catch all three yourself with a flood test, an attic inspection, and a 20-minute walkthrough before you pay the final invoice. If any of those checks fail, get it documented in writing before the crew packs up.
Styles & brands we work with
- Kitchen remodeling
- Bathroom remodeling
- Home additions & ADU
- Roofing
- Windows & doors
- Driveway & pavers
- Fence
Table of Contents
- How to flood-test a shower pan yourself
- Reading grout cracks: cosmetic vs. structural
- Soft tile at the shower perimeter: what it means and how urgent it is
- The ventilation failure hiding in your attic
- The 20-minute punch list that catches most call-backs
- Subfloor and framing: when water has gone too far
- Why permits and inspections matter more than the tile you picked
How Do You Flood-Test a Shower Pan, and What Does It Prove?
A flood test proves the shower pan holds water before tile hides it forever. You plug the drain, fill the pan with an inch of water, mark the water line, and check it 24 hours later. If the level drops, water is escaping somewhere. That’s the whole point: the test catches a failed pre-slope or a torn liner while the fix is still cheap, not after the tile is set and the subfloor in Fremont has soaked up a season of showers.
Here’s how to do it in numbered steps:
- Wait for the waterproofing to cure. The liner or liquid membrane needs to be fully set per the manufacturer’s instructions before you test. Don’t rush this.
- Plug the drain below the weep holes with an inflatable test plug or a plumber’s balloon.
- Fill the pan with about one inch of water. Mark the level on the wall with a pencil or tape.
- Check it at 24 hours. If the mark is lower, the pan is leaking. If it holds, you’ve got a sealed pan.
- Look at the ceiling below if you have access. A damp spot underneath is a fail even if the water level looks steady.
If a contractor tells you the flood test “isn’t necessary” or that they’ll “just be careful,” ask them to explain why. The honest answer is that a flood test is not optional on a properly built pan. It’s the cheapest insurance in the whole job. On our Fremont remodels, the inspection gets documented with photos and the results go in the file. Barrett & Sons Construction pulled the permits and passed the inspection before we moved on, and the flood test is part of that record.
Which Grout Cracks Are Cosmetic and Which Signal a Bigger Problem?
Uniform hairline cracks that follow the grout lines evenly, especially in a new floor or wall the first month, are usually normal shrinkage. Wider cracks that wander off the grout line, branch out, or step up in a jagged pattern point to movement underneath: a substrate that flexed, a thinset coverage that wasn’t full, or a joint that wasn’t reinforced. In our experience, the walk-off is the key. Cosmetic cracks stay thin and stop. Structural cracks keep growing and often come with a hollow sound when you tap the tile.
Use these signs to tell them apart:
- Cosmetic: 1/16 inch or less, runs with the joint, no movement when you press on the tile.
- Structural: widens over weeks, branches across tile faces, or shows shadows of the tile edges.
- Hollow tile: tap with the handle of a screwdriver. A dull thud means voids in the thinset.
- Lipage: tile edges that don’t line up mean the substrate wasn’t flat, and grout will fail there.
- Efflorescence: white powdery staining means water is moving through the grout from behind.
Here’s the Fremont piece: our clay soils expand and contract with the wet and dry seasons, and a bathroom floor set on a slab without an uncoupling membrane can move just enough to crack grout. It’s the same reason a driveway photo album shows cracks in one town and not the next. If you’re replacing the tile, that’s a good time to talk about the subfloor and membrane as part of a broader plan; our Driveway & Pavers in Fremont work uses the same drainage logic outdoors, and the reasoning carries inside the house.
Why Does the Floor Tile Feel Soft at the Shower Perimeter?
Soft or spongy floor tile around the edge of a shower almost always means water has reached the subfloor and the wood beneath the tile is weakening. It’s urgent, but not a panic. The urgency is real because soft framing under tile can stay wet for months and still look fine on top until a tile pops loose or the ceiling below stains. In our experience, a soft spot at the shower entrance is the most common late-stage sign of a shower pan that never sealed properly.
What to do, in order:
- Stop using the shower. Don’t seal it with caulk and hope. Water is already below the surface.
- Find the source. Is it the pan, a supply line behind the wall, or a failed wall joint? A pro will check all three.
- Check the ceiling below if the bathroom is on an upper floor. Look for staining, soft drywall, or a musty smell.
- Scope the repair realistically. A pan reseal and a patch of subfloor may be $600 to $1,800. A full rebuild with framing damage and new tile can run $6,000 to $15,000 or more in the Fremont market, depending on the tile and how deep the water went.
- Get it in writing. Have the scope, allowance, and change orders spelled out before anyone starts cutting.
A soft floor at the shower perimeter is the moment to be direct with the contractor. Ask exactly what they’ll remove, what they’ll replace, and what the allowance covers. Barrett & Sons issues every price change as a written change order before work proceeds, because the allowance that isn’t on paper is a surprise waiting for a date.
Is Your Bathroom Vent Fan Actually Vented Outside?
Many vent fans are ducted into the attic, not through the roof or wall to the outdoors. That’s a real failure and it’s common in Fremont remodels where the original fan was in a tricky spot and the new one went in above it. In our experience, a bath fan dumping warm, moist air into a closed attic can grow visible mold on the roof sheathing within about 18 months. It also voids the warranty on most premium materials, because the manufacturer’s warranty is written for the product’s intended installation, not a wet attic. If your new fan is connected to flexible duct that just points at the insulation, it’s not venting. It’s humidifying the attic.
The checks, in order:
- Turn the fan on and go up into the attic. Follow the duct. It should exit through the roof or an exterior wall with a proper cap.
- If the duct ends in the attic space, the install failed the job, even if the fan is a premium brand like American Standard installed correctly.
- Look for condensation streaks on roof framing near the bath. That’s a second tell.
- Ask for the duct routing and roof boot photos in the file. Any reputable crew documenting a Fremont bathroom should already have them.
The fix is usually a roof penetration and a rigid or insulated duct. It’s not expensive compared to mold remediation. If you’re already planning a bigger addition, a bath fan issue is the easiest argument you’ll find for a well-detailed Home Additions & ADU in Fremont scope where the mechanical work is planned up front instead of squeezed in.
What Should You Check Before the Crew Leaves? The 20-Minute Walkthrough
Twenty minutes of walking through the bathroom with the crew leader catches about 80% of the call-backs we see after a remodel. The fixtures are in, the tile is done, and the finishing checks are the ones most crews skip when they’re behind schedule. Do these while the crew is still on site and the work is still under their control.
- Check for supply line drips under the vanity. Run the faucet, put a dry paper towel under every valve and connection, and look again after you’ve run the hot tap. A small drip now becomes a soft cabinet floor later. Moen and Delta fixtures both have a break-in period; this is when you find a loose ferrule.
- Verify P-trap slope on new drains. Lean a level on the drain arm if you can reach it, or run the sink and check for gurgling or slow draining. A drain that doesn’t move quickly means the drain is low or has a poor fall.
- Test the GFCI outlets. Press the test button. The light should cut out and reset. A dead GFCI means the device was wired wrong or the upstream line is faulty. This is a code item, and it’s not one to leave for later.
- Run every faucet and flush every toilet. Look for leaks at the base, check the fill valve fills without running, and make sure the shutoffs work.
- Press a dry paper towel against every corner and floor-to-wall joint. Any dark spot is moisture, and any moisture now is a problem.
- Look at the tub or shower surround where it meets the floor. If the caulk is smeared or missing, you’ve found a future leak before it matters.
Write down what you find and ask for it in writing. Our crews do their own version of this punch list before they call a job done, and the results get documented. That’s the same thinking behind the Fence Installation in Fremont work, where the last gate swing is what customers remember more than the price. Finish strong, and the finished job holds up.
When Water Has Reached the Subfloor: What Now?
Once water reaches the subfloor, the repair depends on how far it traveled. Soft spots, cupping, or visible mold on the plywood mean the damage is structural, not cosmetic. In a Fremont bathroom on a raised foundation, the crawl space often shows the truth faster than the tile does; a plumbing leak under the pan leaves staining on the joists and a damp, musty smell you can’t mistake for anything else. If the subfloor has swelled and separated, patching the tile is a waste of money.
The realistic scope usually breaks down into three tiers:
- Tier 1, surface only: failed caulk or cracked grout, no softness. Reseal and recharge the joints, $200 to $600.
- Tier 2, pan and tile: a failed shower pan with localized subfloor damage. Pan rebuild, patch a section of subfloor, new tile, $2,000 to $6,500 in the Fremont market.
- Tier 3, framing involved: joists or studs are wet or soft. Framing repair, new subfloor, new pan, new tile, $8,000 to $20,000 depending on the size and finishes.
Ask for photos before and after the repair, and ask for the inspection if the repairs are structural. Our construction work in Fremont comes with permits pulled and inspections signed on every eligible job, including bathroom rebuilds where framing is opened up. Our technicians have up to 28 years of experience on jobs of this kind, and the point of the experience is knowing what not to hide under new tile. If you want to see the broader version of how we work, the Barrett & Sons Construction Fremont home page lays out the standards we bring to every job.
Why Do Permits and Inspections Change the Waterproofing Outcome?
A permit puts a third set of eyes on the waterproofing before the tile goes down. That inspector works for you, not for us. In Fremont, the inspection process asks for the same things a good contractor should: a properly built pan, an approved liner, venting that exits to the outdoors, GFCI protection at the wet locations. The last contractor most customers used told them permits were optional. That’s a warning sign. When a job is done without permits, the finished bathroom may look right and fail the flood test, and nobody will be around to make it right.
Barrett & Sons is owner-operated. The plans are drawn and the price arrives in writing before the work starts. If we’re recommending a change, we hand you a written change order first, and we don’t argue about whether the inspector needs to see it. The parts of a remodel most likely to fail are the ones you’ll never see once the tile is gone, and a permit and a decent inspection sequence are the cheapest guarantee you can buy. That reasoning flows through everything on our list, from a new roof on a Fremont home to the driveway in front of it.
Common Mistakes to Avoid
- Letting the contractor skip the flood test. If the pan isn’t tested before tile, the first sign of trouble is a soft floor months later.
- Venting a bath fan into the attic. Flexible duct that ends in the attic is the fastest way to grow mold on the roof sheathing in a Fremont rainy season.
- Patching soft tile without finding the water source. It looks fixed and isn’t. Find the pan or the supply line first.
- Trusting a verbal scope and allowance. “About $400 for tile” isn’t a scope. It’s a promise with no number attached.
- Skipping the GFCI test because the remodeler said it was fine. It takes ten seconds to test.
- Letting a change order happen after the work. That’s how a small repair becomes a surprise invoice.
- Assuming a permit slows the job. A delayed inspection costs a lot less than a rebuilt shower pan.
See the difference
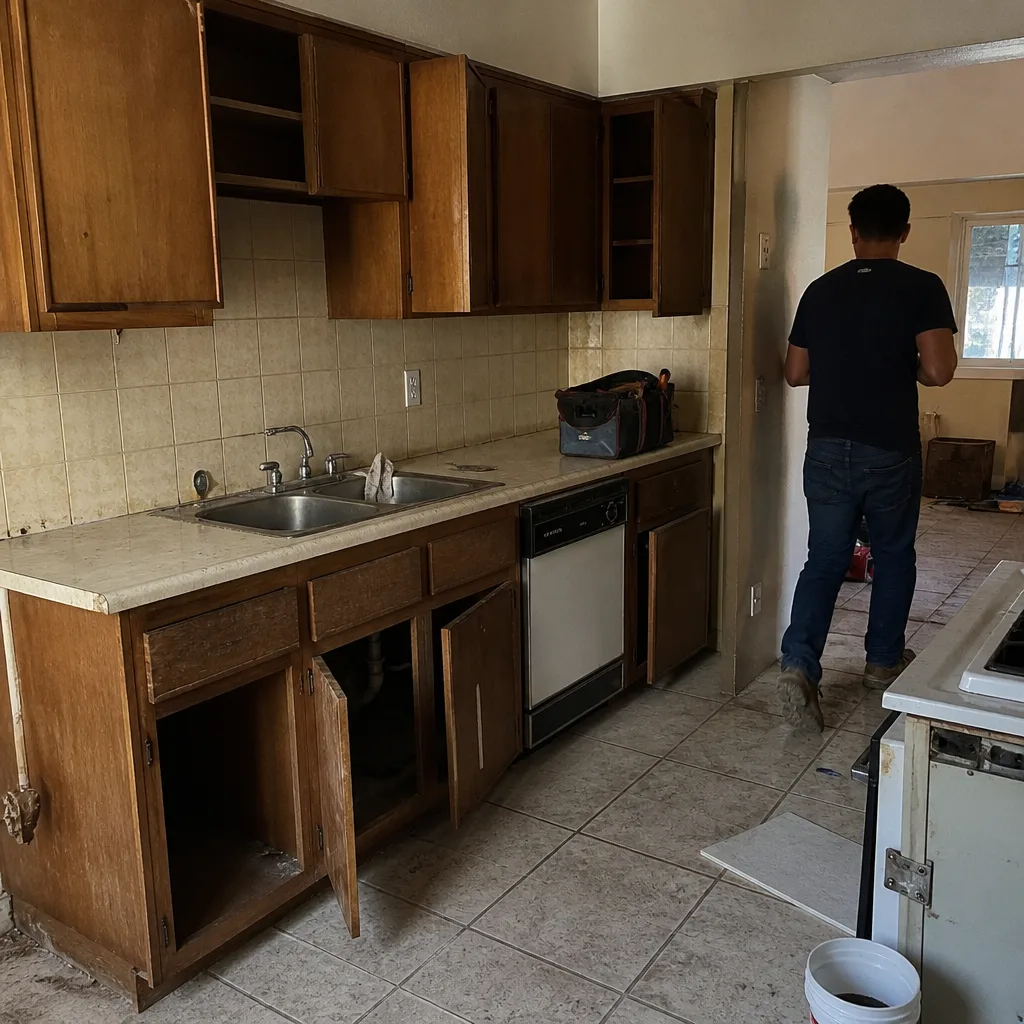 Before
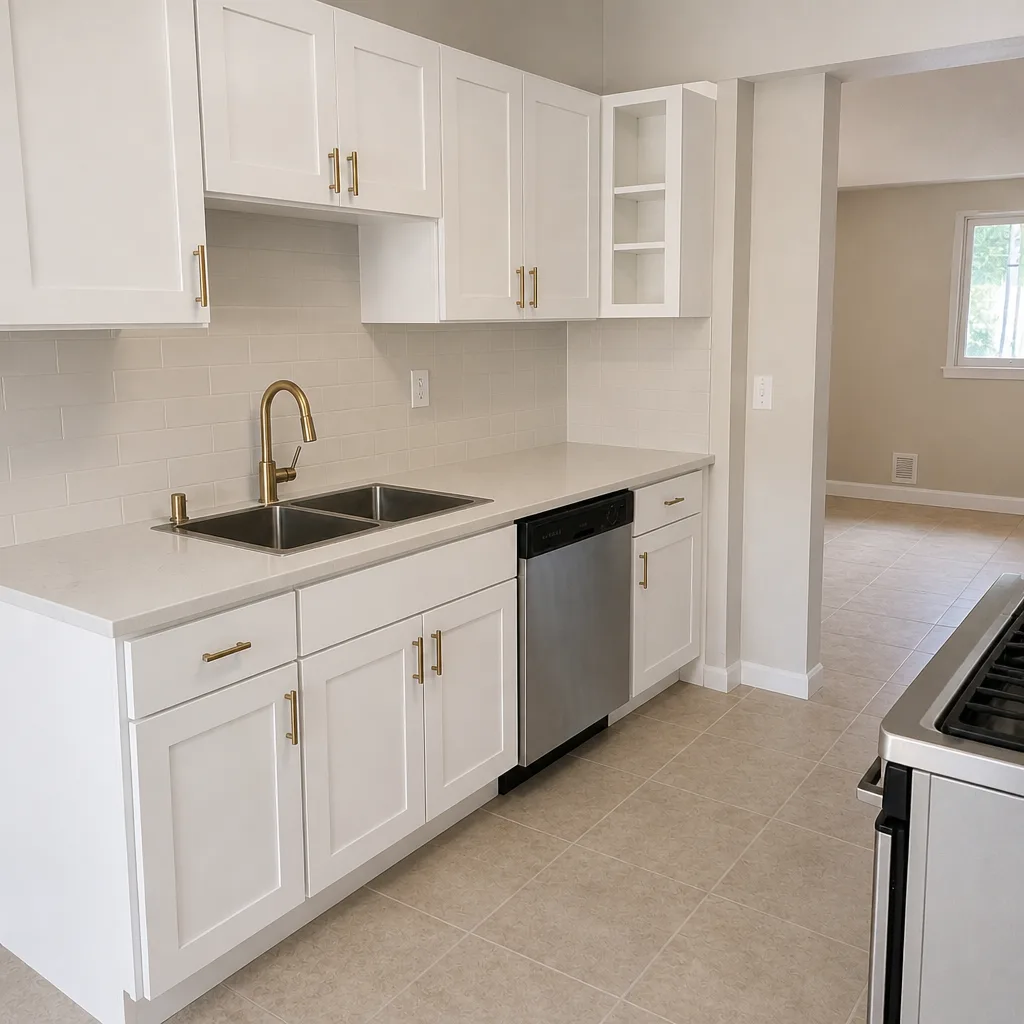 After
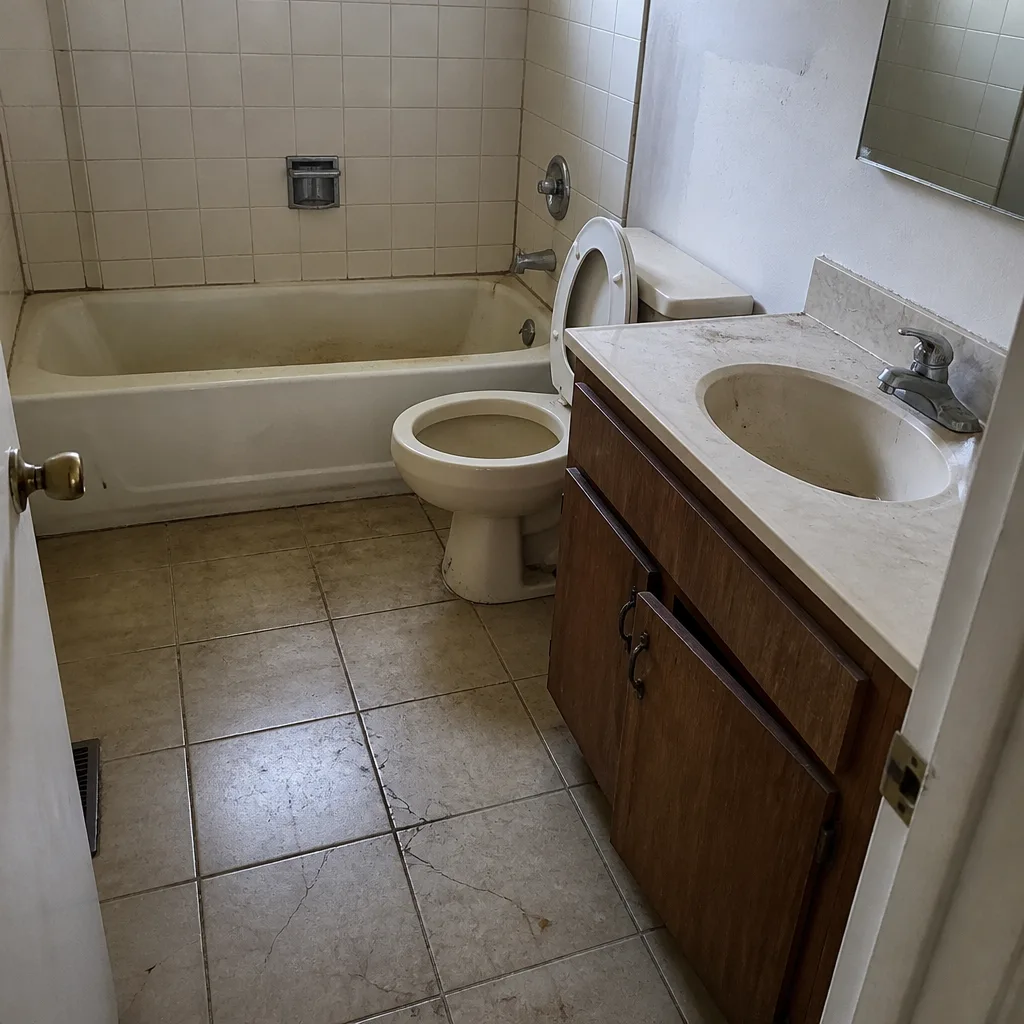 Before
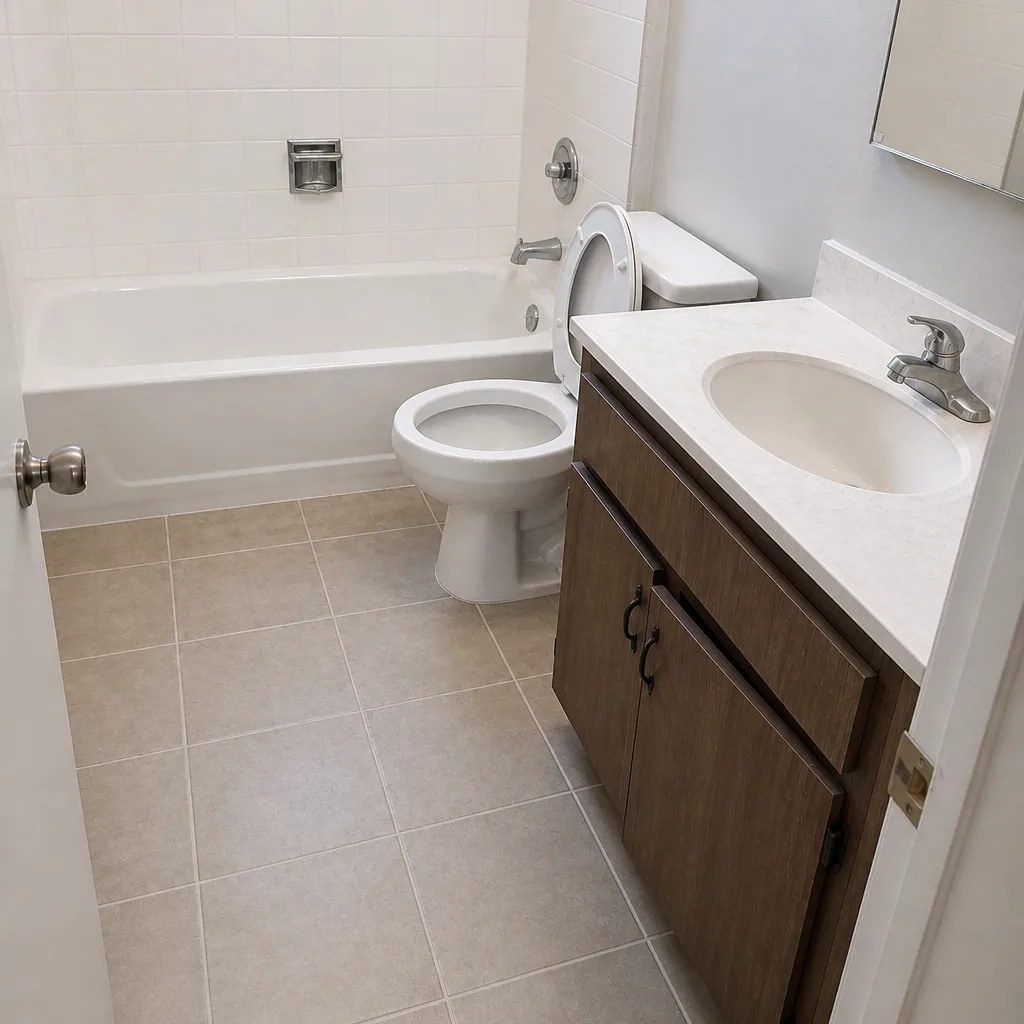 After
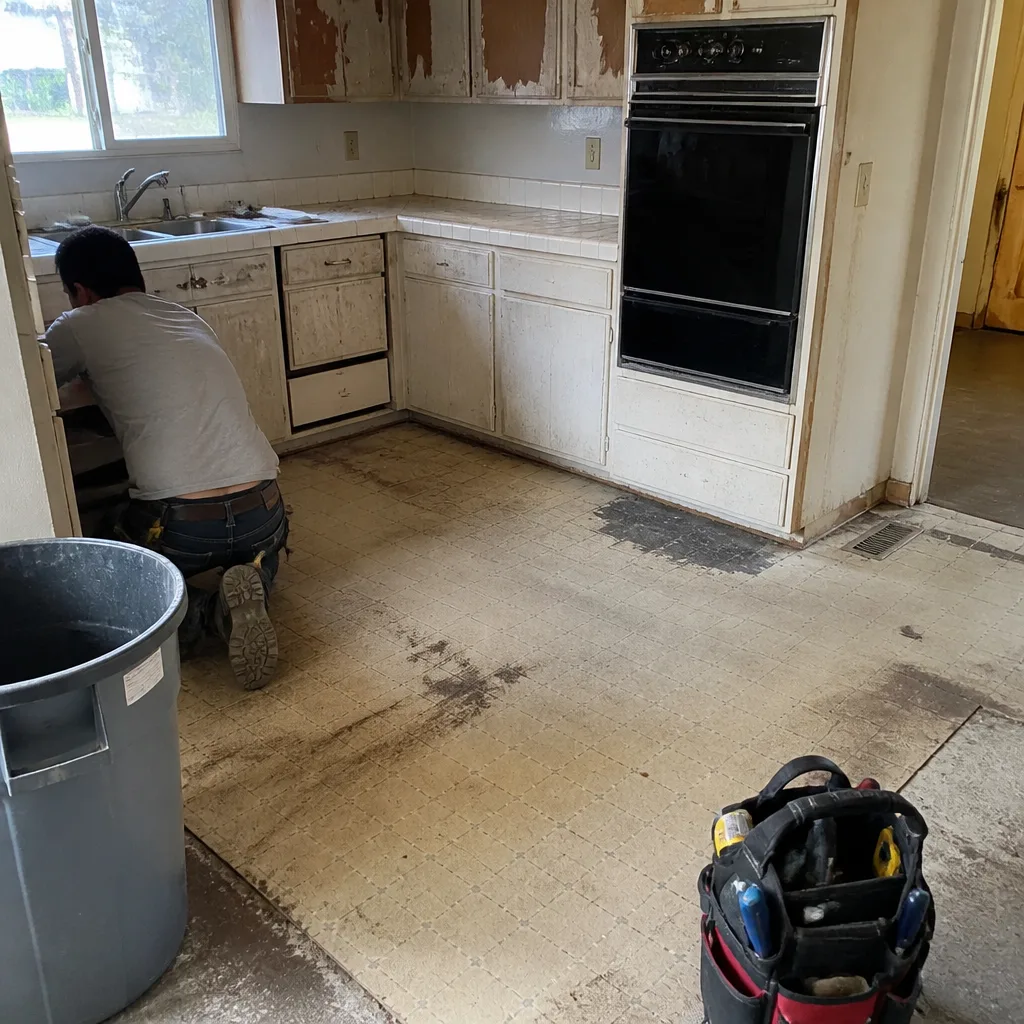 Before
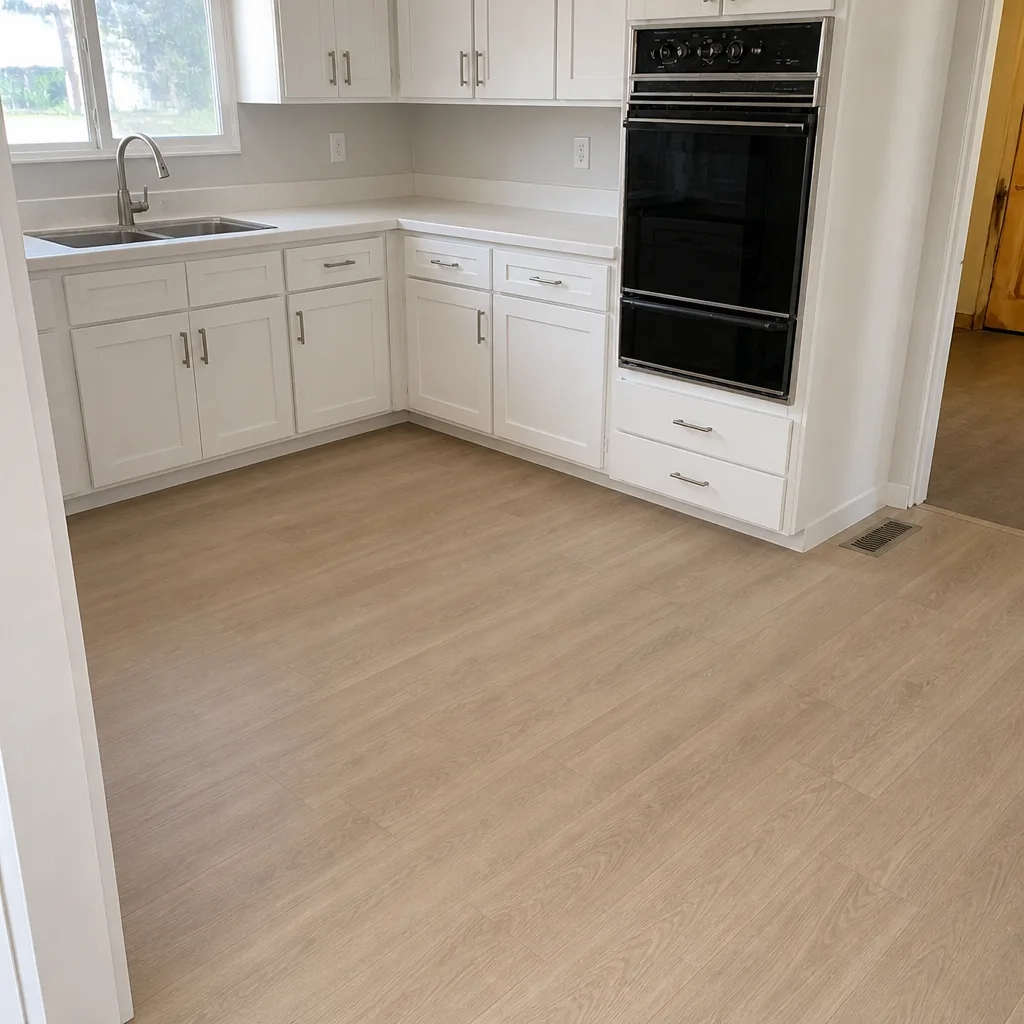 After
When to Call a Professional
Call us when the tile feels soft at the shower edge, when a grout crack keeps widening, when the attic smells musty after a shower, or when a GFCI won’t reset. Call when the flood test you did yourself shows the water line fell overnight, and call before you let anyone patch the tile over it. Call when the ceiling below the bathroom has a stain, or when a contractor tells you a permit isn’t needed in Fremont, because our experience says otherwise. Barrett & Sons Construction offers free estimates in Fremont, and our written quotes spell out every scope and allowance before a nail moves. If you’re looking for a second opinion on a written estimate, the free second opinion is a real standing offer, not a pitch. Dial (833) 620-6162 to schedule yours.
Frequently Asked Questions
A leaking shower pan repair in Fremont typically runs $2,000 to $6,500 when tile and a section of subfloor need to come out, and less if the fix is confined to resealing and regrouting. The low end covers a reseal and new caulk. The higher end covers a rebuilt pan, new tile, and localized subfloor replacement. Call (833) 620-6162 for an exact quote; estimates are free.
Only if you approve a written change order first. Every scope, allowance, and price change is written before the work happens. If the subfloor turns out worse than the estimate could see, you’ll get the change order in writing before anyone cuts, and you decide whether to go forward. Call (833) 620-6162 to schedule a free estimate.
Yes. Permits are pulled and inspections signed on every eligible job. The inspection is the cheapest inspection you can buy on the waterproofing and ventilation, and it’s part of the job, not an add-on. Ask any contractor you’re considering whether the permit is in their scope. If it’s not, that tells you what the finished job is worth. Call (833) 620-6162 to ask about permits for your Fremont bathroom.
A full bath remodel usually takes four to eight weeks for a standard Fremont bathroom, with larger or more detailed jobs running longer. Plumbing, tile, and cabinetry lead times drive most of the schedule. The waterproofing phase is the one that shouldn’t be hurried; a slow shower pan that sits a week on cure time is cheaper than a fast one that leaks. Call (833) 620-6162 to talk through your timeline and get a free estimate.
Yes, if it’s a cosmetic crack in a floor or wall where the tile still sounds solid when you tap it. Scrape the loose grout, regrout with a matching color, and watch the line for a month. If the crack keeps reopening or the tile sounds hollow, the cause is under the tile and a patch will fail. Call (833) 620-6162 if you’d rather have it looked at.
Yes, treat it as urgent but not a panic. The mold itself is often confined to the roof sheathing near the bath fan duct, which means it’s cleanable once the fan is properly vented outside. Left alone through a Fremont wet season, it spreads and can compromise the wood. Get the duct routed outside and the attic cleaned before the next rainy stretch. Call (833) 620-6162 for a free look.
The Bottom Line
The bathroom problems that cause the most grief were almost all decided during waterproofing, the phase nobody sees in the finished product. A shower pan that was never flood-tested, a fan vented into the attic, a grout crack that was cosmetic when it was still small, a soft spot at the shower perimeter: catch these early and the repair is a few hundred to a few thousand dollars. Miss them and the framing, the ceiling below, and the tile all become the same repair. Test the pan, follow the duct, tap the tile, and put the punch list in writing before the crew packs up. Look up the license number before you sign anything, then call us and let’s get your Fremont bathroom done right.
Barrett & Sons Construction is owner-operated, and every eligible job comes with permits pulled and inspections signed, written change orders before any price change, and a 90-Day Done Right Promise. We back the whole job. A live person answers the phone 24 hours a day, seven days a week, and the free second opinion on any written estimate is a real standing offer. Call (833) 620-6162 to schedule your free estimate.
Written by the team at Barrett & Sons Construction Fremont.