Last updated November 17, 2026

Free written scope consultation - allowances, timeline, and change-order rules on paper before a single trade is scheduled
DIY vs Professional Driveway & Pavers: What’s Safe to Do Yourself
You can learn to lay pavers on YouTube in an afternoon. Getting a base to hold 95% Modified Proctor Density – the compaction spec that keeps the driveway from sinking – is a different conversation entirely. That gap is where most DIY paver driveways in Fremont either shine or fail, and it has almost nothing to do with how neat your herringbone pattern looks. In this guide, we’ll draw the line at the base, not the surface: which tasks a motivated homeowner can genuinely handle, which ones quietly doom the job, and how to hybrid the work so you keep the savings without inheriting the risk.
Quick Answer
Laying pavers, cutting with a wet saw, installing edge restraint, and sweeping joint sand are all realistic DIY tasks. Excavation depth, compaction verification, and slope and drainage planning are not – those are where DIY driveways fail two years later. The safest split is usually to hire a crew for demo, excavation, base, and inspection, then lay pavers yourself if you want to save money. In Fremont, residential driveway work also often triggers a permit and inspection, so the base gets looked at whether you do it yourself or not.
Styles & brands we work with
- Kitchen remodeling
- Bathroom remodeling
- Home additions & ADU
- Roofing
- Windows & doors
- Driveway & pavers
- Fence
Table of Contents
- Where’s the line? The base, not the surface
- What you can safely do yourself
- Where DIY almost always produces failure
- What a bad base looks like on day one vs. year two
- Fremont permit reality for driveway work
- How to hybrid the job
- Common mistakes to avoid
- When to call a professional
Where’s the Line? The Base, Not the Surface
Most DIY vs. contractor debates obsess over the visible layer. Can I set a paver straight? Can I cut a curve? Those skills are learnable and forgiving – a crooked paver can be pulled up and reset. A bad base cannot. It’s buried under four inches of interlocking concrete blocks and a few tons of joint sand, and by the time you notice it, the fix means tearing the whole thing out.
Compaction is the piece DIY guides tend to skip. A plate compactor rented for a Saturday will vibrate the ground, but “compacted” and “compacted to spec” are different claims. The spec for most paver bases is 95% Modified Proctor Density – a laboratory reference for how tightly the granular base material packs. Reaching it depends on the material, the moisture content, the lift thickness, and the number of passes. A single lift of six inches compacted in one go will not reach it. Two or three-inch lifts, watered and compacted in stages, will. Those numbers change with the base material and with Fremont’s particular mix of clay soils and older fill lots in neighborhoods like Centerville and Irvington.
That’s the whole thesis: DIY your surface, not your base, unless you’ve verified compaction with a proof-rolling or density test. Our crews have up to 28 years of experience and still don’t skip the compaction steps – because a paver driveway that looks perfect on install day can be a rolling, shifting mess after two wet winters in the East Bay.
What You Can Safely Do Yourself
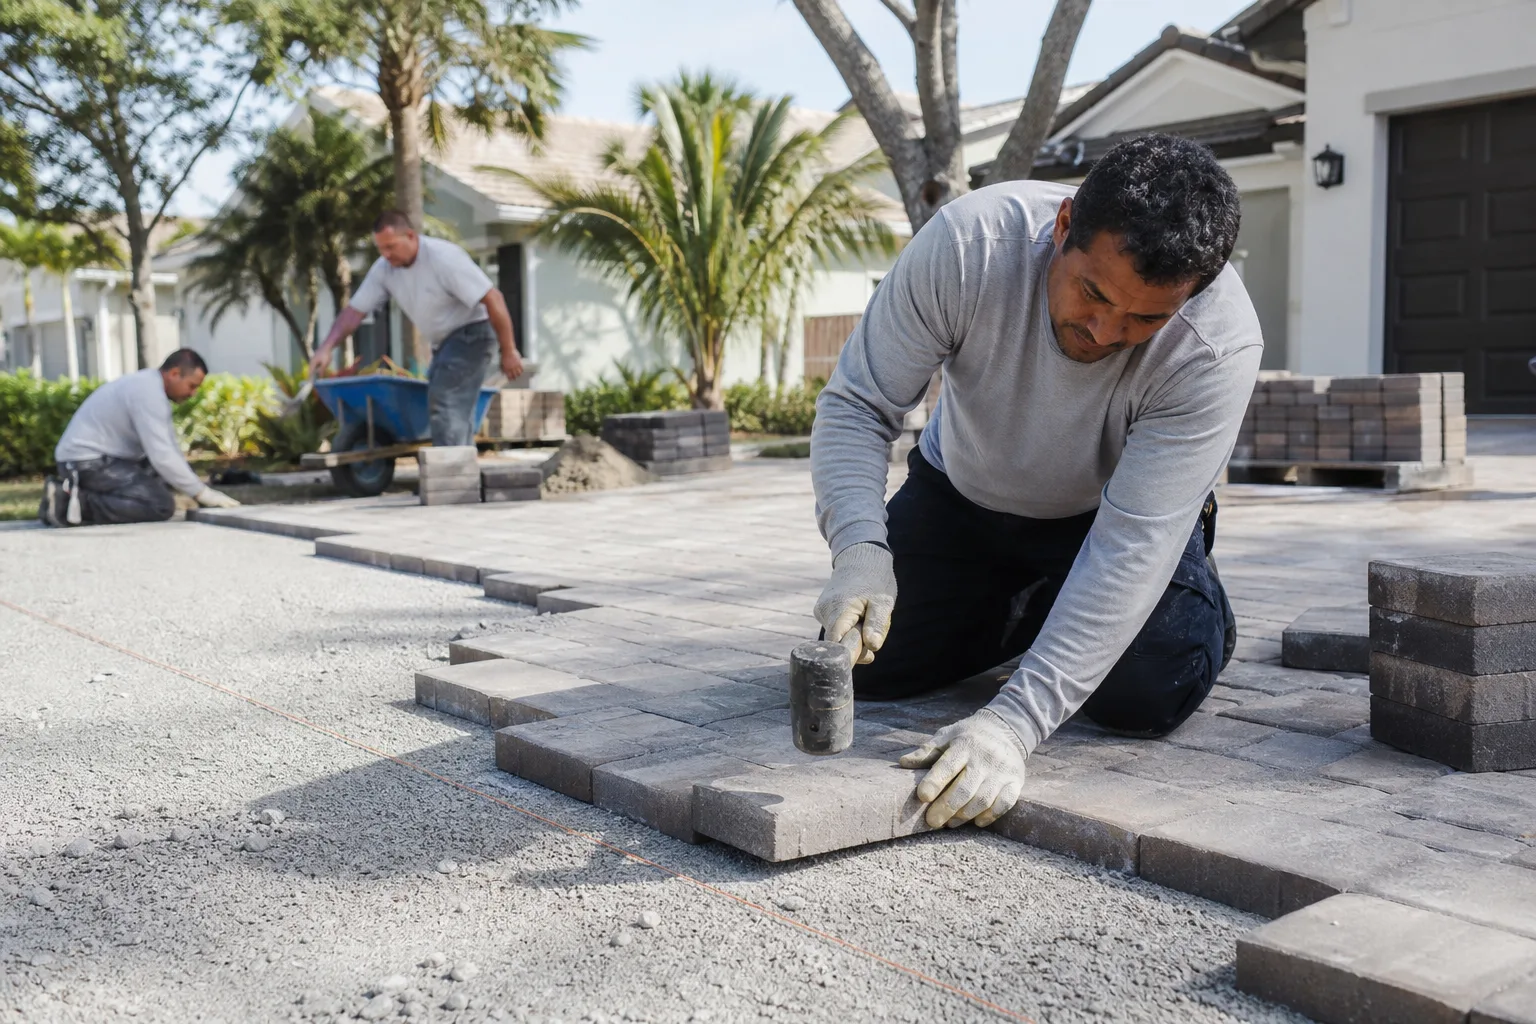
If the base is done right and the permit is pulled, a homeowner in decent physical shape can deliver real savings on the visible work. It’s slow going – plan on roughly three to four times the hours a two-person crew would log – but the failure mode is cosmetic, not structural. If a paver sits a quarter-inch proud, you pull it and reset it.
Here’s what’s realistic to handle yourself:
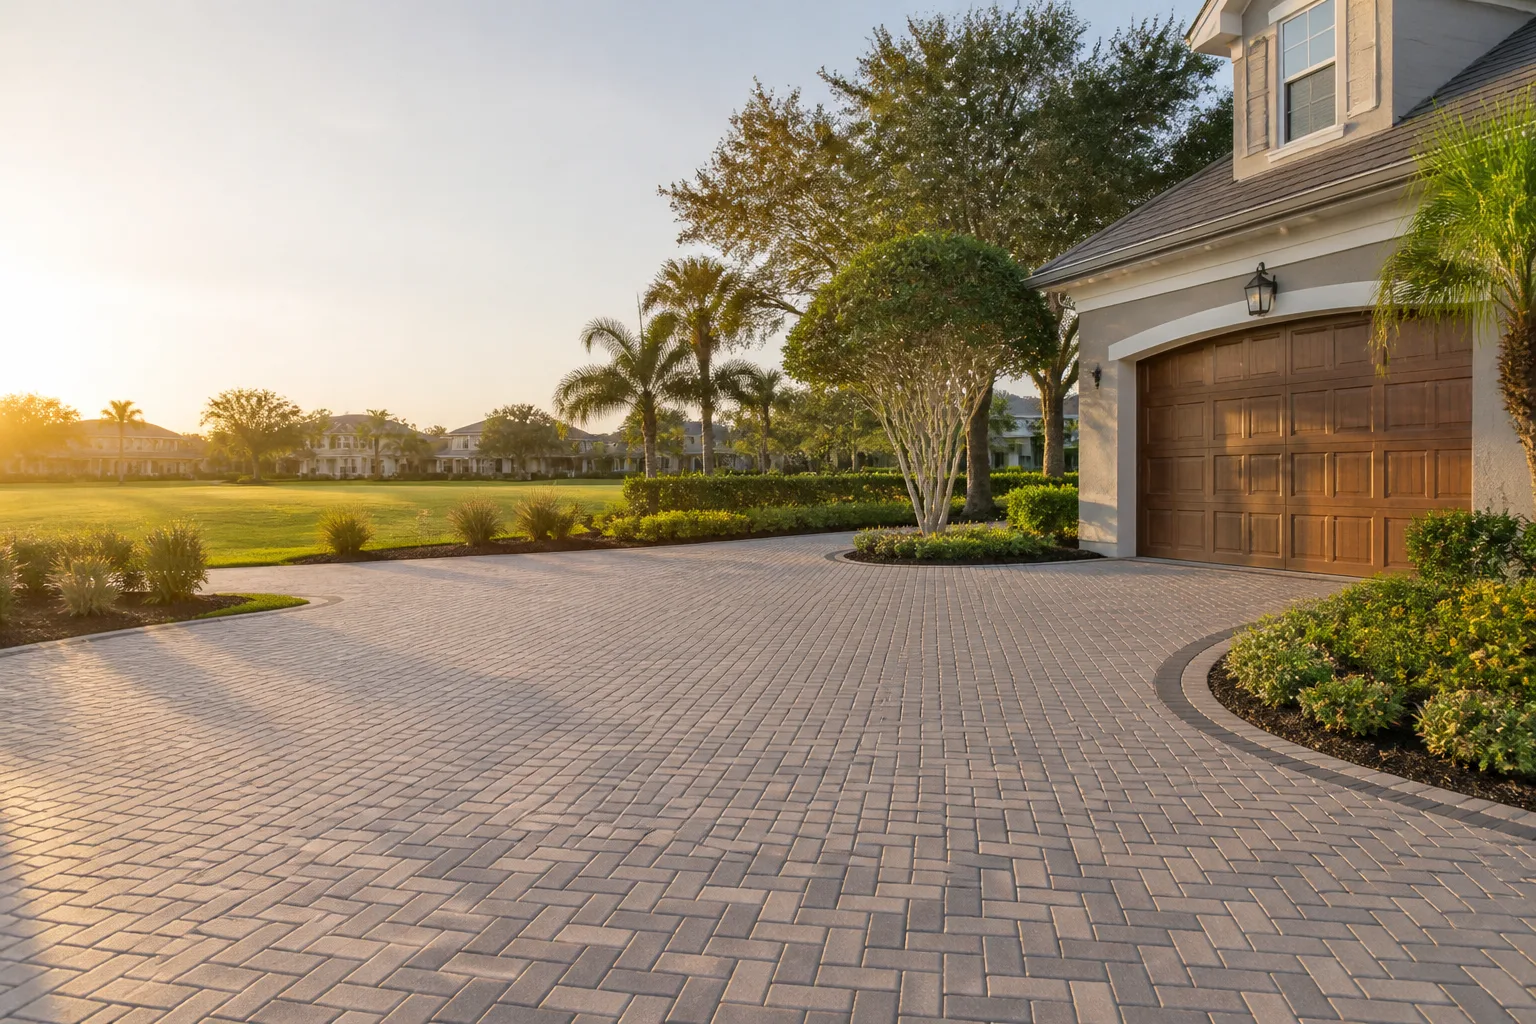
- Pattern layout. Herringbone, running bond, and basketweave are all learnable. Setting a chalk line and dry-fitting the first two rows true is worth the extra hour – every row after follows.
- Cutting with a wet saw. Rental yards around Fremont stock paver blades. Wet cutting keeps dust down and gives cleaner edges than a dry cut, especially on Belgard and Techo-Bloc units with tighter dimensional tolerance.
- Edge restraint installation. The plastic or aluminum edge is what keeps the field from spreading. Spiking it into the compacted base with the correct length of spike is straightforward once the base is right.
- Joint sand application. Sweeping polymeric sand into the joints and misting it to set is doable, but you’ll want to read the bag – over-wetting washes the polymer out and ruins the joint.
- Sealing, after a season. Wait at least one full wet season before sealing so any efflorescence has a chance to work out.
Everything above assumes the base and drainage are already correct. Skip that, and you’re decorating a problem.
Where DIY Almost Always Produces Failure
There are three tasks where the cost of getting it wrong dwarfs the cost of hiring a crew. In our experience, these are the failures we get called to fix most often in Fremont and the surrounding towns.
- Subgrade excavation to depth. The paver thickness plus the bedding sand plus the base gravel has to total somewhere between eight and twelve inches, depending on load and soil. Homeowners routinely dig six. Not enough room left for a proper base, so the base is thin and the whole system is fragile.
- Compaction verification. A rented plate compactor plus a hopeful afternoon does not equal 95% Modified Proctor. Real verification is either a proof-roll with a loaded dump truck (watching for pumping and rutting) or a field density test. Neither is something a homeowner can eyeball.
- Slope and drainage planning. Paver driveways need a minimum fall away from the garage – typically 1.5% to 2% – and they need a place for the water to go. Fremont’s clay soils hold water, so a driveway that sheds toward the house or the neighbor will pond, and ponding water is what lifts pavers in the first wet winter.
Fremont’s climate makes all three worse. The dry season cracks clay soils and the wet season swells them; a base that isn’t compacted to spec gives those movements somewhere to express themselves. If you want the job done once, call (833) 620-6162 and ask about a free estimate covering demo, excavation, and base.
What a Bad Base Looks Like: Day One vs. Year Two
This is the trick that catches DIYers: a bad base and a good base are indistinguishable on install day. Both look tight, level, and beautiful. You post the photo to the neighborhood group and get compliments. Then winter comes.
Here’s the honest timeline we’ve watched play out across Fremont jobs:
- Day one: No difference. Both a compacted and an under-compacted base will accept joints, hold pattern, and pass the eye test.
- First wet season (months 1-6): Small ruts appear where tires park most often. You notice a paver or two sitting slightly proud – usually near a corner or the edge restraint. Easy to dismiss.
- Year two: Ripples and waves across the field. Joints open up. Sand washes out and needs re-application two or three times. Differential settlement shows up as a low spot at the garage apron.
- Year three onward: Pavers rock when walked on. A hard freeze or heavy rain event can pop a corner of the edge restraint entirely. The only fix is a full tear-out – pavers, bedding, and base – and that’s more expensive than the original job would have been.
The worst part: at year one you can’t tell if you’re looking at an early problem or normal settle-in. That’s why we push for verification, not guessing. The permit inspector works for you, not for us – that’s why we like him, and it’s why on a Barrett & Sons Driveway & Pavers in Fremont job the base is inspected before a single paver gets set.
Fremont Permit Reality for Driveway Work
Here’s a point most DIY guides miss entirely: even residential driveway work in Fremont can require a building permit, and it can trigger an inspection. Bigger driveways, driveways that widen the existing apron, or any work within the city right-of-way (the strip between your property line and the street, including the sidewalk) fall under city review. An encroachment permit through the city’s public works department is separate from the building permit and is usually required when the driveway apron ties into the public sidewalk.
Homeowners can pull most of these permits themselves – the city allows it – but pulling it doesn’t make the inspection optional. The inspector will look at excavation depth, base materials, and drainage. That’s good for you. It’s a free second set of eyes on the part of the job you can’t see once the pavers go down.
Two things we’ve watched catch homeowners out:
- Permit was never pulled, and the city finds it later. A neighbor’s complaint or a title check during a sale can surface an unpermitted driveway. Fixing it retroactively costs more than doing it right.
- Contractor said permits were optional. If a contractor tells you “we don’t need a permit for that,” ask them to put it in writing. Then call the city yourself and ask. The permit inspector works for you.
We pull permits and sign inspections on every eligible job in Fremont, and every scope and allowance arrives in a written change order before work starts – because an allowance that isn’t on paper is a surprise waiting for a date.
How to Hybrid the Job
If you want real savings but you don’t want to gamble on the base, the hybrid approach is the one we recommend most often for homeowners with some hands-on ability. It splits the work along exactly the line we drew at the top of this guide.
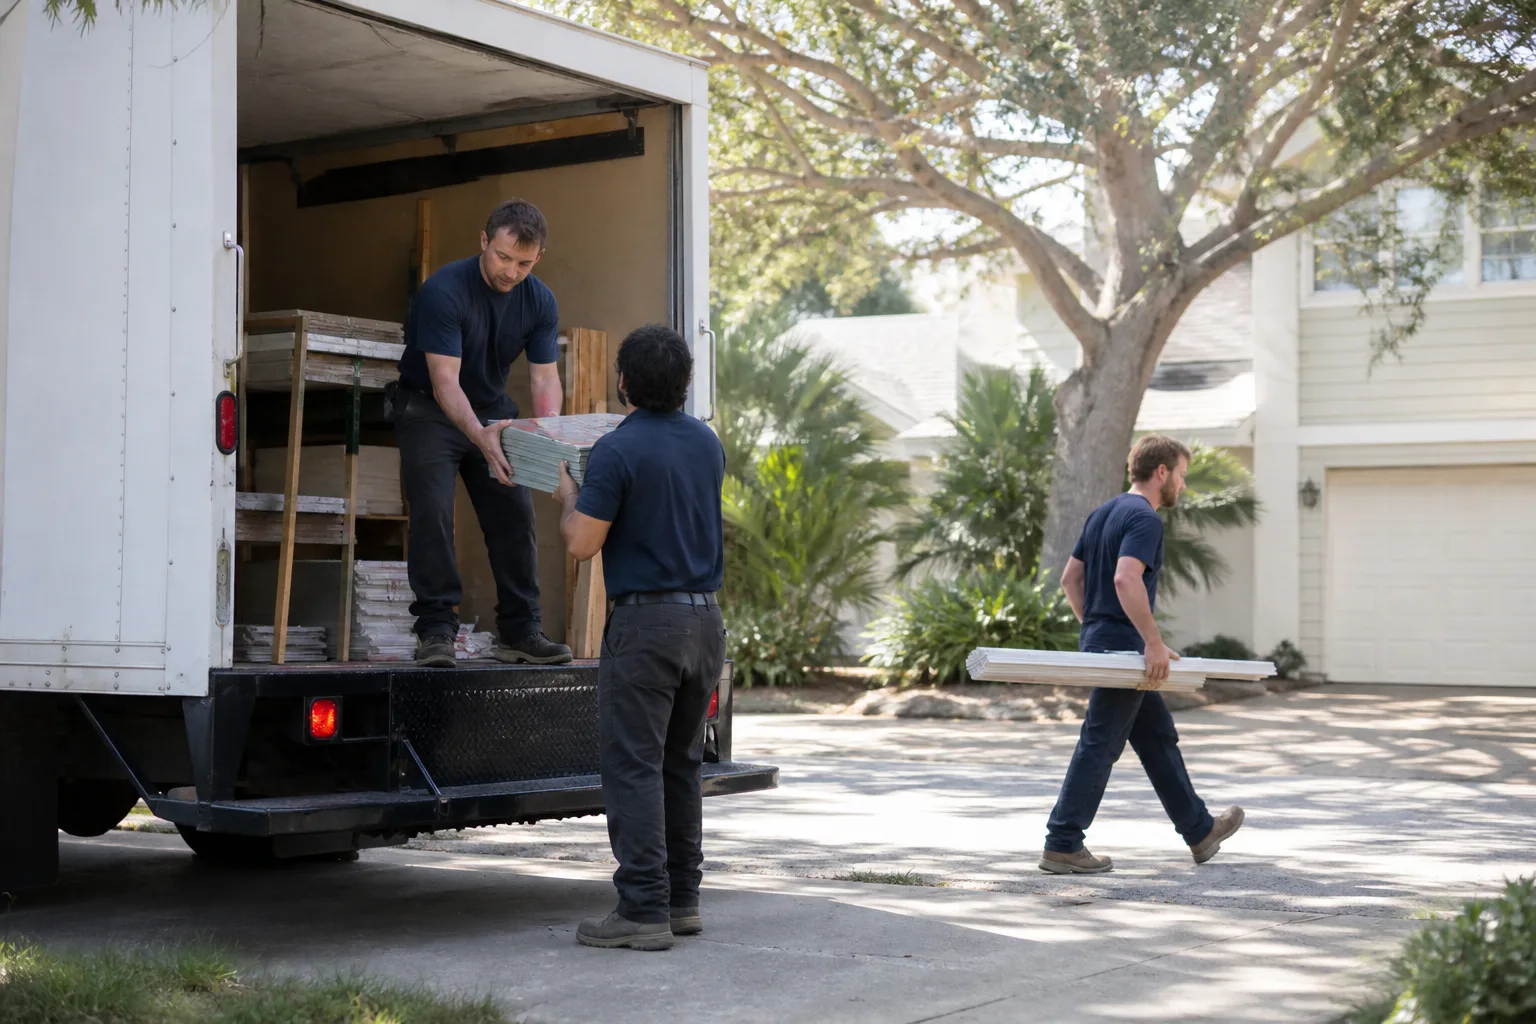
- Hire the contractor for demo, excavation, base, and inspection. The structural phase gets done to spec, verified, and signed off. Permit pulled, base compacted with proof-rolling or density testing.
- You take over for the visible phase. Lay the pavers in the pattern you want, cut the edge pieces with a wet saw, install the edge restraint, and sweep the joint sand. Take your time – this phase is forgiving.
- Agree the split in writing before the job starts. A written scope that ends at “base compacted and inspected” is clean. Vague handoffs are where hybrid jobs go sideways.
- Coordinate the sand and sealer yourself. Some homeowners buy their own Belgard or Techo-Bloc units for the field and let us handle the base; others prefer we source everything. Either works when it’s written down.
You keep the labor hours you can actually deliver, and you don’t own a two-year lesson in soil mechanics. That’s the deal most Fremont homeowners settle on once they’ve seen what compaction actually takes.
Common Mistakes to Avoid
- Digging too shallow because “it looked deep enough.” Total system depth – paver plus bedding plus base – has to match the spec, usually eight to twelve inches. Digging six guarantees a thin base and a short life.
- Compacting the whole base in one lifting. Six inches compacted in one pass will not reach spec. Two or three-inch lifts, watered between each, will. This alone accounts for a big share of the failed DIY driveways we see.
- Skipping the edge restraint or spiking it into soil. The restraint has to be spiked into the compacted base, not into topsoil. Otherwise the field spreads with use and the joints open.
- Ignoring drainage away from the garage. A driveway that pitches slightly toward the house is a water problem waiting for a wet winter. Fremont’s clay soils don’t drain fast, so the slope has to do the work.
- Telling yourself “the city won’t notice.” Unpermitted driveway work shows up during resale, during insurance review, and sometimes because a neighbor calls. Pull the permit.
- Over-wetting polymeric sand. A gentle mist sets the polymer; a hose on full blast washes it out and ruins the joint finish. Read the bag.
- Sealing too soon. Sealant applied before the first wet season traps moisture and efflorescence. Wait a year.
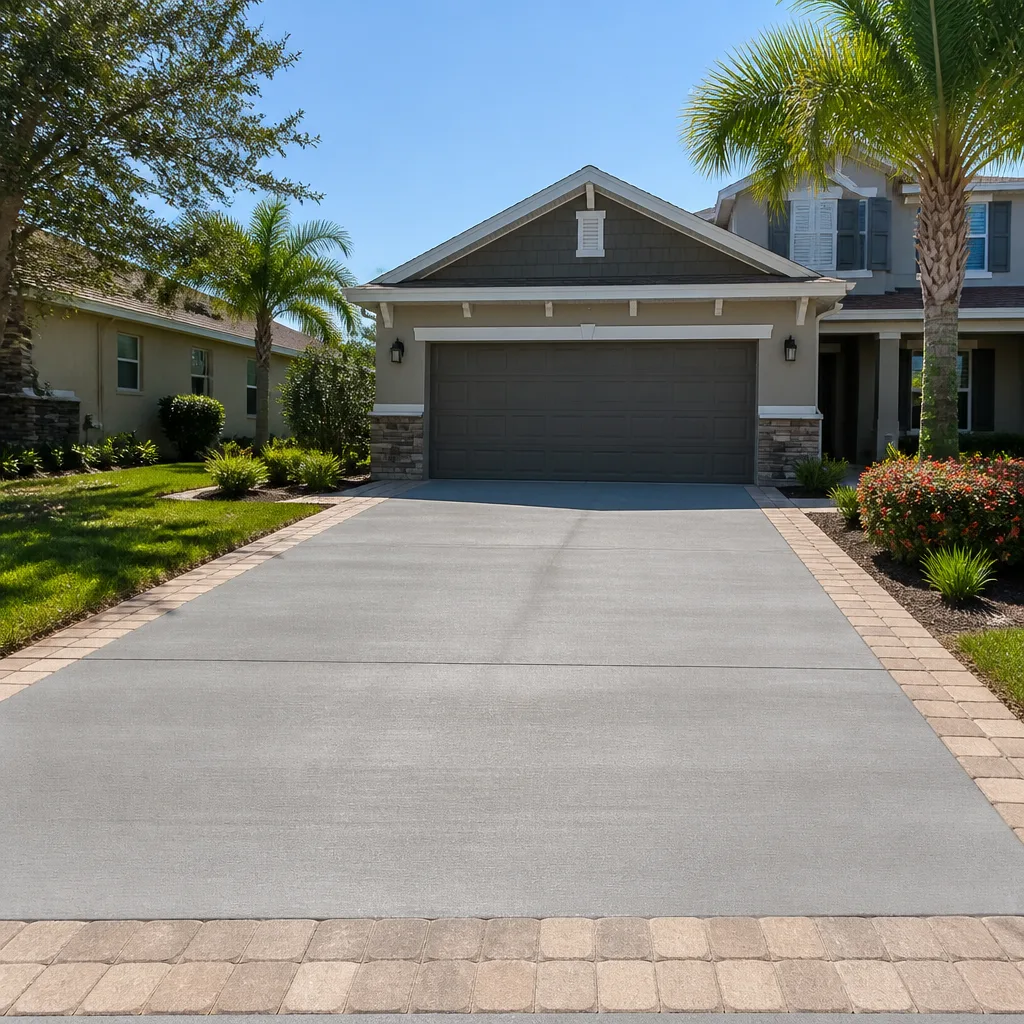
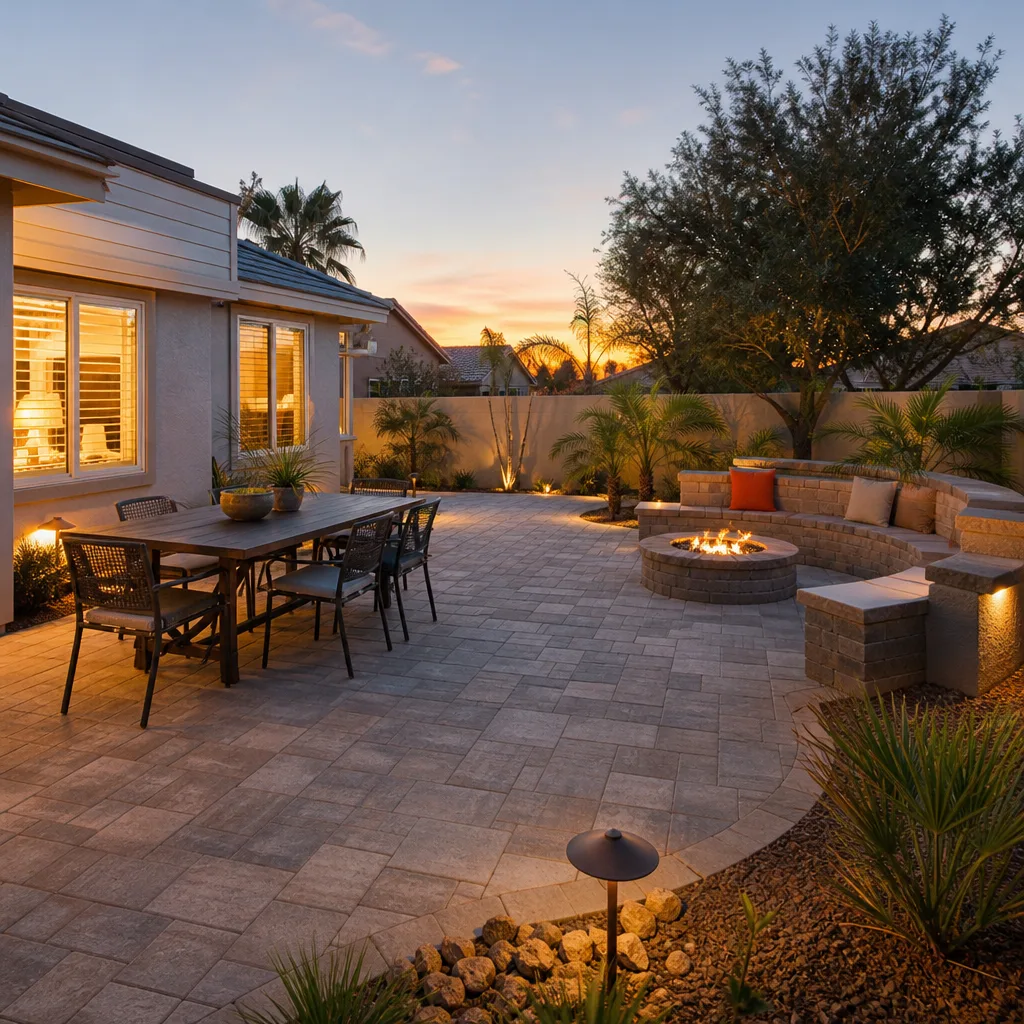
See the difference
 Before
 After
 Before
 After
 Before
 After
When to Call a Professional
Call a contractor when the job touches the base, the permit, or the grading – which is to say, most of the time. Specific scenarios that should send you to the phone: the driveway is on clay soil or older fill (a common situation in the older parts of Fremont); the new driveway will tie into the public sidewalk and need an encroachment permit; the driveway serves an RV, trailer, or heavier vehicles than a standard car; or the existing driveway is failing in exactly the pattern described above – ruts, ripples, open joints – which means the base is the problem and the surface is just reporting it.
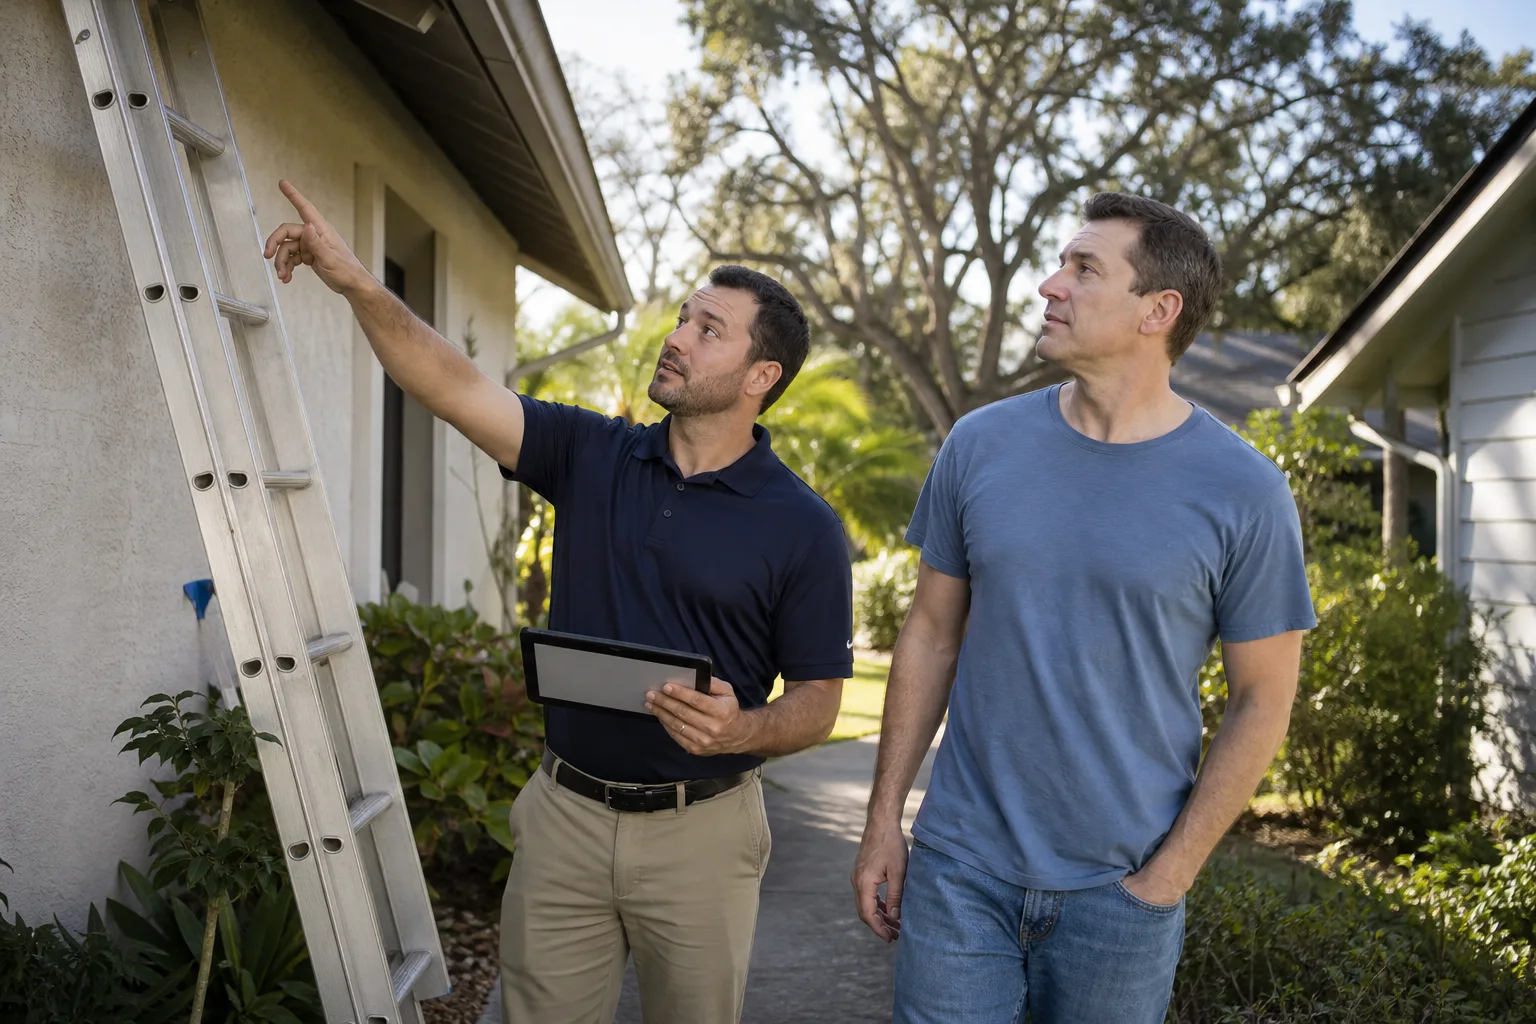
Barrett & Sons Construction Fremont offers free estimates in Fremont – call (833) 620-6162. Every scope gets written down, permits get pulled, and every completed job is backed by our written 90-Day Done Right Promise: if it isn’t done right, one call brings Tom back to make it right. Ask anyone on your street, or look up the license number yourself before you sign anything.
Frequently Asked Questions
Sometimes, but the concrete has to be sound, properly sloped, and thick enough to handle the load through the paver layer without cracking further. Any existing cracks, settling, or ponding will telegraph through and cause the same problems in the pavers. Have the concrete assessed before you commit – the cheap-looking version often costs more than a proper tear-out.
Pricing depends on square footage, base prep, excavation access, and material selection – Belgard and Techo-Bloc sit in different ranges than basic concrete units. We don’t quote over the phone; the honest number needs the site seen. Call (833) 620-6162 for a free, written line-item estimate so you can compare it against a DIY materials list fairly.
Often yes – especially if the work widens the apron, changes the drainage, or touches the public sidewalk. Even homeowner-pulled permits trigger an inspection. Call the city’s building department to confirm your specific address before you buy materials.
A two-car driveway is typically a two to four-day job for a crew, with base prep and inspection as the longest single phase. DIY versions run three to four times longer and usually stretch across multiple weekends. Rushing the base to save a day is the most common way a good job turns into a bad one.
Yes – that’s the hybrid approach we recommend most often. A written scope that ends at “base compacted and inspected” lets you take over for the visible phase without inheriting the structural risk. Everything after that point is forgiving; anything before it is not.
Either a proof-roll with a loaded dump truck or a field density test. A proof-roll is the practical option on most residential jobs; a density test is the more formal one. A plate compactor pass with no measurement isn’t verification – it’s a guess dressed up as one.
The Bottom Line
DIY paver work is a real option – for pattern layout, wet-saw cutting, edge restraint, and joint sand. The failure point is the base: excavation depth, compaction verification, and drainage planning are where DIY driveways in Fremont go wrong two years after they look finished. If you can split the job at that line, you keep meaningful savings and avoid the expensive lesson. If the job touches grading, permits, or tricky soils – call (833) 620-6162. We’ll walk the site with you and give you a written estimate, item by item. Every scope in writing, permits pulled and inspected, backed by the 90-Day Done Right Promise. Explore our Barrett & Sons Construction Fremont home, our Fence Installation in Fremont work if the driveway project unearths a fence problem, or Home Additions & ADU in Fremont if you’re planning more than the driveway this year. We’re glad to talk through any of it.
Written by the team at Barrett & Sons Construction Fremont.